


Table of contents: Exterior mirrors ↓ Outside mirror - electrically…↓ Interior mirror - fixed to the roof ↓ Interior mirror - mounted on the…↓
Exterior mirrors
1. Remove the plastic cover on the front door corner, then remove the screw and panel (see photo).
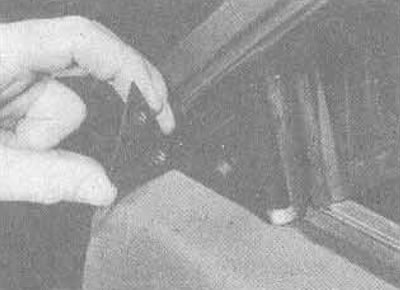
31.1A. Remove the triangular covering...
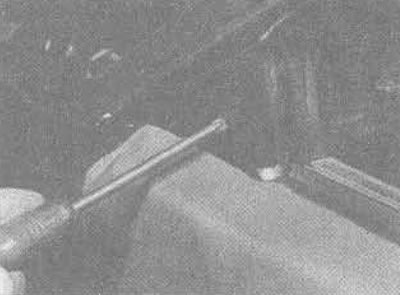
31.1 V.... and remove the single screw...
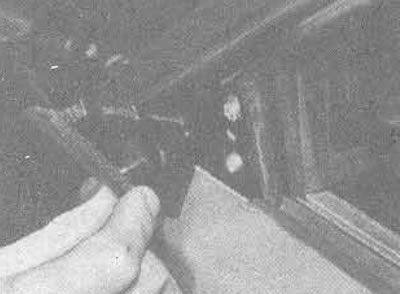
31.1 C.... remove the trim panel from the corner of the door from the outside mirror
2. Remove three screws (see photo), then remove the mirror, marking the mount under the edge of the door.
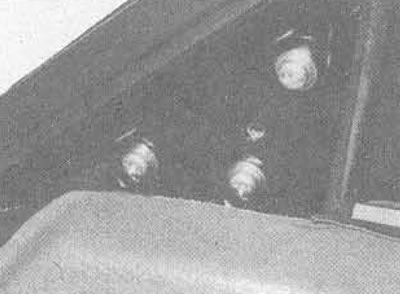
31.2. Exterior mirror mounting screws
3. Assembly is carried out in reverse order.
Outside mirror - electrically operated
4. Remove the door interior trim panel as described in Chapter 33 of this Section.
5. Remove the polyethylene seals as necessary to gain access to the mirror wiring multi-pin plug, then disconnect the plug (see photo).
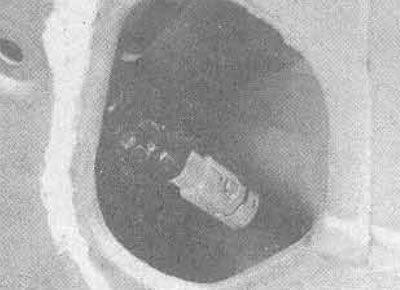
31.5. Electrical connector of the outside mirror connector
6. Remove the three mounting screws (see photo) and remove the mirror.
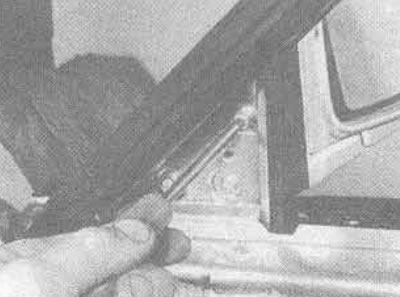
31.6. Removing the outside mirror mounting screws
7. Assembly is carried out in reverse order (see photo).
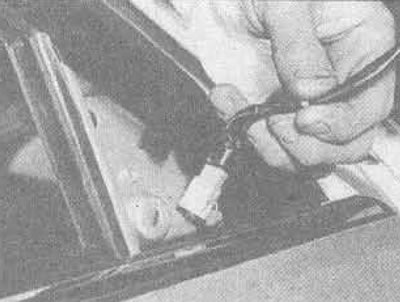
31.7A. Pull the electrical wire out of the door
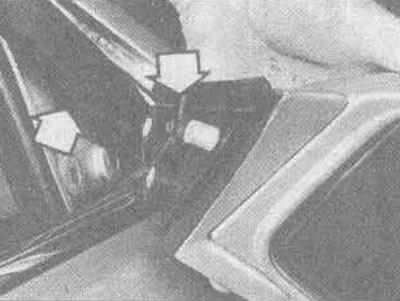
31.7B. Make sure the fasteners are positioned correctly under the edge of the door (marked with arrows)
Interior mirror - fixed to the roof
8. On earlier models, remove the single screw securing the mirror to the base.
9. On T12 models built after January 1988, remove the plastic mirror cover and remove the three screws securing the mirror to the base.
(Original text on the website nissanbook)
Interior mirror - mounted on the windshield
10. T72 models built after May 1988 are fitted with a mirror which is fixed directly to the windscreen with an adhesive strip. Do not disturb the fastening unless necessary and note that the strips are not supplied separately. If necessary, contact your Ford or Rover dealer.
11. Remove the mirror from the windshield by pulling a nylon rope through the adhesive pad. Clean the base of the mirror and the place where it is installed on the windshield with methyl alcohol.
12. Wipe the mirror base and the area where it attaches to the windshield with methyl alcohol. Both surfaces must be completely clean and the windshield must be warmed up to room temperature (approximately 20°C).
13. If a new cover is used, it is attached according to the enclosed instructions. The windshield and the base of the mirror must be absolutely clean and heated to 20°C.
14. Heat the mirror base and cover to a temperature of 50°-70°C. Remove the protective paper from the cover and press the mirror firmly to the attachment point. Hold it in this position for two minutes and do not try to adjust the mirror for at least an hour.
15. Do not use glue to attach the mirror to the windshield: not all types of glue are suitable, and some may leave a residue that is difficult to remove.