


Front seats
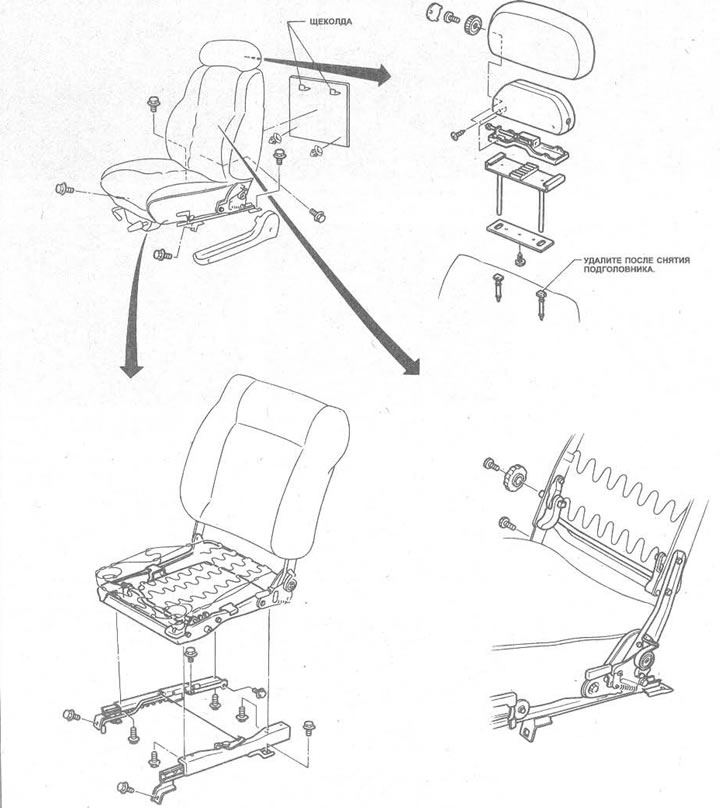
Figure 11.21. Details of standard front seats
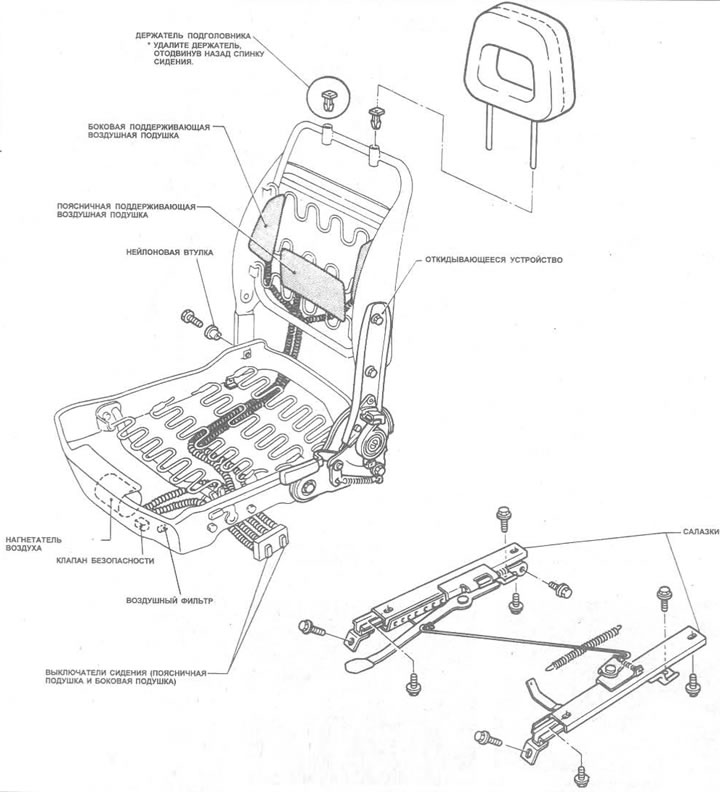
Figure 11.22. Front seat support elements
1. Using the adjuster, move the seat all the way back.
2. Unscrew the bolts securing the front part of the runners to the floor (see photo).
34.2. Front seat runner front mounting bolt
3. Move the seat forward as far as it will go, then remove the plastic covers and unscrew the rear bolts (see photos).
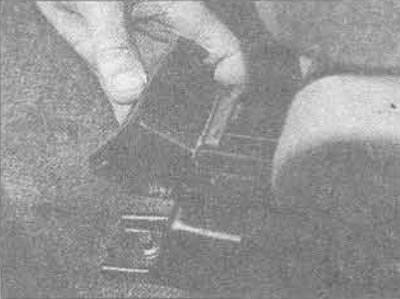
34.3A. Front seat runner rear mounting bolt and cover
[The article was copied from here: nissanbook.ru]
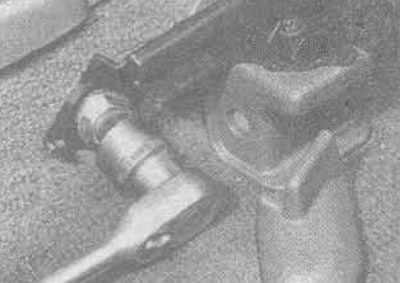
34.3B. Note that the front seat runner retaining bolts are screwed into the center floor channel
4. Lift the seat and disconnect the electrical wiring (where it is equipped) from heaters.
5. Assembly is carried out in reverse order.
Rear Seats - Sedan
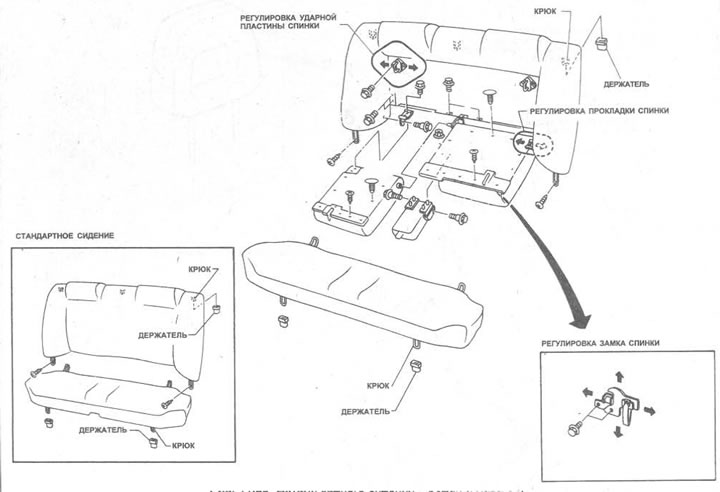
Figure 11.23. Rear seat details - Sedan
6. Remove the seat by pulling it up sharply at each front corner to release it from its clips, then pull the seat forward to release the rear supports (see photo).
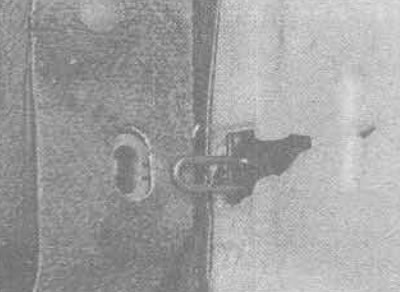
34.6. Support and retainer of the front corner of the rear seat base gasket
7. On models with a non-folding rear seat, to remove the seat back, first remove the seat base (see Item 6). Remove the two screws securing the wire support at each end of the seat, then pull the seat back up sharply to release the three supports at the top edges from their clips in the shelf behind the seat back. The rear seat back can then be carefully removed by removing the brackets securing it to the pillar.
8. On models with a folding rear seatback, first remove the base pad (see Item 6), then remove the seat back pad forward.
9. Remove the mounting brackets securing the backrest cover to the luggage compartment floor (see photo).
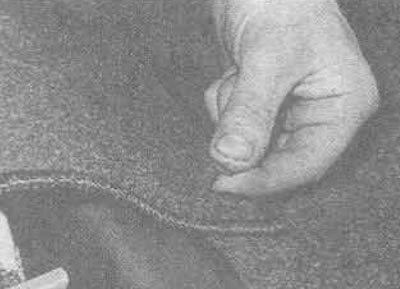
34.9. The rear seat cover is secured to the luggage compartment floor with mounting brackets
10. Remove the cover to gain access to the backrest pad hinges, then unscrew the bolts from the pads and remove them (the left gasket secures the armrest in the center) (see photos).
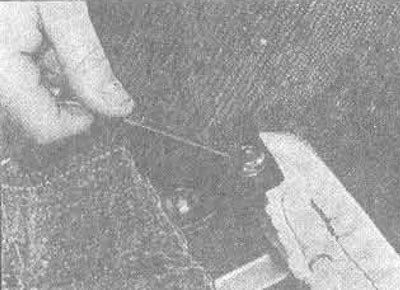
34.10A. Unscrew the bolts securing the rear seat pad to the hinge
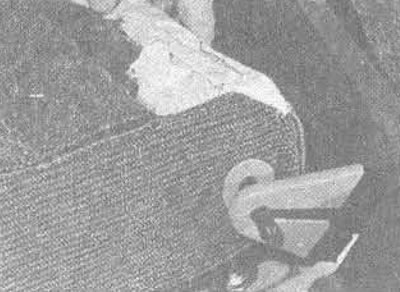
34.10B. Unhook the rear seat backing pad from the center pivot pin
11. Remove the brackets from the retainer along the bottom edge of the seat back and remove both retainers (see photos).
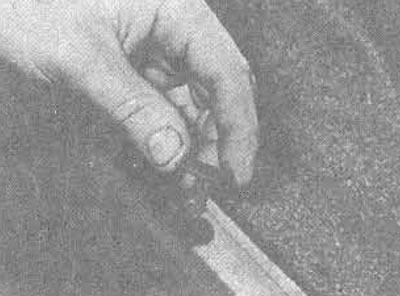
34.11A. Remove the seat back retaining clips...
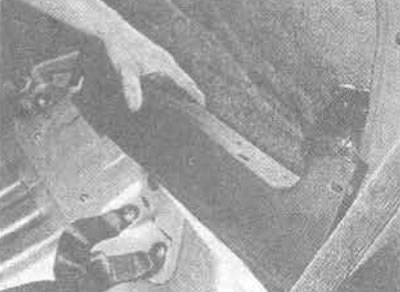
34.11B.... remove the lower mount
12. Remove the screws securing the wire support along the edges of the bottom of the seat back and the three hex screws securing the seat back base rails to the floor (see photos).
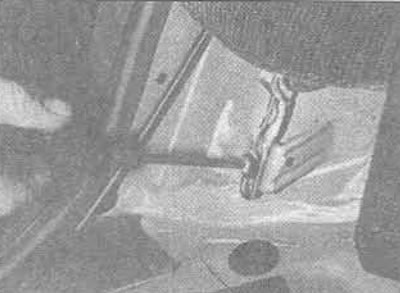
34.12A. The main seat back is attached with screws at the bottom along each edge...
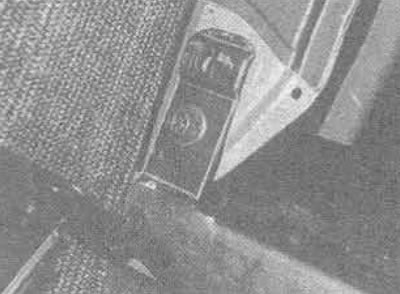
34.12B.... screws at each end of the base of the slide...
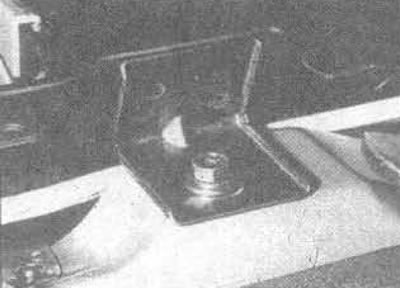
34.12C.... and in the middle of the sled...
13. Pull the seat back sharply upward to release the three wire supports from their clips (see photo).
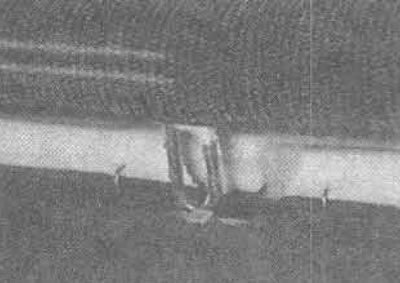
34.13. ... and three wire supports in the clamps
14. Assembly is carried out in reverse order.
Rear Seats - Hatchback
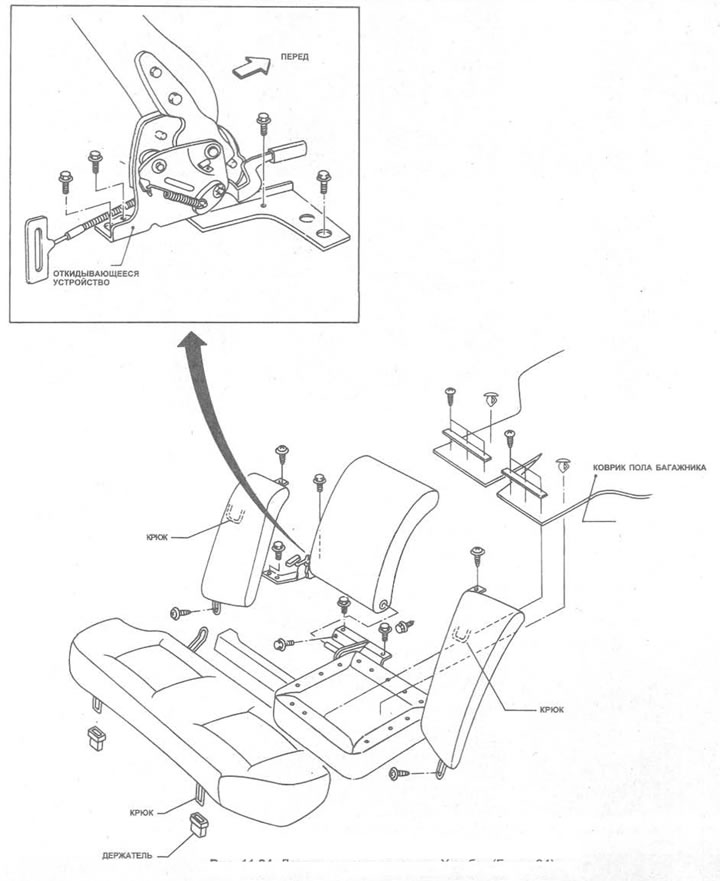
Figure 11.24. Rear seat details - Hatchback
15. Open the rear door and remove the shelf.
16. Remove the seat base gasket as described in Step 6 above.
17. Carefully remove the speaker grille brackets to expose the four mounting brackets, then remove the screws securing the edges of the side pad and pull each pad sharply upward to release it (see photos).
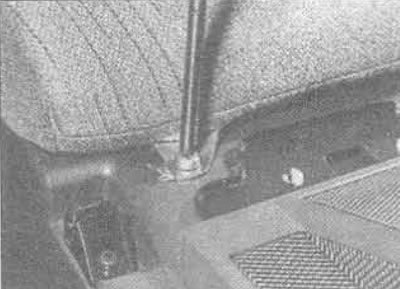
34.17A. Remove the speaker grille to access the side gasket mounting screw
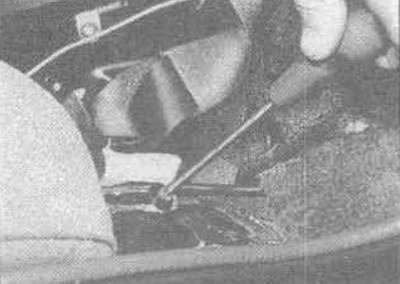
34.17B. Side gasket base mounting screw
18. Remove the mat retainer strip from the back of each seat back pad; each strip is secured with three screws. Remove the brackets from the pillar, remove the mat from the seat back and roll it up into the luggage compartment.
19. Unscrew the bolts on the outside of the hinge from the floor and remove the seat back gasket.
20. Assembly is carried out in reverse order.