


Table of contents: Windshield washer jets and tube ↓ Windshield Washer Tube Location ↓ Removal and installation ↓ Checking and adjusting ↓
Windshield washer jets and tube
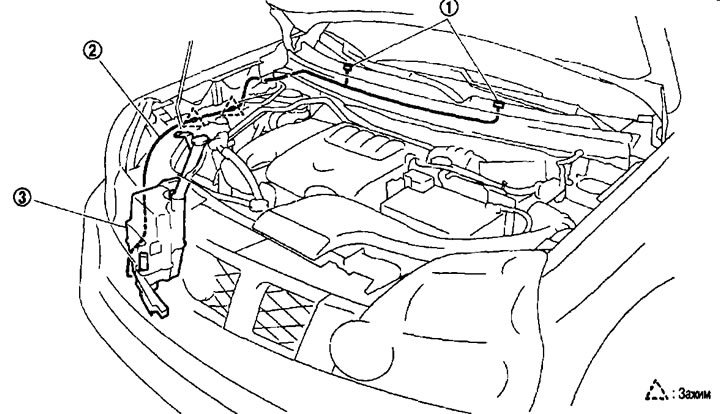
1. Windshield washer jets; 2. Windshield washer tube.
Windshield Washer Tube Location
1. Windshield washer jets; 2. Windshield washer tube; 3. Washer reservoir.
Removal and installation
Removal
1. Remove the hood grille cover. See chapter "Interior and exterior body equipment".
2. Disconnect the windshield washer tube from the nozzles.
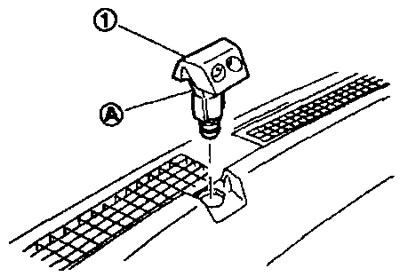
3. Press the latch (A) of the windshield washer nozzle (1) from the front side of the hood grille cover and remove the nozzle from the cover.
Installation
Installation is performed in the reverse order of removal.
Note: The left and right washer jets have different spray patterns, make sure they are installed correctly.
Checking and adjusting
Examination
Washer jet
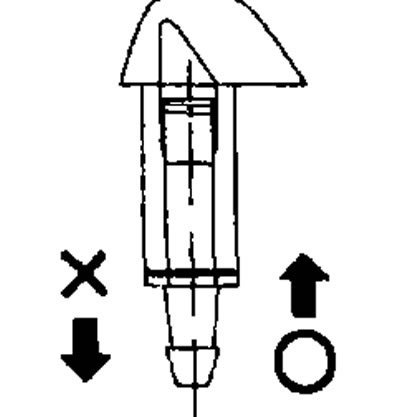
Blow air through the hose in the direction of the jet outlet (towards the jet) and make sure that air flows in one direction only and that air cannot flow in the opposite direction (on inhalation).
[The source is indicated on the page: nissanbook.ru]
Adjustment
Adjusting the spray area of the washer jet
Adjust the spray areas as shown in the figure.
Unit of measurement, mm.
| Spray jet area | H (height) | L (height) | D(spray diameter) |
| A | 319 | 391 | 80 |
| IN | 306 | 192 | 80 |
| WITH | 357 | 171 | 80 |
| D | 324 | 428 | 80 |
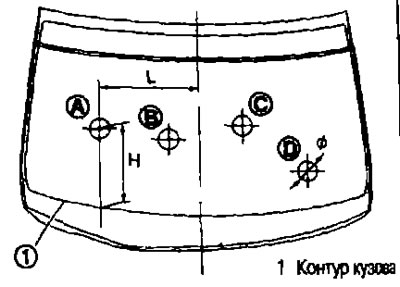
1. Body contour.
Insert a needle or suitable tool (B) into the hole in the nozzle (A) and adjust the spray pattern by turning the nozzle up/down and left/right.
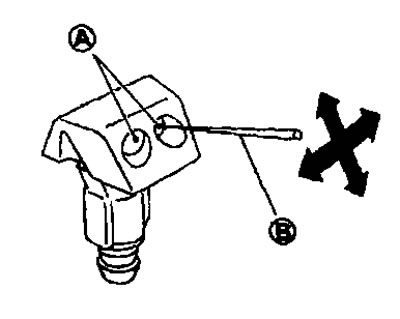
Note: If polish or dust has gotten into the jet, remove it with a needle or small pin.