


Table of contents: General inspection ↓ Checking the operation and…↓
Perform the following procedures at the intervals given in Section "Maintenance" at the beginning of this Guide.
Checking the hydraulic fluid level - 1.8 and 2.0 liter models
1. The hydraulic fluid level in the master cylinder should be between the "Max" and "Min" lines on the reservoir. If the level is below the "Min" line, add fluid to the system (photo).
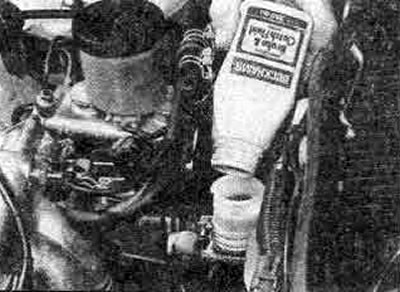
2.1 Use only the specified type of fluid when refilling the clutch master cylinder
2. If frequent refilling is necessary, carefully check for signs of fluid leaks from various parts of the system. Any leaks should be repaired immediately by replacing the seals or component.
3. There is no specific service interval provided by the manufacturer, the clutch fluid must be changed regularly; this can be done together with the brake fluid change. See. "Maintenance" at the beginning of this Guide.
Note: Hydraulic fluid easily removes paint and also affects plastic. If it accidentally gets on the marked parts, wash it off immediately with plenty of fresh water. Always use good quality fluid and the specified type: brake fluid is hygroscopic (absorbs moisture from the air), so the old fluid may be contaminated and unsuitable for further use.
General inspection
4. Carefully inspect all visible parts of the system, check the reliability of the fasteners. Check that the hydraulic pipes and hoses do not touch other parts. On 1.8 and 2.0 liter models, check for signs of fluid leaks.
5. Check the pedal axle lubrication.
Checking the operation and adjustment of the clutch
6. Check the free play of the clutch pedal.
7. Check the released pedal height before setting the pedal travel or. on 1.6 liter models, check and adjust the cable.
8. Remove the three screws, remove the driver's door sill trim panel. Remove the separate mounting screw, remove the trim panel on the right side, releasing it from the front mounting bracket. Remove the mounting screw, remove the throttle pedal limiter; Remove the carpet until the sound-insulating material is lifted. Referring to Figure 5.3 (dimension "H"), measure the pedal height from the center of the pedal pad to the bulkhead. If the height is different from the specified height, loosen the pedal limiter bolt lock nut and turn the bolt until the correct setting is achieved (photo). Tighten the lock nut, install the carpet and trim panels.
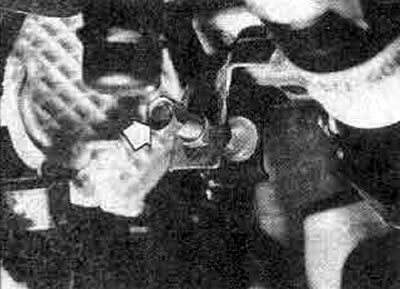
2.8. The height of the clutch pedal is adjusted by turning the limiter bolt (marked with an arrow)
9. To measure the pedal stroke, press the pedal until you feel a slight resistance, then measure the distance between this position and the released pedal position (see Figure 5.3, dimension "A"). If necessary, adjust as follows.
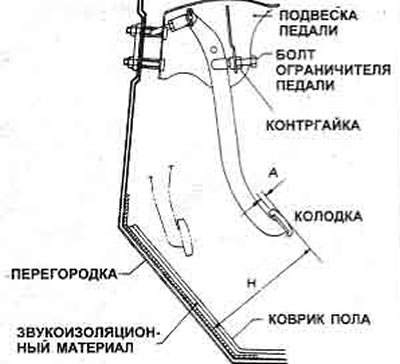
Figure 5.3. Clutch adjustment details, near the pedal
10. On 1.6 liter models, loosen the cable adjuster lock nut, and rotate the adjuster nut in the release lever at the end of the cable until the required release lever play is set (see Figure 5.4, dimension "B"). Recheck the clutch pedal play; since these two settings are directly related. Tighten the adjuster lock nut.
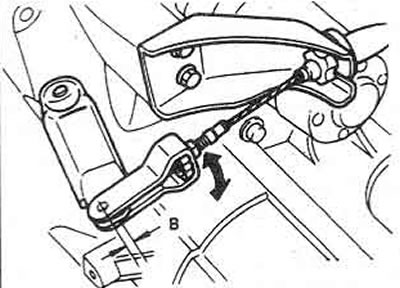
Figure 5.4. Adjusting the clutch cable
11. On 1.8 and 2.0 liter models, loosen the clutch master cylinder pushrod lock nut in the clamp below the clutch pedal pivot point, turn the pushrod until the required pedal play is established. Tighten the lock nut.
Material borrowed from the website nissanbook