


2. On 1.6 liter models, disconnect the clutch cable from the pedal. See Chapter 4 of this Section.
3. On 1.8 and 2.0 liter models, remove the retaining spring clip, remove the pin securing the master cylinder push rod to the pedal.
4. Release the return spring pressure by disconnecting the end of the spring hooked onto the pedal.
5. Unscrew the pedal pivot bolt nut and washer, remove the pivot bolt and take out the pedal together with the bushings and return spring.
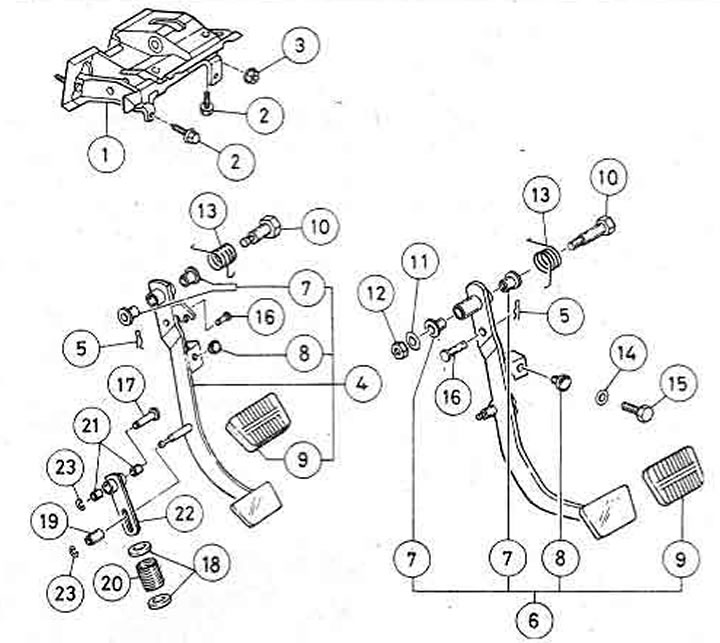
Figure 5.5. Clutch pedal assembly: 1. Pedal mounting bracket; 2. Bolt; 3. Nut; 4. Pedal - Turbo models; 5. Spring clamp; 6. Pedal - non-Turbo models (hydraulic clutch); 7. Pedal pivot bushings; 8. Limiter shoe; 9. Rubber pedal pad; 10. Pedal pivot bolt; 11. Washer; 12. Nut; 13. Return spring; 14. Washer; 15. Pedal limiter bolt; 16. Pin (only hydraulic clutch); 17. Pin; 18. Spring socket; 19. Bearing; 20. Pedal support spring; 21. Bushing; 22. Pedal support lever; 23. Spring clamp.
6. Carefully clean all parts, replace worn or damaged ones. Pay special attention to the condition of the return spring and the working surfaces of the bearing bushing and the pivot bolt.
7. Installation is carried out in the reverse order; before installation, apply universal grease to the working surfaces of the bearing, pedal pivot axis and pin (photo).
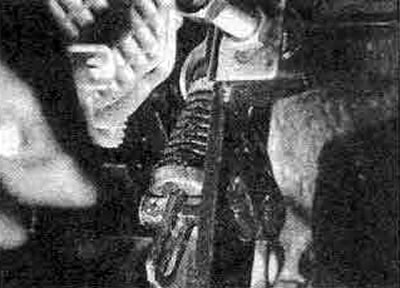
3.7. When installing the pedal, apply grease to all working surfaces of the bearing - Turbo model shown
8. Guided by Chapter 2 from this Section, re-set the pedal height, check the pedal free play. Install the instrument panel.