


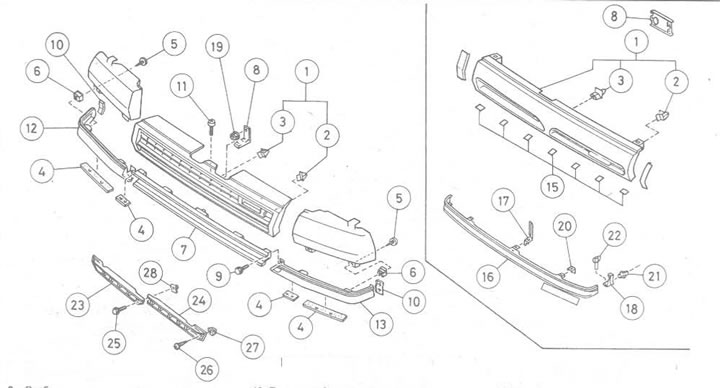
Figure 11.2. Front radiator grille and its trim panels: 1. Radiator grille; 2. Bracket; 3. Bracket; 4. Sticky pad; 5. Screw; 6. Union nut; 7. Center section trim panel - on early models; 8. Suspension; 9. Screw; 10. Overlay; 11. Screw; 12. Trim panel right side; 13. Trim panel left side; 14. Rubber cushion; 15. Rubber cushion; 16. Trim panel - on later models; 17. Suspension; 18. Overlay; 19. Nut; 20. Suspension; 21. Bracket; 22. Fastening; 23. Lower grille on the right side - on early models; 24. Lower left side grille - on early models; 25. Bolt; 26. Screw; 27. Union nut; 28. Union nut
1. Where equipped, remove the headlight wiper holders.
2. The grille is secured with a number of special brackets, one in each corner and one (or two) in the center. Remove the brackets, accessible from the front, by turning them 45 degrees with a screwdriver (see figure 11.3).
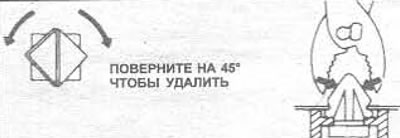
Figure 11.3. Removing the radiator grille bracket
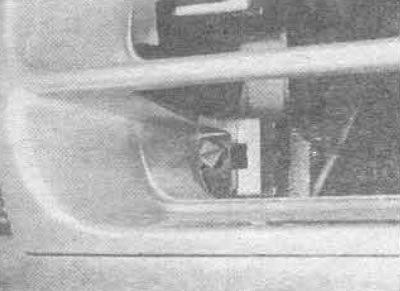
10.2A. The radiator grille mounting brackets must be removed from the front...
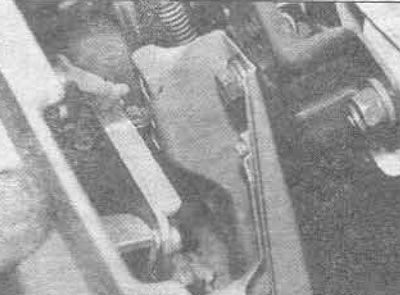
10.2V....or from behind
3. When assembling, it may be easier to place the brackets on the grille first, then install the grille on the body (see photo).
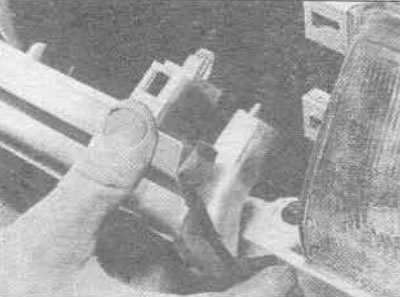
10.3 Do not use excessive force to install the radiator grille together with the brackets
4. The two-piece grille is attached to the front panel (on some models until May 1988) bolts, one in the center and one at the edges.
5. Before removing the trim panel located between the grille, headlight and front bumper, remove the grille first, then continue as follows.
6. On vehicles built before May 1988, remove the two screws, one from each end of the panel and from the center of the section, and lift it off. The two outer sections are now held in place only by double-sided tape at their upper and lower ends.
7. On vehicles built after May 1988, remove the three hex screws securing the panel in the center and to the headlights. Then pull each edge forward from the fender panel sealing ring (see photo).
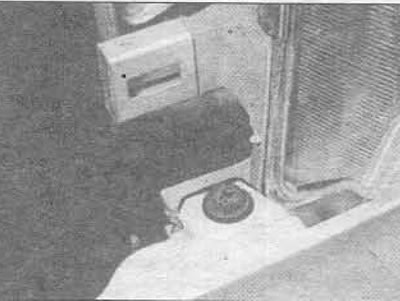
10.7A. To remove the grille trim panel, remove the screws (one is shown)...
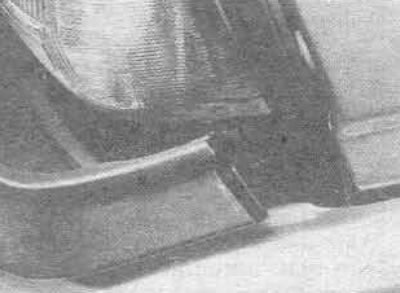
10.7V.... and remove the ends of the panel from the wing seals (only on later models)
8. Assembly is carried out in reverse order.