


Front
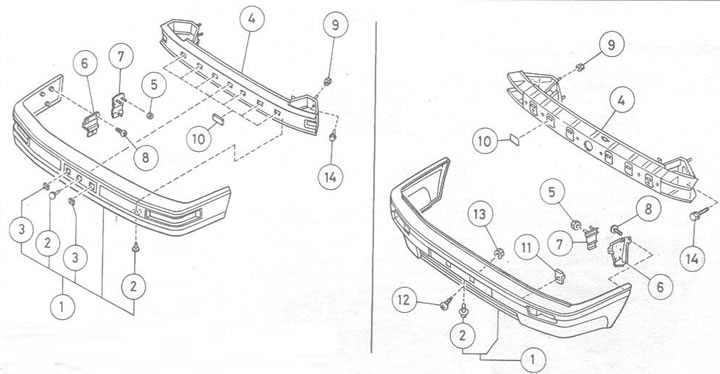
Figure 11.8. Front bumper: 1. External section; 2. Bracket; 3. Union nut; 4. Steel inner section; 5. Nut; 6. Side bracket of the outer half; 7. Side bracket of the outer half; 8. Screw; 9. Nut; 10. Gasket; 11. Gasket - later models; 12. Screw - later models; 13. Union nut; 14. Bolt
1. Open the hood and disconnect the negative battery cable.
2. Remove the radiator grille and trim panel (see Chapter 10 of this Section).
3. Remove both headlights and turn signals (see Section 12).
4. Remove the screws securing the edges of the bumper to the fenders and, on later models, the screw securing the center of the bumper to the front panel (see photos).
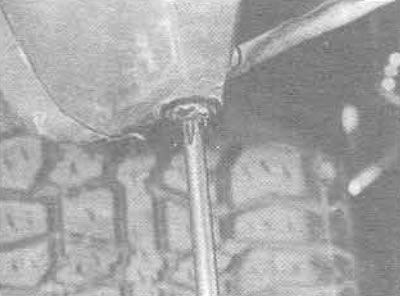
12.4A. Screw securing the edge of the front bumper to the wing panel
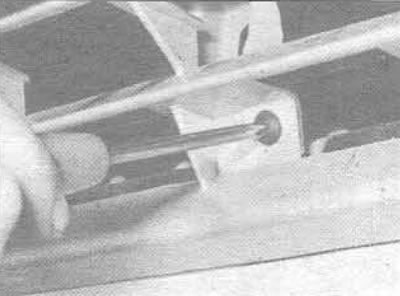
12.4V. Front Bumper Center Mounting Screw - Later Models Only
5. Remove the single bolt and two nuts securing the bumper to the front panel. Remove the bumper by pulling it forward from the side mountings (see photo).
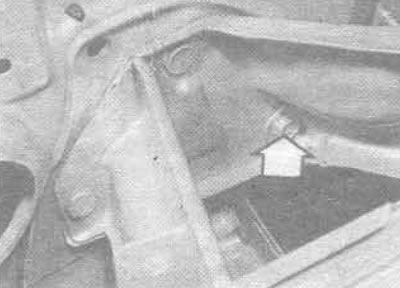
12.5A. Front bumper mounting bolt (marked with an arrow)
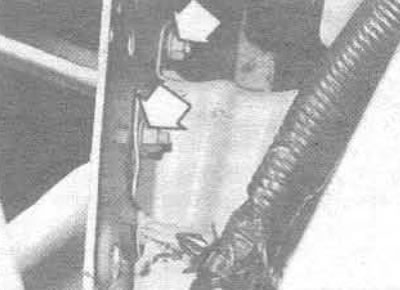
12.5V. Front bumper mounting nuts (marked with arrows)
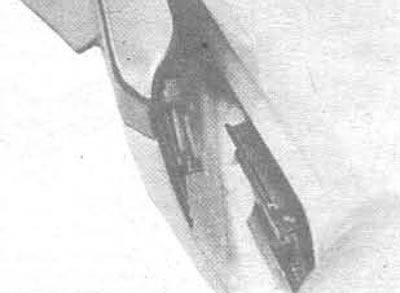
12.5C. Pull the bumper forward from the side clamps
6. The outer polypropylene section can be removed by removing the staples using a screwdriver or pliers (see photo).
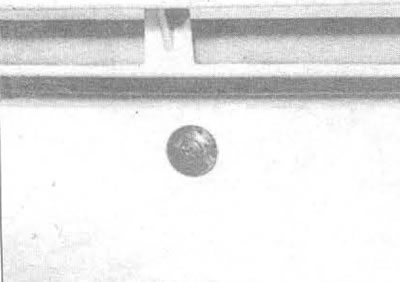
12.6A. Mounting screw securing the inner section of the bumper to the outer section - visible from below
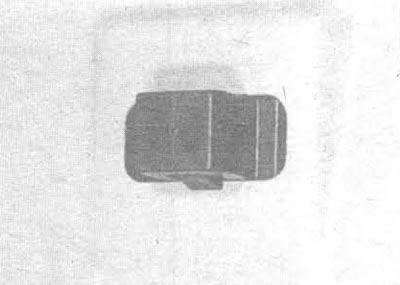
12.6V. Main mounting bracket for fastening the inner to outer sections of the bumper
7. The outer halves of the side brackets are attached to the bumper with three screws (see photo). The inner halves are attached to the wings with three nuts.
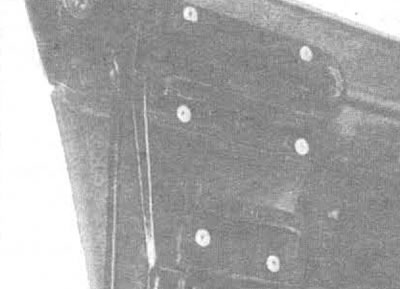
12.7. Outer half of the side bumper mount
8. When assembling, make sure the side brackets are securely fastened. Tighten all connections securely.
Rear
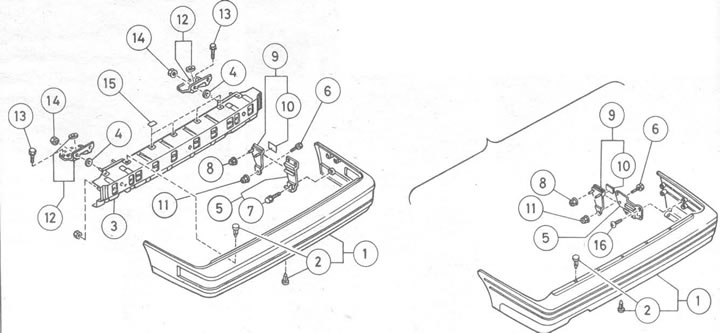
Figure 11.9. Rear bumper: 1. External section; 2. Bracket; 3. Steel inner section; 4. Rubber gasket; 5. Outer half of the side bracket; 6. Screw; 7. Bolt - early models; 8. Nut; 9. Inner half of the side bracket; 10. Rubber cushion - right side; 11. Union nut; 12. Mounting thrust plate; 13. Bolt; 14. Nut; 15. Gasket; 16. Screw - later models
9. Open the trunk lid or tailgate and remove the floor mats or interior trim to gain access to the bumper mountings (see photo).
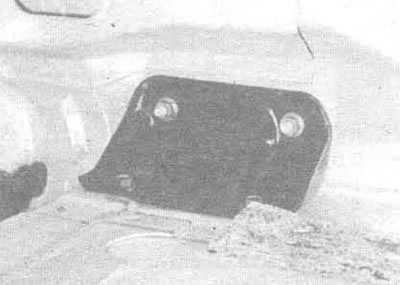
12.9 Rear Bumper Retaining Plate - Sedan
10. From the bottom of the rear part of the car, unscrew the two nuts securing the bumper brackets, then the four nuts (two on each side) inside the luggage compartment. Remove the bumper assembly by sliding it back from the mounting brackets. Pay attention to the rubber gaskets.
11. You can now remove the inner and outer sections and the side halves of the brackets as described in steps 6 and 7 above.
12. Assembly is carried out as described in point 8 above.
Rear bumper trim panel
13. The trim panel located between the bumper and the tail lights can be removed as follows.
14. On Sedan models, remove the rear bumper, then the rear interior trim panel to expose the taillights and trim panel fasteners.
15. Unscrew the lock nuts and remove the brackets to remove the panel.
16. On Hatchback models, please note that the rear bumper and tail light (see Section 12) must be removed before the trim panel. This will remove the panel that hides the screws. The remaining steps are the same as the removal procedure for the Sedan model.
17. Assembly is carried out in reverse order.