2. Disconnect the negative cable from the battery.
Attention! If the stereo system installed in the car is equipped with a security code, before disconnecting the battery, make sure that you have the correct combination to activate the audio system! Disconnect all other electrical wiring that interferes with the removal of the corresponding bumper.
Front bumper
1. Remove the splash screen installed under the radiator and radiator bumper.
2. Remove the decorative grille (see Section Removal and installation of a decorative grille of a radiator). Remove headlight and turn signal assemblies (see chapter Onboard electrical equipment).
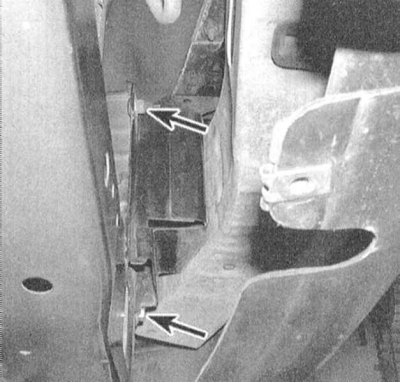
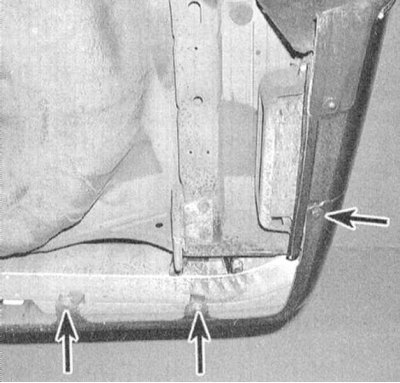
3. Release the clips securing the bumper pad to the fender panels (see Section Removal and installation of front fenders), then the remaining clips, - be careful not to damage the paintwork of the fenders or the polished surface of the lining.
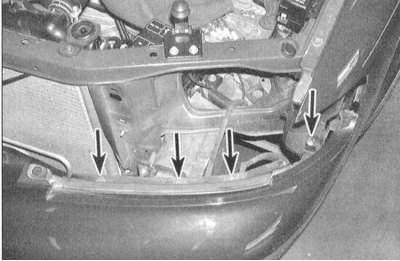
4. Working under the car, turn out bolts of fastening of a beam of a bumper.
Note. The beam support brackets can be separated from the chassis by loosening the nuts from the rear of the brackets, or by removing the insulating pads to gain access to the front fixing bolts (after the bumper).
5. Remove the Bumper Assembly from the vehicle.
6. Installation is carried out in the reverse order.
Rear bumper
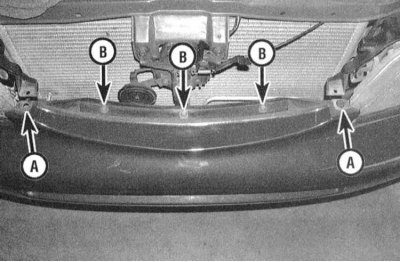
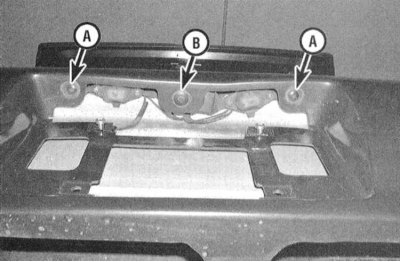
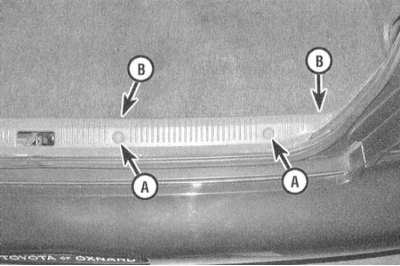
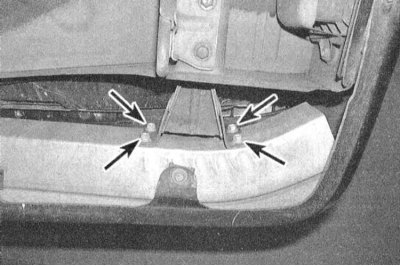
1. Under the vehicle, release the plastic tabs securing the lower edge of the rear bumper cover. Do not forget to release also the three latches installed above the platform for mounting the license plate.
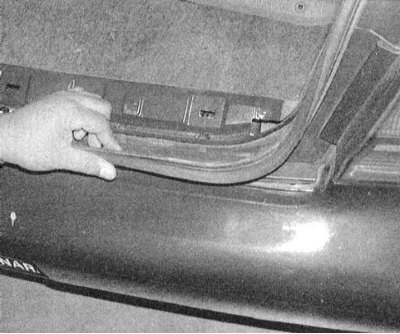
2. Open the luggage compartment lid and, in order to provide access to the upper bolts of the rear bumper lining, remove the floor carpet upholstery panel.
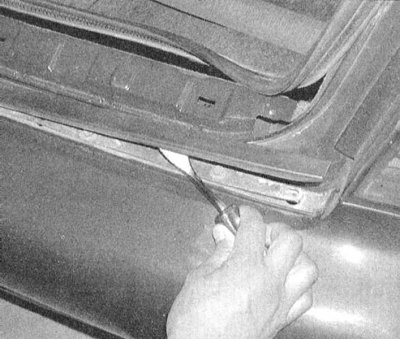
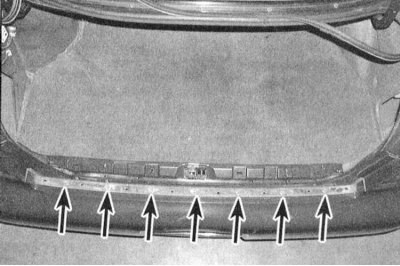
3. In case of need turn out fixing bolts and remove a beam of a back bumper.
4. Installation is carried out in the reverse order.