


Table of contents: Removal ↓ Adjustment ↓
Removal
Note: The hood panel is quite heavy, so you may want to have an assistant help you.
1. Open the hood, then cover the fenders with special pads or just old blankets to protect them from damage during the process of removing the hood.
2. Disconnect all cables and wires that interfere with removing the hood. Also disconnect the windshield washer fluid supply tubes from the nozzles attached to the hood.
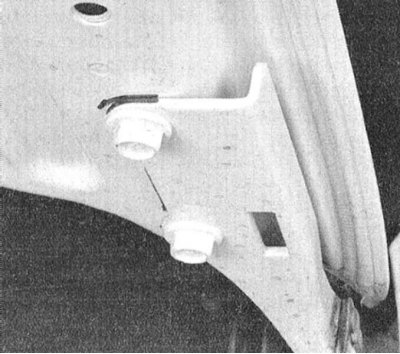
3. Use a marker or scriber to trace around the hinge strips to ensure that the hood is properly secured during assembly.
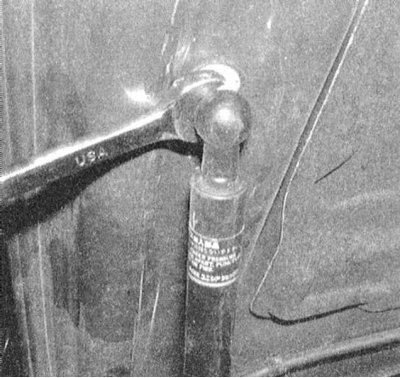
4. Have an assistant hold the hood and use a wrench to remove the strut hinges from the hood panel.
5. Without letting go of the assistant, unscrew the screws/bolts securing the hinge strips to the hood. With two people, remove the hood.
6. Installation is carried out in the reverse order. When installing the old hood in place, make sure that the hinge strips are installed taking into account the marks made during dismantling. If the hood has been replaced, it is necessary to adjust its position (see below).
Adjustment
1. The position of the hood in the engine compartment opening is adjusted by moving the hinge strips to the appropriate side after loosening their fasteners.
Note: If the manufacturer used self-centering bolts to secure the strips, which do not allow for this type of adjustment, such fasteners should be replaced with standard type bolts, remembering to equip them with flat and lock washers.
2. To control the amount of displacement, outline the hinge strips with a marker.
3. Loosen the fasteners and move the hinges in the required direction (make the adjustments slowly, in several steps, slightly shifting the loop strips for each approach). Tighten the bolts again, lower the hood and check that it is correctly positioned in the opening.
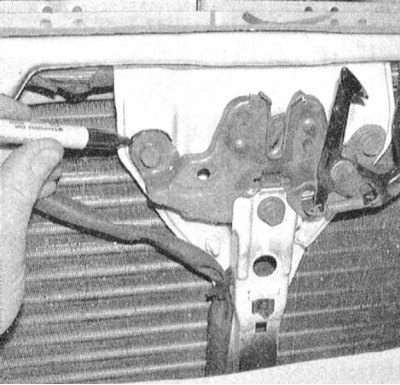
4. If necessary, the position of the hood latch assembly on the radiator support plate can be adjusted (in vertical and horizontal planes), - the hood should close tightly and fall flush with the fender surfaces. To adjust the lock, trace the heads of the latch assembly mounting bolts with a marker or scriber, then loosen the bolts and move the latch in the desired direction. When adjustment is complete, tighten the mounting bolts securely.
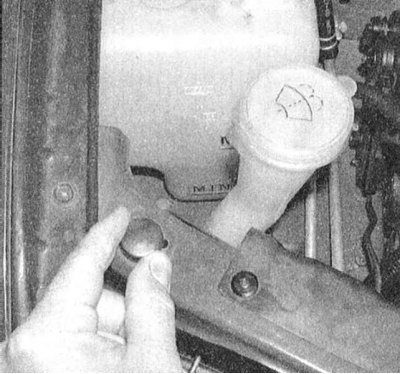
5. Finally, adjust the position of the rubber bonnet cushions on the radiator support panel until the bonnet is flush with the wing surfaces when closed.
6. The assembly of the hood lock latch should be periodically (simultaneously with the hinges, - see Section Maintenance of car hinges and locks) be lubricated with lithium-based grease to prevent seizure and premature wear.
(Data taken from this portal: Nissanbook.ru)