


2. Disconnect the hoses from the heater, marking the joints and drain the leaking coolant. Note that the radiator of the heater will still contain coolant.
3. Remove the instrument panel (see Chapter 37 of this Section). Unscrew the instrument panel mounting bracket bolts.
4. Disconnect the control cables from the heater (see Chapter 39 of this Section).
5. Remove the air ducts of the heating device by unscrewing the bolts (see photo).
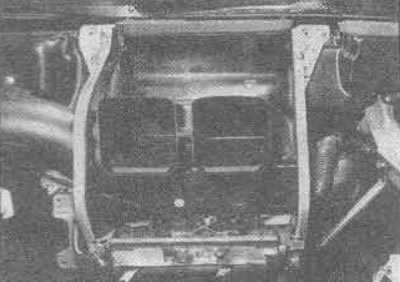
40.5 Remove the bolts from the instrument panel mounting bracket and fan ducts to remove the heater
6. Unscrew the heating device bolts (see photo) and remove it, being careful not to spill any remaining coolant on the mats.
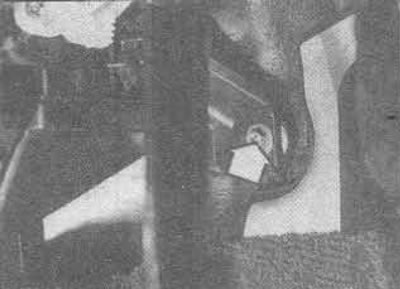
40.6. Heater mounting bolt
7. If necessary, the device mounting screws can be removed and the heater radiator removed. Pay attention to the location of the outer rods before disconnecting them.
8. If the heater radiator is leaking, it is best to replace it with a new or repaired one. Home restoration is rarely successful. A radiator clogged with dirt can sometimes be cleaned with cold running water, but do not use chemically active cleaning agents.
9. Assembly is carried out in the reverse order. Take care not to damage the radiator plates or tubes when installing it into the casing.
[Text duplicated from the website nissanbook.ru]
10. When reassembling, make sure all heater parts are installed correctly and there are no leaks, then tighten the fasteners securely. Adjust the control levers as described in Chapter 39 of this Section, then restore the instrument panel as described in Chapter 37.
11. Connect all heater hoses. The return device is located at the bottom on the left side of the car and is connected to the refrigerant return pipe. The supply device (located near the center of the car), on early carbureted models, is connected to an elbow or tee on the back of the cylinder block. On later carbureted models, it is connected to the intake manifold. On fuel-injected models, the feed connection is made by a small metal tube that runs around the left side of the engine from a fitting on the front of the cylinder block (see Section 2 for details).
12. Top up the cooling system as described in Section 2.