


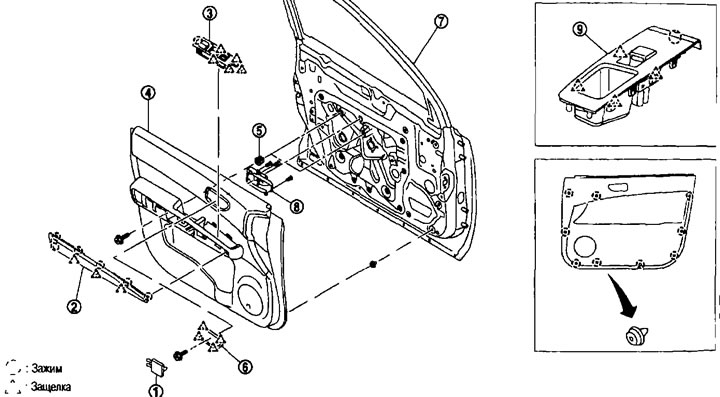
Door finishing. 1. Door trim plug; 2. Armrest trim; 3. Left door window switch trim; 4. Front door trim; 5. Rubber bushing; 6. Inner handle cover; 7. Front door panel; 8. Front door inner handle; 9. Right door window switch trim.
Removal and installation
Removal
1. Fully lower the front door window.
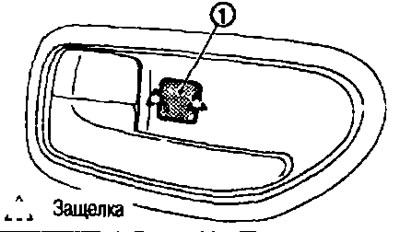
2. Using a puller, remove the door trim plug (1).
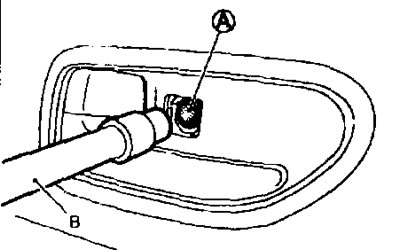
3. Using tool (B), remove bolt (A) located on the back of the door trim plug.
4. Using the puller (A), remove the armrest trim (1).
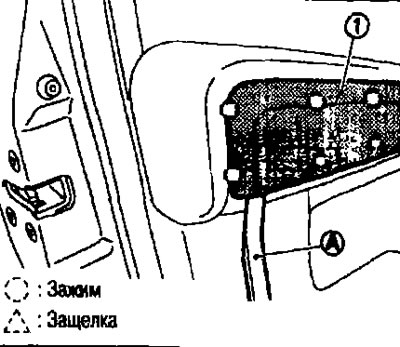
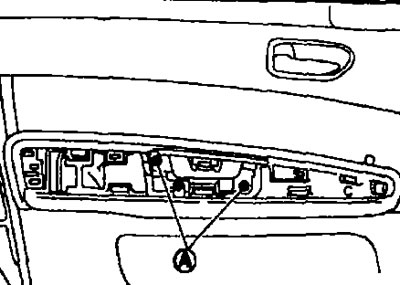
5. Remove the screws (A) shown in the figure.
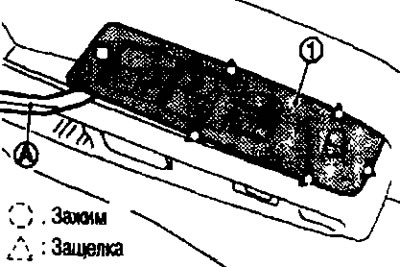
6. Using the puller (A), lift up the window switch trim (1).
(See the source on the portal: www.NISSANBOOK.ru)
7. Disconnect the connector from the window switch and remove the switch trim.
8. Insert the puller (A) between the door trim and the door panel and disengage the door trim retaining clips from the bottom up.
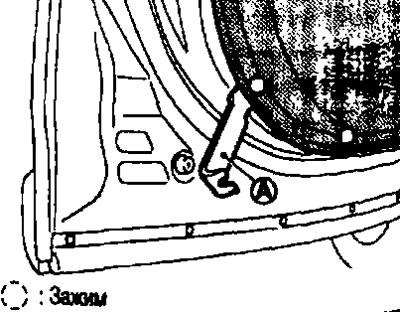
9. Separate the door trim and remove it towards the inside of the passenger compartment.
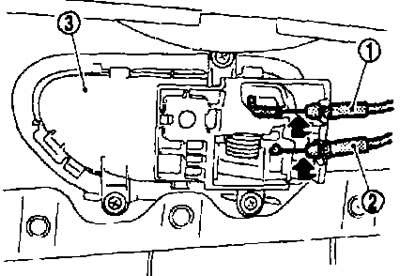
10. Disconnect the lock button cable (1) and the inner handle cable (2) from the inner door handle assembly (3).
11. Remove the front door trim.
12. After removing the door trim, remove the following components:
- internal handle, see below section "Doors and locks";
- inner handle cover.
Installation
Installation is carried out in the reverse order of removal.
Note: When installing the door trim, check that the clips are positioned correctly over the holes in the body side panel, then press them in.