


Check after removal
Checking the length of the protruding part of the rod
1. Using a hand vacuum pump, create a vacuum of -66.7 kPa in the brake booster (-500 mmHg.).
2. Check the length (A) of the protruding part of the rod.
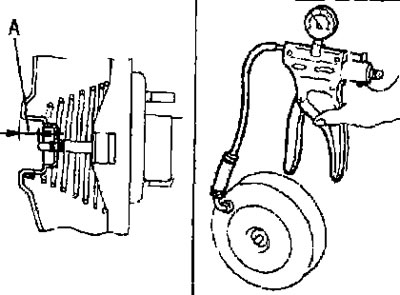
Standard:
Length (A) of the protruding part of the stem: See below section "Technical data and specifications".
Checking the length of the push rod
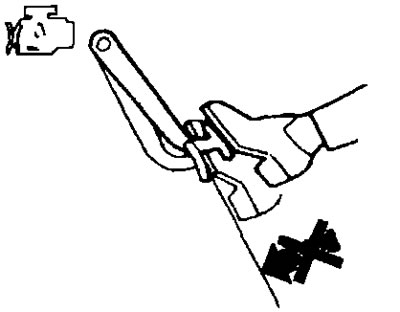
Loosen the lock nut (1) and adjust the length of the push rod (2) to the standard value (B).
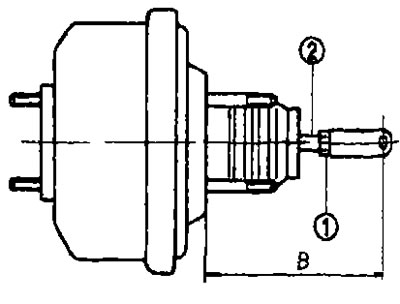
Standard:
Length of push rod (B): See below for details "Technical data and specifications".
2. Tighten the lock nut to the required torque.
Post-installation check
Checking functionality
Press the brake pedal several times at 5-second intervals with the engine off. Then, press the brake pedal all the way down and start the engine. Make sure that the gap between the brake pedal and the floor panel decreases.
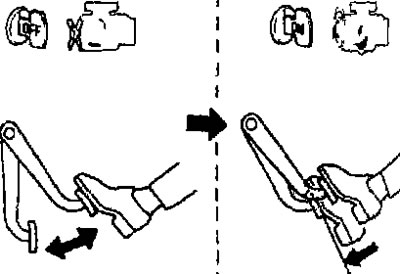
Note: When you press the brake pedal all the way down, you may feel a slight bump with a small click. This is normal and is due to the operation of the brake system.
Checking for leaks
- Start the engine and let it run at idle for about 1 minute, applying vacuum to the booster. Stop the engine. Then press the brake pedal several times at 5-second intervals with normal force and release the existing vacuum. Make sure that when you press the brake pedal, the gap between the brake pedal and the floor panel gradually increases (A → B → C).
- Press the brake pedal with the engine running and turn off the engine with the pedal depressed. Keep the pedal depressed for about 30 seconds and make sure that the pedal travel does not change.
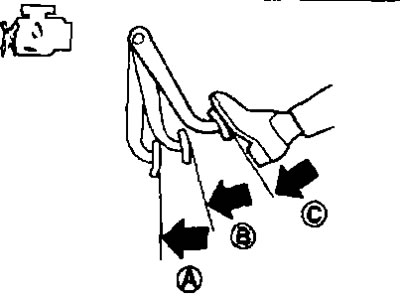
Note: When you press the brake pedal all the way down, you may feel a slight bump with a small click. This is normal and is due to the operation of the brake system.
Adjustment after installation
After installing the brake pedal assembly on the vehicle, adjust it. See above.