


2. Disconnect the negative battery cable.
3. Block the front wheels, then jack up the rear of the car and support it on axle stands.
4. Remove the fuel filler cap, then unscrew the fuel plug (where it is used - photo) and drain the fuel into a sealed container. Install the drain plug.
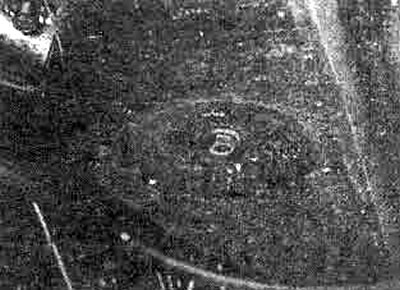
10.4. Early models are equipped with a fuel drain plug from the tank
5. If there is no drain plug, the gasoline must be pumped out of the tank.
6. Loosen the clamps, then disconnect and plug the supply and return hoses (photo).
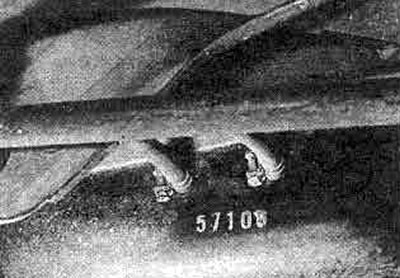
10.6. Fuel tank supply and return hoses
7. Loosen the clamp and disconnect the filler pipe (photo).
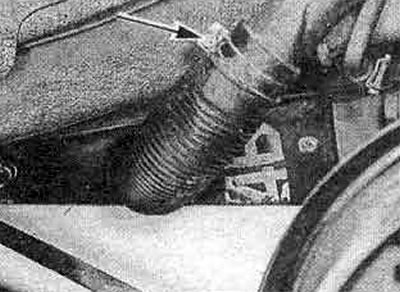
10.7 To release the filler tube from the filler neck, loosen the clamp
8. Remove the fuel level sensor (Chapter 9).
9. Support the fuel tank with a jack and a bar.
10. Unscrew the mounting bolts (photo) and lower the fuel tank, disconnect the breather pipe. Lower the tank to the floor.
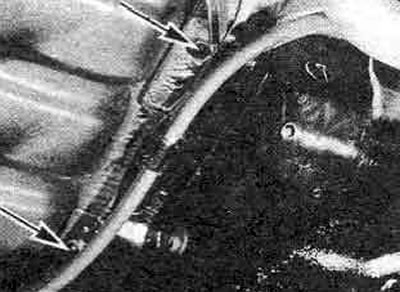
10.10A. Front left fuel tank mounting bolts
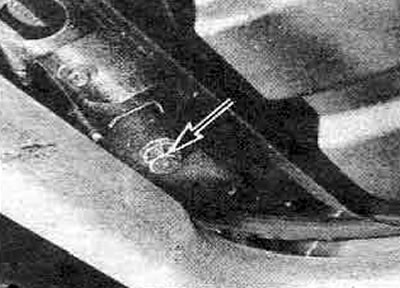
10.10B. Front right fuel tank mounting bolt
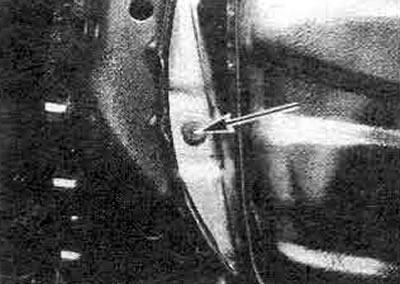
10.10C. Fuel tank rear mounting bolt
11. Note the location of the safety plates, then remove the screws and remove them from the tank.
12. If necessary, the filler neck and pipes can be removed from the body.
13. If there is sediment in the tank, flush it with fuel or clean it with steam. Repairs should be entrusted to a specialist. Do not attempt to solder or weld the fuel tank under any circumstances.
14. Installation is carried out in the reverse order. Make sure that the hoses are connected correctly.