


Pistons with connecting rods - assembly
Pistons and connecting rods are supplied separately and, if the cylinder block has been bored, pistons with rings and pins of the appropriate repair size must be purchased.
Note: The piston pin holes in the pistons are offset and it is important that when connecting the piston to the connecting rod, the "front" mark on the piston head and on the connecting rod are located on the same side.
- The finger must be prepared for assembly in advance.
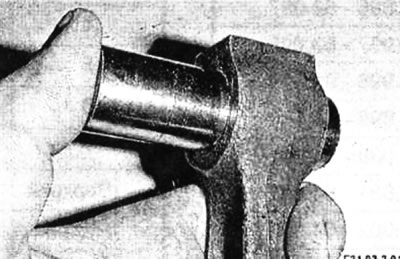
- When checking, the finger should fit tightly into the connecting rod head using the force of the thumb.
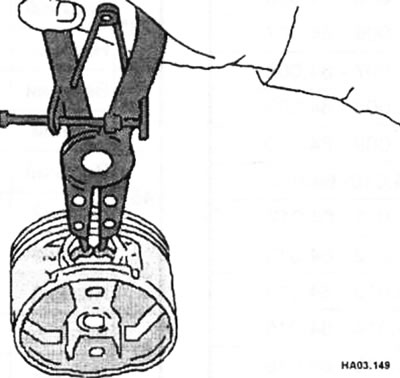
- Install the piston pin retaining ring on one side of the piston.
- Before directly assembling the piston with the connecting rod, place the piston pin and guide sleeve on the holder, securing it with a bolt. The bolt should not be tightened too much to avoid it jamming.
- Heat the piston in an oil bath or with an industrial hair dryer to a temperature of 60-70°C.
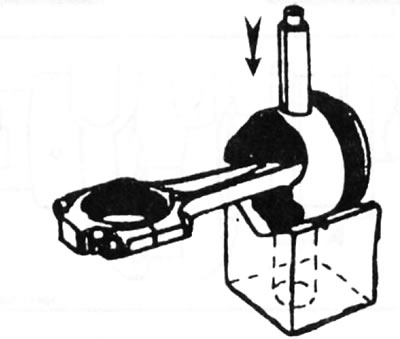
- Install the piston with the connecting rod on the prism of the device.
Caution: The "front" timing marks on the piston and connecting rod must be located on the same side.
- Insert your finger into the desired position using the tool of your choice. After pressing, check the correct installation of the pin, and also lubricate the pin through the holes in the piston bosses.
- Install the second pin retaining ring.
- To check the correct assembly of the piston with the connecting rod, tilt the connecting rod at a slight angle, while the piston head should drop under its own weight.
Typical inspection of the connecting rod and piston assembly
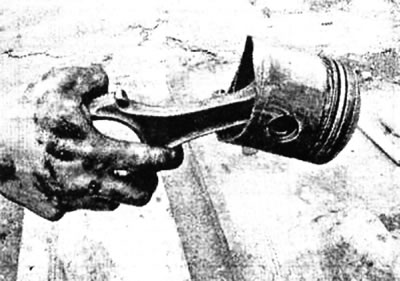
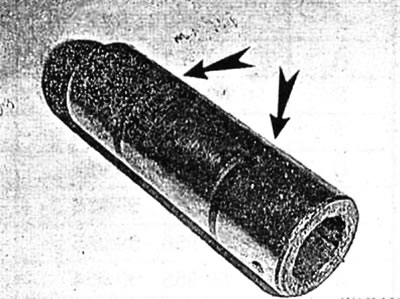
- If you are using old pins, you should check them for wear (arrows).
- Now you can install the piston rings.