


2. Remove the nuts securing the anti-roll bar links to the anti-roll bar and to each lower arm of the front suspension.
3. Unscrew the two clamps (photo), remove the stabilizer, then the gear shifters.
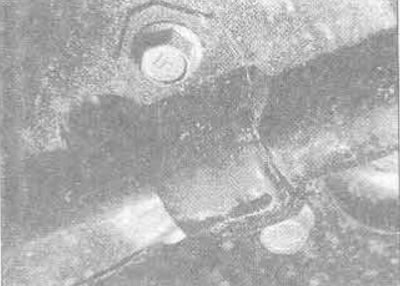
10.3. Front anti-roll bar mounting clamp
4. Check the anti-roll bar, all rubber bushings and replace them if necessary. Check the ball joints of the rocker arm, replace the connection if necessary.
5. When installing, first clean the areas around the mounting points on the lower control arms and the underbody.
6. Install the rocker arms on the lower arms. The ball joint stand protrudes back and the links pass down through the disc washer (concave surface downwards), then install the rubber bushing, lower arm, second rubber bushing and second disc washer (with the concave surface facing up). At this stage, tighten the nut loosely.
7. Manipulate the other end of the anti-roll bar to fit it into the car. Secure it first to both ball joint posts of the linkage, align the rubber bushings, then fit both clamps. Tighten the bolts evenly, but do not fully set the torque at this stage.
8. Using the hexagon of the linkage, rotate each link until it is perpendicular to the anti-roll bar, then moderately tighten both nuts on each link (figure 10.18).
[Original publication on the portal: www.NissanBook.ru]
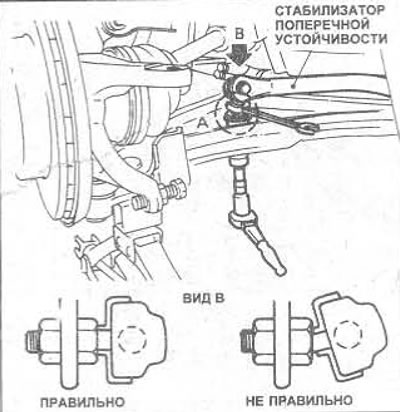
Figure 10.18. Correct installation of the front anti-roll bar links
9. Lower the car to the ground. Once all the weight is on the wheels, bounce the car to settle the suspension components.
10. Tighten the stabilizer bolts evenly to the tightening torque specified in Specifications.
11. On each linkage (photo), fix the links perpendicular to the anti-roll bar, tighten the lock nut of the lower arm and then tighten it with the tightening force specified Specification. Finally, tighten the stabilizer bar lock nut to the specified tightening torque Specification.
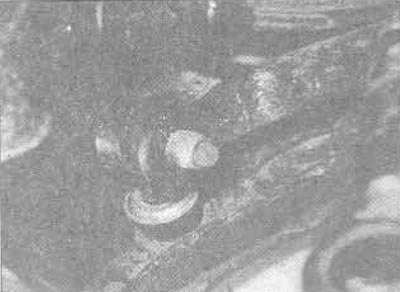
10.11. Fastening the front anti-roll bar linkage to the lower suspension arm