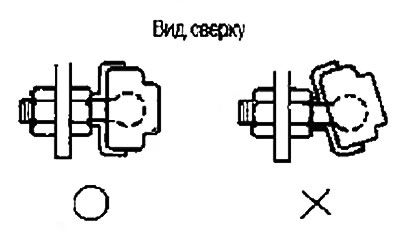
Removal
1. Raise the vehicle and remove the wheels.
2. Unscrew the stabilizer connecting rod fastening nut and remove the connecting rod.
3. Remove the steering rod from the steering knuckle. If the steering rod is difficult to remove, use a ball joint puller (suitable special tool).
Caution: To avoid damaging the threads and the ball joint puller slipping off, tighten the locknuts by hand.
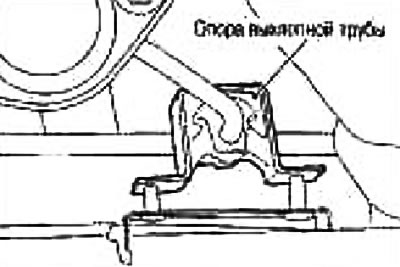
4. Remove the exhaust pipe support (on models with CR engine). See chapter Accelerator, fuel system and exhaust system.
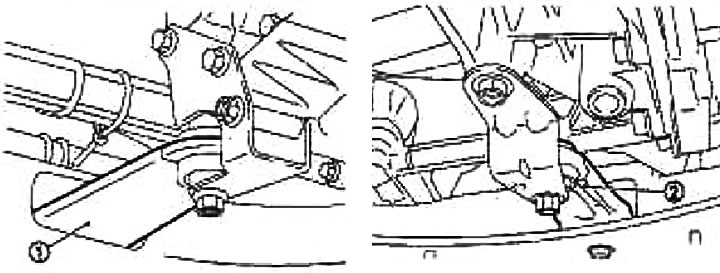
5. Remove the rear torque rod (1) of the gearbox (on models with automatic transmission) or (2) (on models with manual transmission). See chapter Manual transmission and automatic transmission.
6. Remove the bolt at the rear of the suspension beam strut.
7. Place the jack under the suspension beam.
8. Remove the bolts from the suspension beam and suspension beam strut.
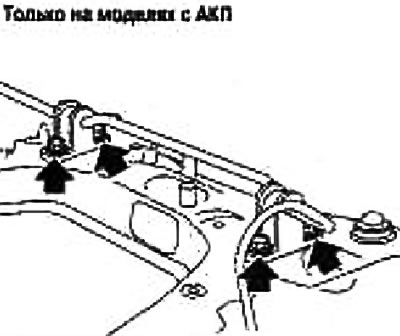
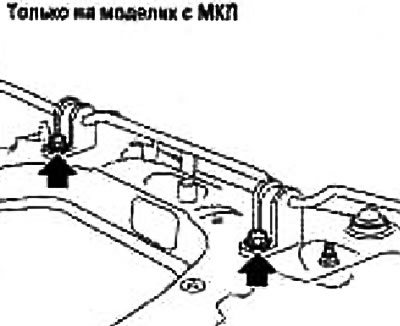
9. Lower the suspension beam to remove the stabilizer mounting bolts. See section "Front suspension beam".
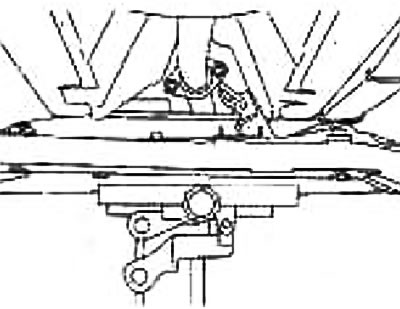
Caution: Don't go too low. (Don't put stress on the levers).
10. Unscrew the stabilizer bolts and remove the brackets and bushings.
11. Remove the stabilizer from the car.
Check after removal
Check the stabilizer, connecting rod, bushings and brackets for deformation, cracks and damage and replace if necessary.
Installation
For tightening torques, see section "Front suspension assembly". Installation is performed in the reverse order of removal.
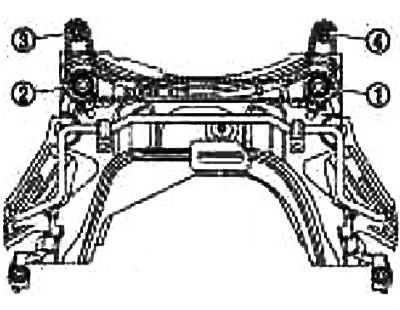
Caution: When installing the suspension beam strut, tighten the bolts in the order indicated by the numbers in the illustration.
Since the stabilizer uses a connecting rod with ball-type liners, install the ball joint with the housing on the ball joint of the liners parallel to the stabilizer.