


Table of contents: Antenna mast ↓ Antenna array ↓
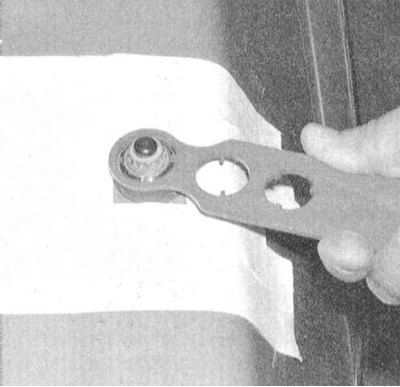
1. Loosen the antenna mast mounting nut. To avoid damaging the paintwork, stick a protective layer of tape onto the body panel surface surrounding the nut.
2. In the luggage compartment, release the plastic fastening clips of the right trim panel to provide access to the antenna drive electric motor.
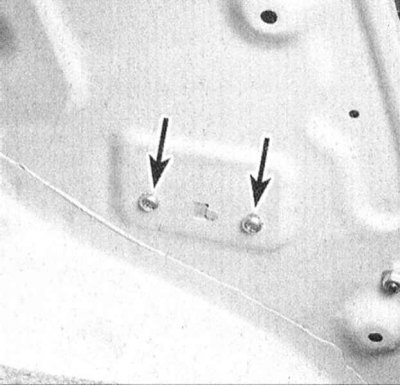
3. Remove the mounting screws, disconnect the wiring and remove the electric motor assembly from the vehicle.
4. Installation is carried out in reverse order.
Antenna mast
Note: An assistant will be required.
1. Loosen the mast mounting nut.
[Data copied from web resource: www.NissanBook.ru]
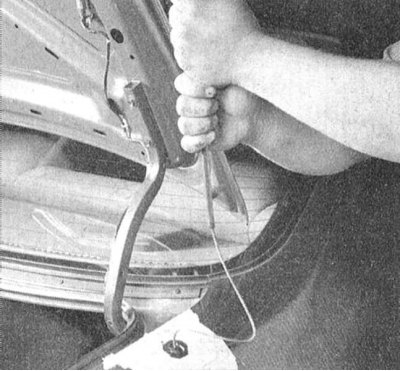
2. While holding the antenna mast, ask the ignition and radio to be turned on; the antenna should disengage from the drive motor by itself.
3. When installing the mast, make sure that the drive cable is facing backwards along the vehicle. Ask an assistant to turn on the ignition and radio - the antenna should retract into the electric motor assembly itself.
4. Further installation is carried out in the reverse order of dismantling the components.
Antenna array
1. On most models, the antenna receiving grille is glued to the rear window of the car in combination with the heater grille.
2. The antenna array is glued to the upper part of the glass. The antenna array is checked for proper condition and repaired in the same way as the heater array (see section Checking the correct operation and repairing the rear window heater).