


Note: Do not attempt to disassemble the valve or adjust it in any way. If the valve is damaged or blocked, it must be replaced.
1. The pressure reducing valve was only installed on early models, which have a single-sleeve master cylinder with two metal hydraulic couplings.
2. The valve is located behind the rear suspension crossmember (photo). It is bolted to the suspension.
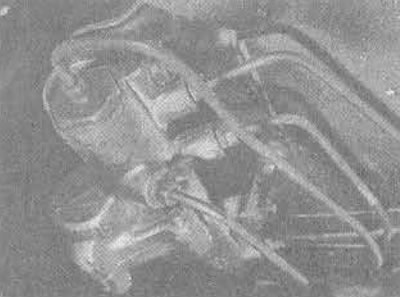
17.2. The pressure reducing valve is installed only on early models
3. If one or both rear wheels lock repeatedly, first check the condition of all four brake assemblies before checking the valve assembly. If the valve is defective, the entire assembly must be replaced.
4. Apply the handbrake, engage 1st or 3rd gear (manual transmission) or "R" (automatic transmission). Block the front wheels, lift the rear of the car.
5. Note the location and direction of all hydraulic pipes connected to the valve, then unscrew the union nuts, disconnect each pipe in turn. Unscrew the valve and remove it.
6. Installation is carried out in reverse order. Tighten the valve mounting bolts (and nuts, if any) tightening torque specified in the Specifications. Lower the vehicle.
7. Perform the full bleeding procedure described earlier, it may take several attempts to remove all the air from the new valve. This is one of the cases where a pressure bleeding kit would be most useful.
8. Check the fluid level in the master cylinder reservoir.
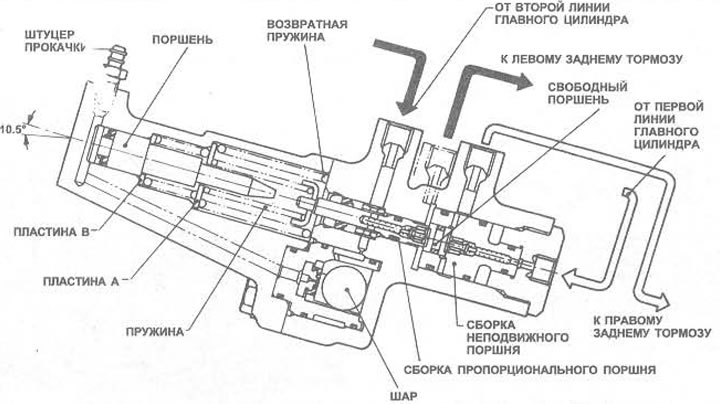
Figure 9.19. Pressure reducing valve - early models only. For reference only - do not attempt to disassemble