


Radiator
1. On turbocharged models, loosen the clamps securing the air intake duct system and exhaust muffler assembly to the air flow meter and turbo generator. Remove the assembly mounting bolt from the front panel, disconnect the breather hose from the valve. Remove the assembly, plug the air flow meter and turbo generator inlet with a rag.
2. On all vehicles, remove the left front engine guard.
3. Drain the coolant from the cooling system by disconnecting the lower hose of the radiator reservoir.
4. Disconnect the upper radiator tank hose and the expansion tank hose. Remove the expansion tank hose from the radiator (photo).
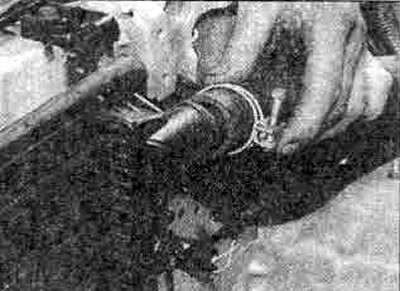
9.4A. Disconnecting the upper hose from the crossflow radiator

9.4B. Disconnecting the expansion tank hose
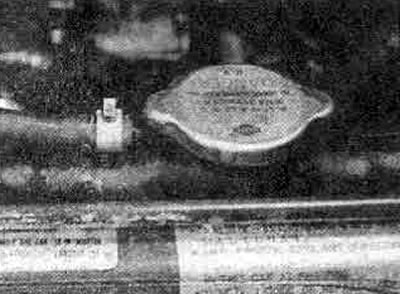
9.4C. Connections of the expansion tank hose to the radiator with vertical flow
5. On vehicles with automatic transmission, loosen the clamps and disconnect the two flexible hoses from the radiator transmission fluid pipes; mark each hose to ensure proper connection during assembly. Cap pipes and hoses.
6. On all vehicles, disconnect the negative battery cable.
7. Disconnect the wiring of the thermal switch and the electric motor of the cooling fan on the radiator (photo).
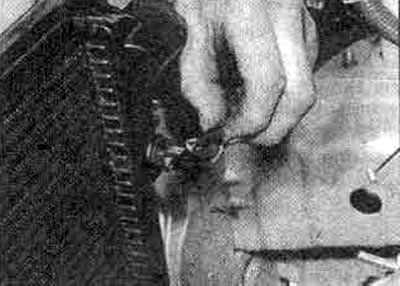
9.7A Disconnecting Thermal Switch Wiring - Cross Flow Radiator Shown
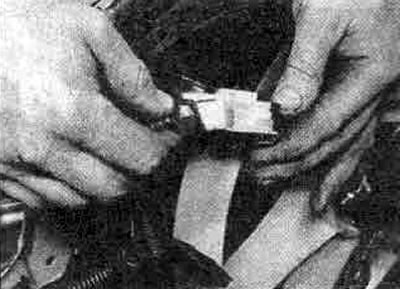
9.7V. Disconnection of electric cooling fan wires
8. The radiator is secured at each corner with a rubber pad. The upper mounts are bolted to the front panel, the lower mounts are secured with a nut (photo). Remove the radiator and cooling fan. On Executive models, the air conditioning condenser will remain in its own mounts in the front panel.
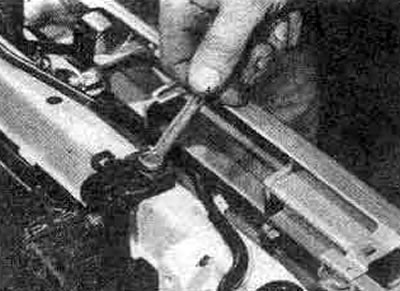
9.8A. Unscrew the upper fastening of the radiator tank...
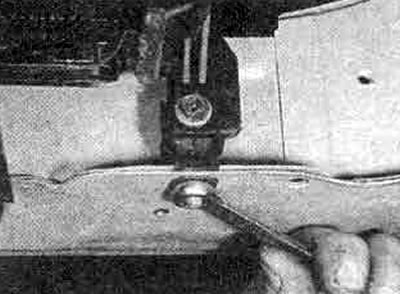
9.8V... and bottom mount
9. Unscrew the screws and nuts securing the radiator to the front body panel and remove the radiator assembly from the engine compartment (photo).
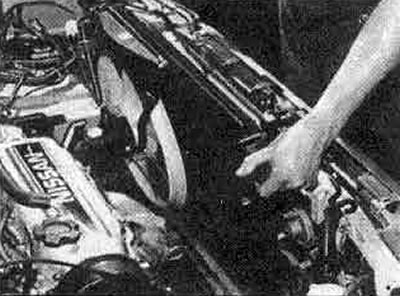
9.9 Removing the Radiator Assembly (cross flow) and cooling fan
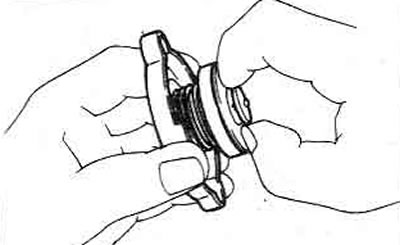
Figure 2.9. Checking the radiator cap valve
10. If required, the cooling fan and shroud can be removed from the radiator (photo).
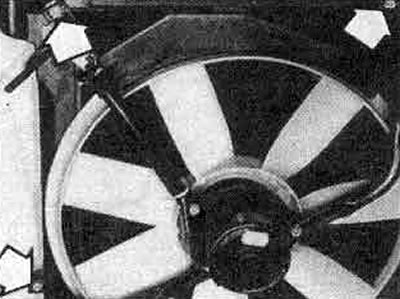
9.10 Remove the mounting bolts (marked with arrows), to separate the radiator from the cooling fan
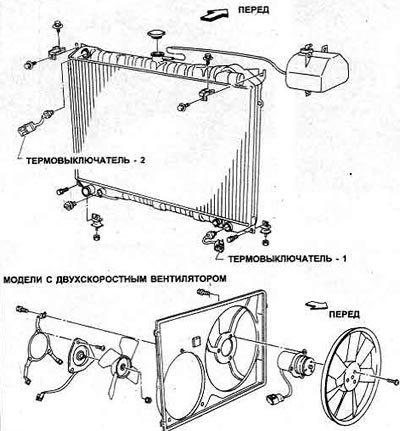
Figure 2.10 Vertical flow radiator and electric cooling fan
11. If the radiator was removed due to a blockage causing overheating, then try back flushing or, in severe cases, use a radiator cleaner strictly according to the manufacturer's instructions.
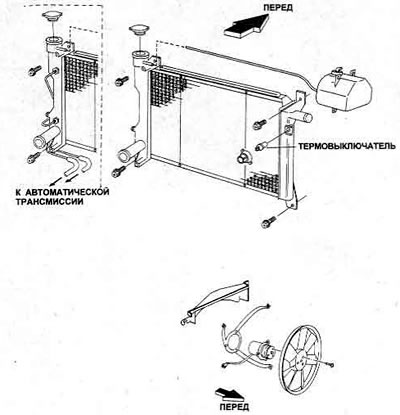
Figure 2.11. Vertical flow radiator and electric cooling fan
12. Use a soft brush or compressed air to clean the radiator of insects and leaves.
13. Minor radiator leaks can be fixed with a special sealant. In case of serious leaks, it is best to contact a specialist.
14. When replacing the radiator, make sure the new one is the same type.
15. Check the condition of the fasteners, replace them if necessary (photo).
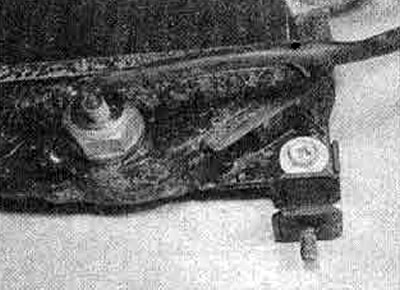
9.15. Lower mount of the radiator tank (with vertical flow) and a thermal switch
16. Installation is carried out in the reverse order. But before tightening the nuts and screws, carefully check the correct installation of the radiator in place (photo).
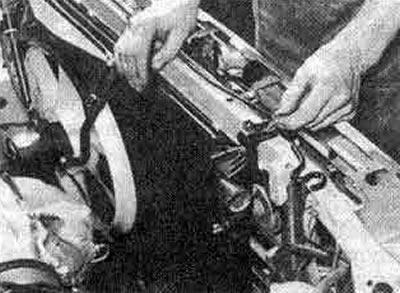
9.16. Before tightening the fasteners, position the radiator correctly
17. Fill the cooling system as described in Chapter 5 of this Section. On vehicles with automatic transmission, top up the transmission fluid level as described in Section 7.
Radiator cap
18. The cap should be cleaned and checked each time it is removed. Check that the sealing surfaces are clean and undamaged and that they fit correctly in place on the radiator. Check the valve to make sure it opens smoothly (figure 2.9); the valve must immediately return to the closed position after being released.
19. The lid can be checked with a lid tightness tester (cooling system tester). When applying pressure, the cover relief valve must be closed until the specified pressure is reached, at which point it must open.
20. If there is any doubt about the correct operation of the cover, it must be replaced.
21. If the cover needs to be replaced, check that the new one is of the correct type and specifications; they are marked on the warning label of the lid (silver on models before July 1988, yellow on later models).
Expansion tank
22. With the engine and radiator cold, remove the radiator cap and disconnect the expansion tank hose from the radiator filler neck (photo).
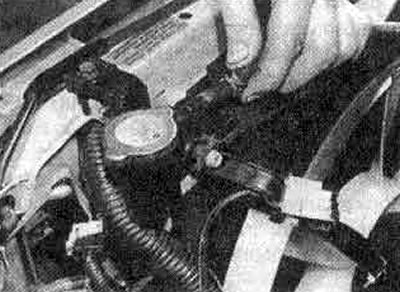
9.22 Loosen the clamp and disconnect the expansion tank hose from the radiator
23. Unscrew the bolt from the tank, remove the tank with the hose.
24. Drain the remaining coolant from the tank, rinse it with fresh water. If the tank leaks, it must be replaced, but before that, try to repair it using a similar material and suitable glue.
25. Install the tank, tighten the mounting bolts.