


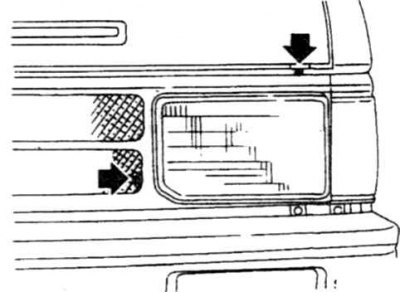
8.1a Low beam adjustment screws
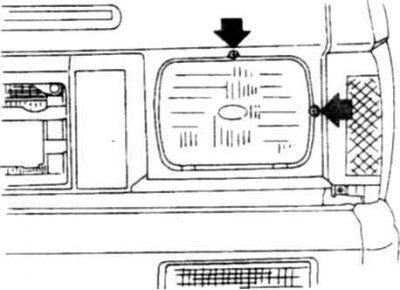
8.1b High beam adjustment screws
2. Place the car on a flat surface opposite the screen (wall) at approximately 9 m.
[The material is taken from a web resource: NissanBook.ru]
3. Measure the distance from the center of the headlight to the floor and draw a line on the screen.
4. Measure the distance from the axis of symmetry of the car to the center of the headlights and mark it on the screen with two vertical lines, thereby obtaining the projections of the centers of the headlights (two crosshairs).
5. Remove the headlight frame. To adjust, first tighten the adjusting screws and, by releasing them, set the beam in the crosshairs on the screen.
6. Turn on the low or high beam headlights and, by turning the adjustment screws horizontally, set the beam on the vertical marks. -Then, by turning the adjustment screws vertically, set the beam on the crosshairs.
7. Rock the car and make sure both bundles return to their original position.