


Removal
1. Cover the tank cap with plastic film to prevent large losses of liquid when disconnecting the hose.
2. Loosen the nut securing the hydraulic tube to the bracket.
3. Remove the spring clip and remove the hose.
4. Disconnect the hydraulic hose from the cylinder.
5. Unscrew the two bolts and remove the cylinder.
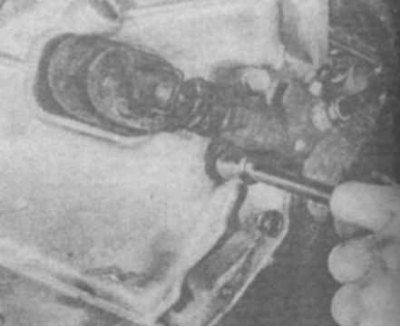
4.5 The slave cylinder is mounted on the clutch housing on the right side
Disassembly
6. Remove the dust cover and take out the plunger. Lightly tap the cylinder on a wooden surface to remove the spring and piston (photo).
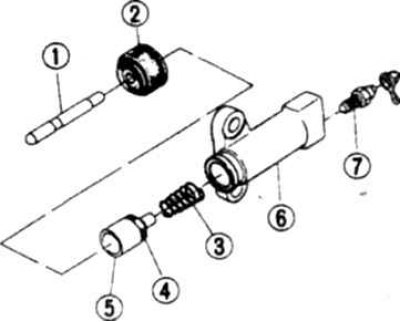
4.6 Clutch slave cylinder parts
1. Pusher; 8. Dust cover; 3. Spring; 4. Piston cuff; 5. Piston; 6. Cylinder; 7. Bleeding nipple
7. Unscrew the bleed nipple.
8. Check the condition of the inner surface of the cylinder. If scoring, scratches or painted areas are found, replace the cylinder.
9. If the cylinder parts are in good condition, flush them with clean brake fluid and replace the seals (available for sale as part of a repair kit). Place the cuff on the piston, making sure it is oriented correctly (photo).
[The text is published on the website: Nissanbook.ru]
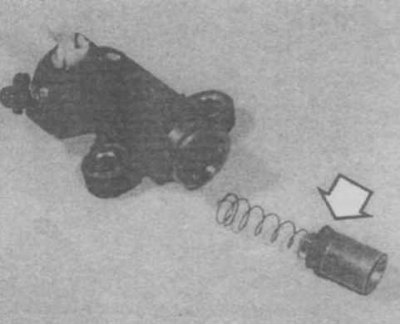
4.9 Correct orientation of piston, cylinder and seal during assembly
10. Before assembly, dip the parts in brake fluid.
11. Assemble the cylinder, installing all parts in the same order.
Installation
12. Install the cylinder in the reverse order. Remove air from the hydraulic drive.