


Table of contents: Removal ↓ Installation ↓
Removal
1. Raise the front of the vehicle and support it on stands.
 |
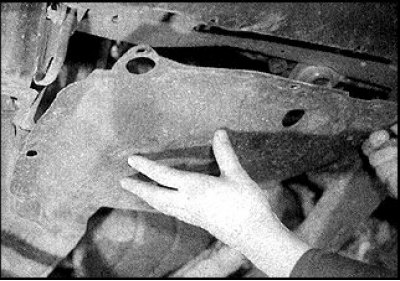 |
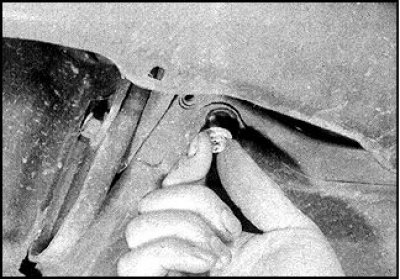
2. Remove the screws (photo on the left) and remove the lower mudguards (photo on the right).
Cars sedan and hatchback
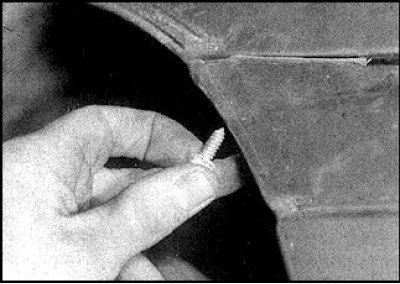
3. Remove the screws in the wheel arches and separate the upper part of the bumper from the body.
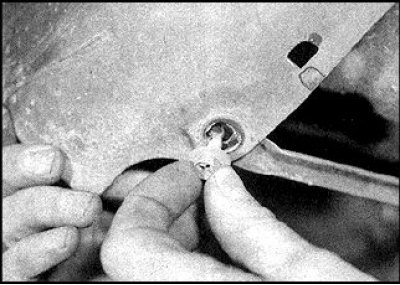
4. Remove the screws and detach the lower part of the bumper from the supports.
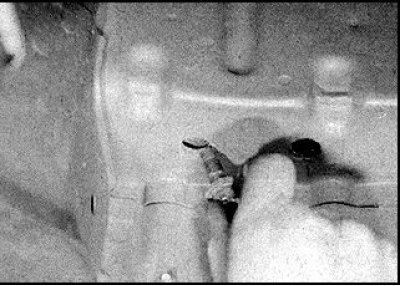
5. Working under the vehicle, unscrew the 4 bolts securing the bumper brackets to the side members.
6. On some vehicles, disconnect the clips that secure the plastic bumper section to the lower front panel of the vehicle.
7. Disconnect the battery from ground, disconnect the fog light connectors (if provided).
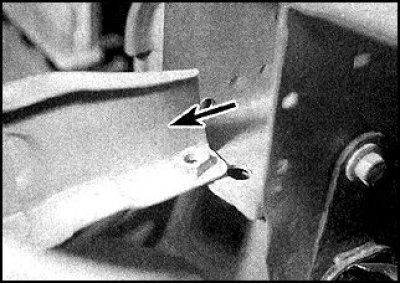
8. Remove the bumper (arrow) by pulling it towards you and remove the brackets.
9. If necessary, detach the plastic bumper cover by removing the latches.
Coupe cars
10. Disengage the latches and remove the fender protection panels on both sides.
11. Disconnect the clips that secure the lower part of the spoiler to the body and brackets.
12. Unscrew the bolts securing the upper part of the spoiler.
13. Disconnect the battery from ground, disconnect the fog light connectors.
14. Carefully remove the spoiler from the bumper.
15. From the wheel arch side, unscrew 5 nuts securing the bumper to the front part of the fenders.
16. Unscrew and remove the bolts from the top of the bumper.
17. Remove the bumper.
18. If necessary, loosen the bolts (working from below under the front of the wing) and remove the bumper frame with the buffer pad.
Installation
The bumper is installed in the reverse order.