


Caution: The vehicle must be raised high enough to access the transmission.
All transmission repair work is performed at the auto service center.
1. Read the fault codes stored in the processor unit memory at a car service center and determine the cause of the transmission fault.
2. To remove the transmission without removing the engine, perform the following operations.
3. Disconnect the battery from ground.
4. Drain the transmission fluid.
5. Raise the vehicle and place it on stands.
6. Remove the driveshaft (Chapter 8) and plug the hole in the transmission.
7. Remove the front exhaust pipe.
8. Disconnect the connector from the locking switch.
9. Disconnect the connector from the electric drive coil; kick-down - modes.
10. Disconnect the vacuum hose from the diaphragm (is located directly in front of the electric drive coil).
11. Disconnect the rod from the selector.
12. At the transmission housing tailpiece, disconnect the speedometer cable.
13. Disconnect the filler pipe and plug the hole in the transmission.
14. At the transmission housing tail, disconnect the cooler hoses.
15. Place a support under the engine sump and prop it up with a block.
16. Remove the cover and mark the relative positions of the drive disk and torque converter.
17. Slowly turning the crankshaft, unscrew the 4 torque converter mounting bolts one by one.
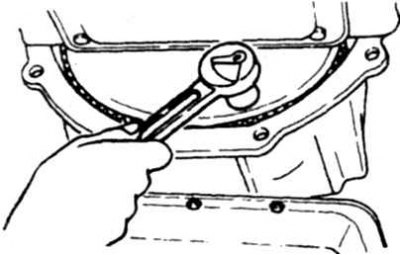
7.17 Loosening the torque converter bolts
18. Remove the starter.
19. Roll a trolley with a stand under the transmission and support the crankcase.
20. Loosen the bolts securing the support bracket to the transmission.
21. Remove the bracket from the body.
22. Loosen the transmission mounting bolts to the engine.
23. Lower both stands so that the transmission can be separated and removed towards the rear of the vehicle. It is recommended that two people remove the transmission.
Have the transmission repaired or replaced.
24. Check the runout of the drive disk (photo).
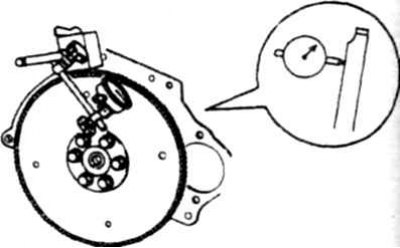
7.24 Checking the runout of the drive disk. If the runout is not within the norm, replace the disk
25. Installation is performed in the reverse order. Align the notch on the torque converter with the protrusion on the transmission fluid pump (photo).
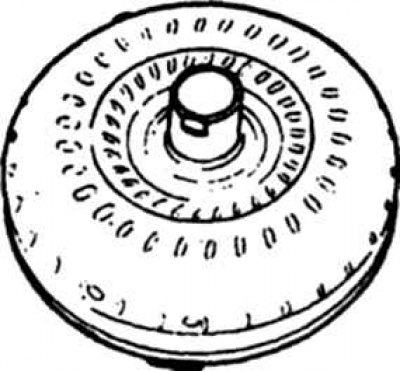
7.25 The notch on the torque converter that must be aligned with the protrusion on the pump
26. Align the marks on the drive disk and torque converter made during disassembly.
27. After installing the torque converter, check dimension A (photo) to ensure that the torque converter is installed correctly.
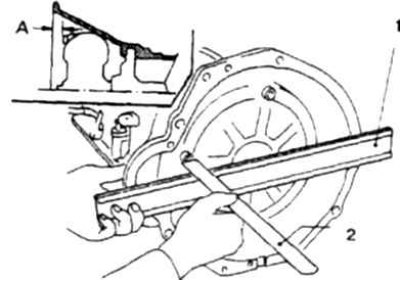
7.27 Checking the installation dimension A of the torque converter
28. Tighten all bolts to the specified torque.
29. Turn the drive disk and make sure that the transmission parts rotate smoothly.
30. Pour in the liquid.
31. Check the operation of all switches and transmission control rod. Adjust if necessary.
(See the source on the portal www.NISSANBOOK.ru)