


Table of contents: Glove box ↓ Lower section of the front panel on…↓ The middle part of the front panel…↓ Steering column pads ↓ Instrument panel cover with…↓
Glove box
1. Unscrew the two screws at the bottom and remove the box.
2. Assembly is carried out in reverse order.
Lower section of the front panel on the driver's side
3. Remove the screws on the top and bottom edges and remove the section from the front panel.
4. Assembly is carried out in reverse order.
The middle part of the front panel with push-button switches
5. Disconnect the battery from ground.
6. Remove the cover from the gearshift lever
7. Loosen the screws on both sides of the panel and carefully slide it forward.
8.Disconnect the switch connectors and remove the panel.
9. If necessary, mark the routes of the harnesses so that during assembly the harnesses can be placed in their original places.
10. Assembly is carried out in reverse order. Make sure that the ventilation nozzles enter the corresponding air ducts.
Steering column pads
11. Disconnect the battery from ground.
 |
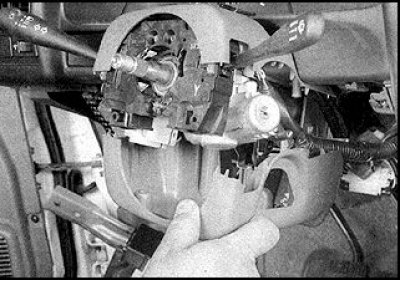 |
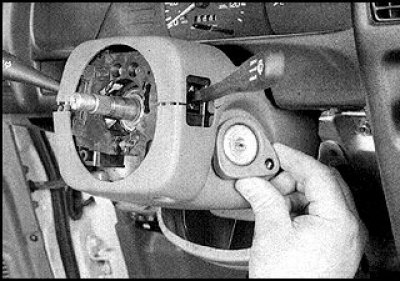
12. Unscrew the 6 screws from below, detach the lower trim from the ignition switch (photo on the left) and move it down, disconnecting it from the latches of the upper trim (photo on the right).
13. Move both levers to the lowest position and carefully remove the top cover.
14. Assembly is carried out in reverse order.
Instrument panel cover with ventilation nozzle
15. Remove the steering column covers.
16. Loosen the two top bolts and tilt the column slightly.
 |
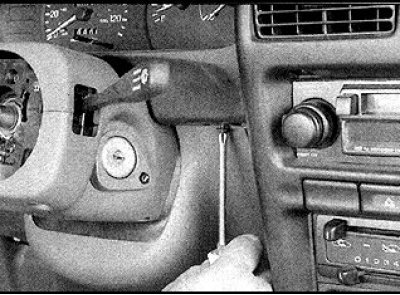 |
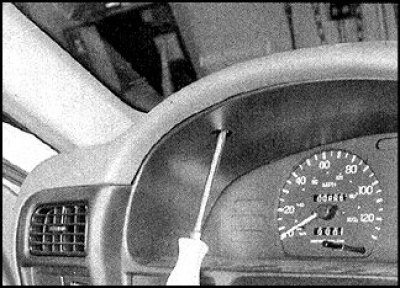
17. Remove the screws of the decorative cover of the instrument panel (two on the left, two on the right and one at the bottom (photo on the right) and one at the top (photo on the left)).
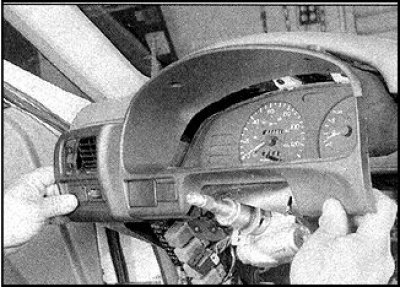
18. Carefully remove the casing from the front panel. If necessary, move the speaker downwards to expand the space.
19. Assembly is performed in reverse order. Tighten the upper column bolts to the specified torque.