Wishbones
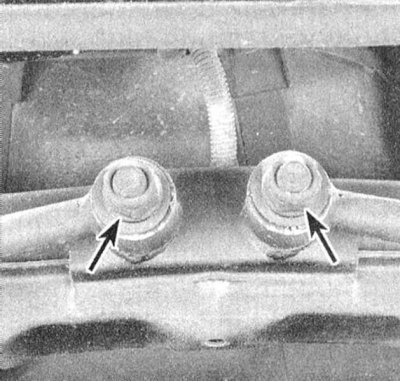
1. Give nuts of axial bolts of fastening of the internal ends of cross-section levers.
2. Give nuts/bolts of fastening of the external ends of cross-section levers to assemblage of a rotary fist.
3. Remove levers.
4. Installation is carried out in the reverse order. Make sure all fasteners are tightened to the correct torque.
Note. The final tightening of fasteners is done after the components are brought to normal working height - support the suspension with a jack. The jack head must be driven under the trailing arm bracket!
5. Drive the car to a workshop to check and adjust the suspension geometry.
Trailing arms
1. Give a nut of an axial bolt of fastening of the forward end of the trailing arm. Remove the bolt.
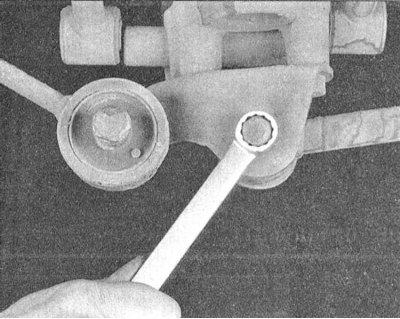
2. Loosen the bolt pair securing the rear end of the arm to the support bracket.
3. Remove the trailing arm assembly.
4. Installation is carried out in the reverse order. Before finally tightening the fasteners to the required torque, jack up the hub assembly to bring the suspension elements to normal working height.
Attention! The jack must be driven under the trailing arm mounting bracket!
All levers
Reinstall the wheels, lower the vehicle to the ground and tighten the wheel nuts to the required torque (see chapter Settings and ongoing maintenance).