


Table of contents: Removal ↓ Installation ↓
Removal
1. Disconnect the battery from ground.
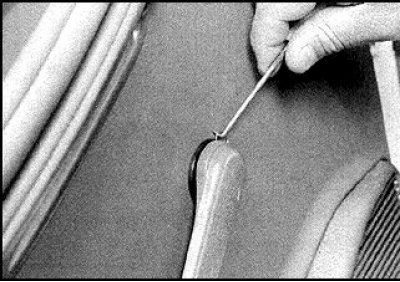
2. On vehicles with manual windows, use a thin tool to pry the handle off the latches. Remove the trim.
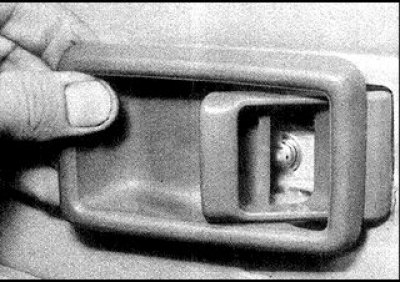
3. Carefully pry up and remove the inner handle cover of the lock.
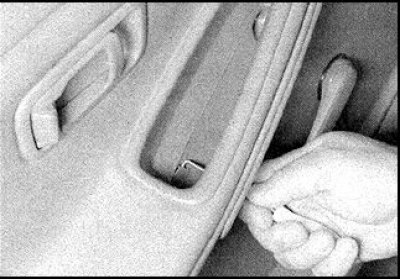
4. Remove the plugs and unscrew the decorative handle screws, pry and remove the handle.
5. To access the screw, remove the window switch (or shield) from the armrest and unscrew the screw.
6. Unscrew the remaining screws along the panel outline (some of which are located under the plugs).
7. On coupe vehicles, remove the mounting screws on the window switch.
(Information obtained from the website NISSANBOOK.ru)
8. Disconnect the spring clips along the panel outline, lift the panel up and remove it from the bracket.
9. Move the panel towards you and disconnect the connectors of the electric window lifter and central lock. The lower window opening seal is made integral with the panel and should be removed together with it.
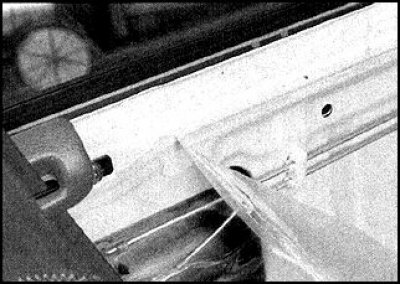
10. If necessary, remove the waterproof plastic screen by prying it up in the corner and carefully peeling it off. Try to preserve the screen sealant.
Installation
11. The panel is installed in the reverse order. Glue the screen along the entire contour of the door. The lower window seal should fit into the door frame.