


2. On Turbo and 2.0L fuel injection models, reduce the fuel system pressure (Section 3).
3. Disconnect the battery, remove it, unscrew the battery tray bolt. Disconnect the positive (+) clamp wiring connectors (photo).
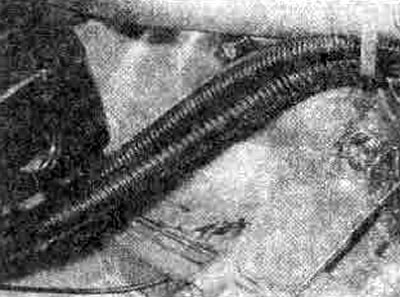
12.3A Wiring harness runs above the clutch housing...
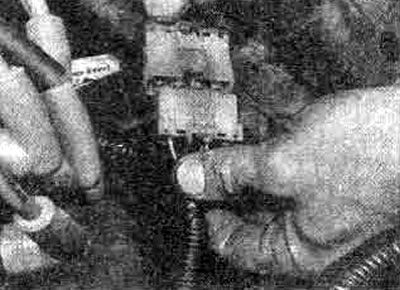
12.3V... to the connector behind the battery
4. If the engine is to be removed, drain the oil and remove the oil filter (Chapter 2).
5. Drain the transmission oil (Section 6).
6. Remove the lower engine protection and fender liners.
7. On carburetor models, remove the air cleaner, flexible intake duct and warm air intake hose (Section 3).
8. On Turbo models, remove the air filter, air flow meter and air intake (Section 3).
9. On models with a 2.0L fuel injection system, disconnect the electrical wiring from the ignition system components, remove the air cleaner, air flow meter and air intake (Section 3).
10. On all models, disconnect the accelerator cable (Section 3).
11. Mark the position and disconnect the fuel supply and return pipes (Section 3).
12. Disconnect the generator wiring (Section 12) and unscrew the bolt of the electrical wiring clamps from the engine mount.
13. Disconnect, where available, the vacuum booster hose, economizer hose, sensor hose from the inlet manifold connections (Section 3).
14. On carburetor models, disconnect the distributor wiring and the high-voltage cable from the ignition coil (Section 4) and carburetor wiring (Section 3) (photo).
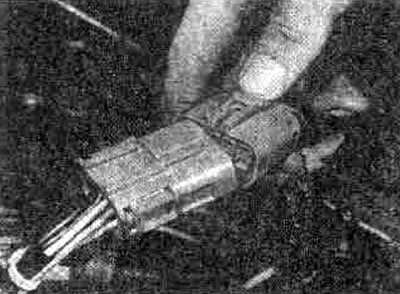
12.14 Disconnecting the carburetor wiring
15. On Turbo and 2.0L fuel injection models, disconnect the electrical wiring from the ignition distributor/crankshaft angle sensor (Section 4) and all components of the fuel injection system (Section 3).
16. On all models, remove the bolt and disconnect the ground wire from the cylinder head, then disconnect the distributor and crankshaft angle sensor and transmission.
17. Disconnect the electrical wiring from the transmission (Section 6).
18. Disconnect the speedometer drive cable.
19. On 1.6 liter models, disconnect the clutch cable from the transmission (Section 5).
20. On 1.8 and 2.0 liter models, place a block under the clutch pedal so that it cannot be accidentally pressed, unscrew the slave cylinder sleeve (and head shield, on Turbo models) from the front of the clutch housing. Remove the spring clip to release the hydraulic pipe and/or flexible hose from the transmission mount, unbolt the mount from the inner fender group and secure the assembly.
21. Where fitted, remove the drive belt from the power steering pump (Section 2), loosen the pump pivot bolt and the regulator lock bolt. Remove the pump and attach it to the body. Clean the engine (photo).
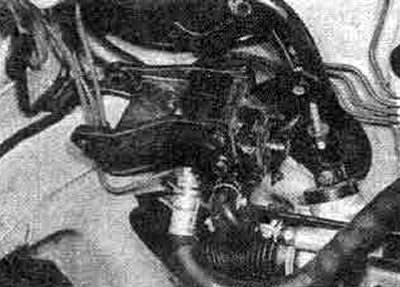
12.21 Power steering pump disconnected from engine
22. Working as described in Section 2, drain the coolant, disconnect the upper and lower hoses from the radiator, remove the radiator (with electric cooling fan) and disconnect the heater hoses from the engine/transmission assembly.
23. On Executive models, remove the drive belt from the air conditioning compressor pulley (Section 2), unscrew the compressor from the suspension, attach it to the front panel of the body.
24. Block the rear wheels, lift the front of the car with a jack, and secure it on axle stands.
25. Remove both drive shafts (Section 8) or follow the shortened procedure given in Section 6, Chapter 7, paragraph 10.
26. Unscrew the nuts securing the front exhaust distribution section to the exhaust manifold or turbo generator, if available, unscrew the bolt securing the exhaust pipe to the clutch housing, and lower the distribution pipe down as far as possible.
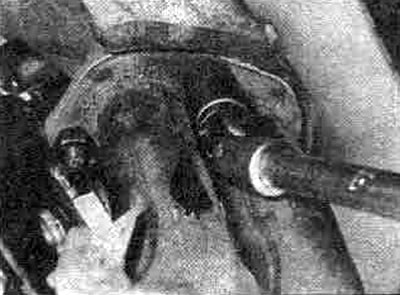
12.26 Unscrewing the exhaust pipe nuts
27. Disconnect the gear shift lever from the transmission (Section 6).
28. Disconnect the electrical wiring from the starter and oil pressure sensor (photo).
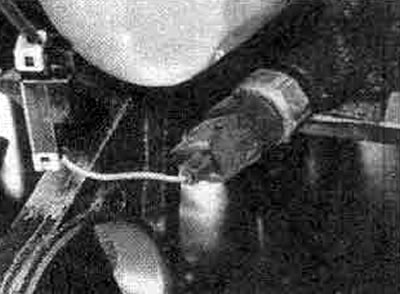
12.28 Oil pressure sensor wiring
29. Check the disconnection of all components that were attached to the engine/transmission assembly.
30. Raise the engine with a winch.
31. Unscrew the bolts from the four fasteners (photo). Unscrew the left fastener together with the transmission cover.
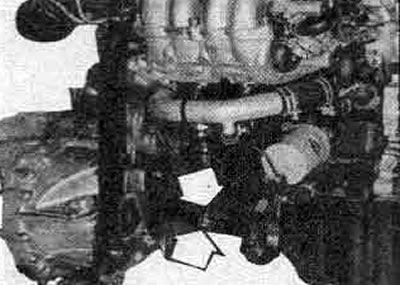
12.31 Rear mount nut and pin (marked with arrows) - also see photo 10.1 d
32. Winch the engine/transmission assembly upwards from the engine compartment (photo).
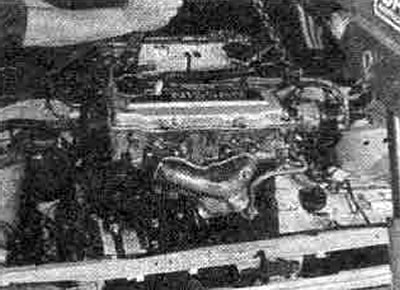
12.32 Lifting the engine/transmission assembly from the engine compartment
33. Unscrew and remove the starter (Section 12).
34. Loosen and remove the nuts and bolts connecting the transmission to the engine, having noted the location of the engine/transmission assemblies (Section 6, Chapter 7).
35. Disconnect the transmission from the engine (photo).
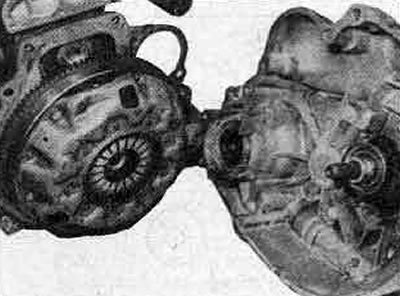
12.35 Separating the transmission from the engine