


Table of contents: Removal ↓ Installation ↓
On cars without a neutralizer, the exhaust system consists of 3 sections - a receiving pipe, an intermediate section with a resonator and an end section with a muffler.
On cars with a neutralizer, the exhaust system consists of 4 sections - the same 3 sections and the neutralizer section.
The entire length of the exhaust pipes is suspended on rubber supports, and the pipes are connected with flanges.
Removal
Each section can be dismantled independently of the others. It is also possible to remove the entire system at once.
1. Raise the vehicle and place it on stands (or drive into a hole or overpass).
Intake pipe
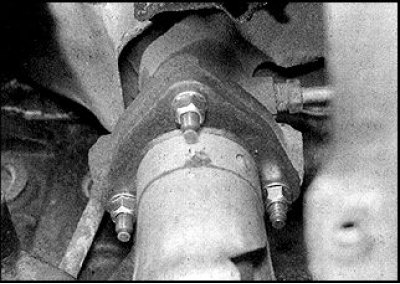
2. Loosen the nuts securing the inlet pipe to the manifold.
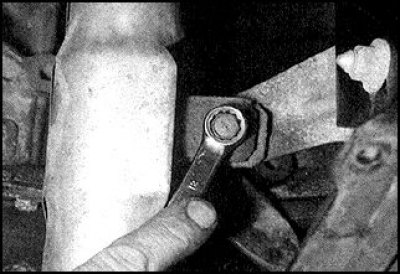
3. Unscrew the bolt securing the pipe to the bracket.
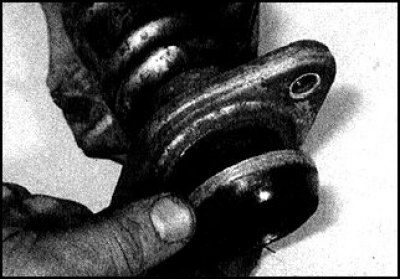
4. Disconnect the pipe from the manifold, remove the gasket.
5. Disassemble the flange connection and remove the pipe and gasket.
Neutralizer (on car parts)
6. Unscrew the two nuts and two bolts securing the pipe to the neutralizer.
7. Unscrew the two bolts securing the intermediate pipe to the neutralizer.
8. Remove the neutralizer and gaskets.
Intermediate pipe
9. On vehicles with a neutralizer, unscrew the two bolts securing the intermediate pipe and remove the gasket.
10. On cars without a neutralizer, unscrew the two nuts and two mounting bolts, remove the springs and disconnect the intermediate pipe from the inlet pipe. Remove the gasket.
11. On all vehicles, remove the rubber cushion bolt at the rear of the intermediate pipe.
12. Loosen the bolts securing the intermediate pipe to the muffler end pipe.
13. Remove the intermediate pipe and gasket.
Muffler end section
14. Unscrew the two bolts securing it to the intermediate pipe.
15. Unhook the guy wires and remove the section.
The whole system
16. Unscrew the nuts securing the inlet pipe to the manifold and the bolt securing it to the bracket, disconnect the pipe from the manifold, and remove the gasket.
17. Working with an assistant, disconnect the system from the rubber mounts and remove it from the vehicle.
Heat shields
18. The shields are installed on vehicle parts and secured with nuts, bolts and brackets.
Installation
1. Installation is carried out in reverse order.
2. Before assembly, replace gaskets and clean the separating surfaces.
3. Check the condition of the cushions, replace if necessary.
4. Make sure there is sufficient clearance between the pipes and the bottom.