


2. Relieve the pressure in the fuel system (Chapter 29).
3. Disconnect the negative battery cable.
4. Remove the rear seat base and pads (Section 11).
5. Unscrew the four screws and remove the protective cover, being careful not to damage the wiring (photo).
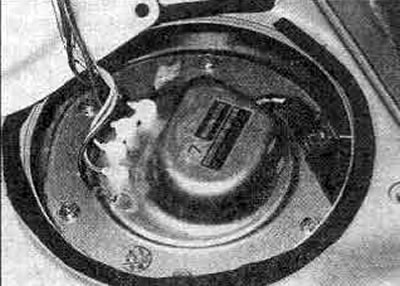
34.5 Remove the protective cover to access the fuel pump/fuel level sensor
6. Disconnect the wiring harness (photo).
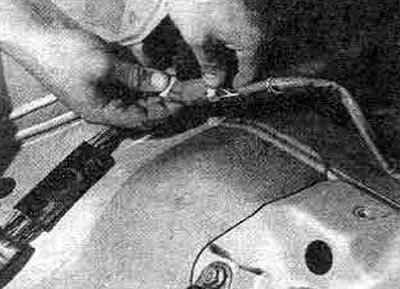
34.6. Disconnecting the wiring from the fuel pump/fuel level sensor
7. Disconnect the fuel supply hose from the top of the pump and plug it.
8. Loosen the mounting screws and carefully remove the unit, being careful not to damage it.
9. Installation is carried out in the reverse order. Use a new O-ring.
10. The fuel level sensor can be checked as described in Chapter 9.
11. The fuel pump should only be tested with the fuel pump submerged in the tank and the connecting hose securely fastened. Connect 12 volts to the pump wires (figure 3.43); if the pump does not work, it is faulty and must be replaced.
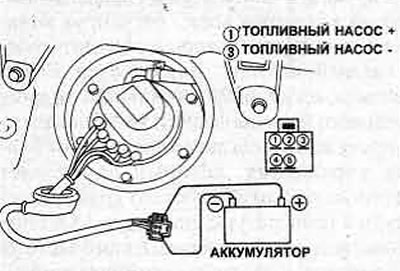
Figure 3.43. Checking the electric fuel pump
12. Note that on some models the fuel pump circuit is equipped with a relay located in the relay holder in the engine compartment (Section 12), it works as follows. The relay stops the engine (as a result of generator failure and low oil pressure), the fuel pump stops working.