Attention! See the warnings at the beginning of the Section Depressurizing the supply system.
Removing
1. Relieve the pressure in the supply system (see Section Depressurizing the supply system) and remove the cap from the fuel filler neck.
2. Remove the back seat (see chapter Body).
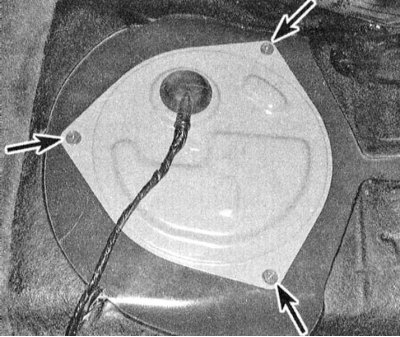
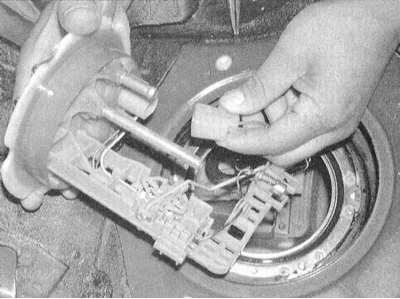
3. Remove the fuel pump/fuel flow sensor assembly access cover. Disconnect the wiring from the assembly and take the harness to the side.
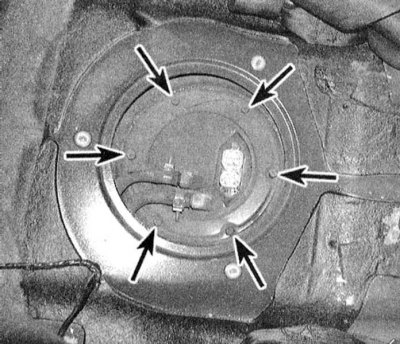
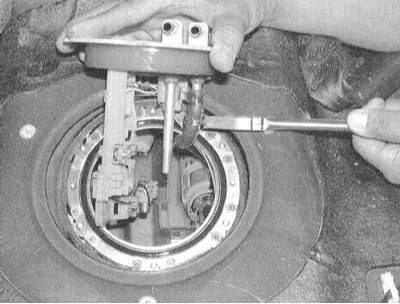
4. Disconnect from assembly of a line of giving and return of fuel, turn out fixing screws. On models since 1995, no. give the snap ring.
Models 1993 and 1994 issue
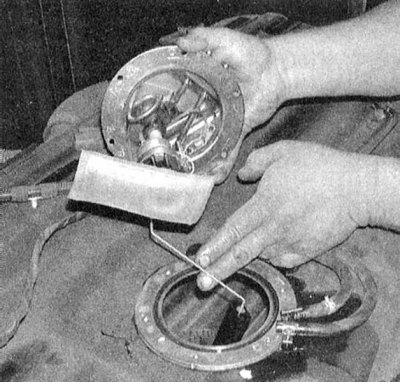
1. Carefully remove the fuel pump assembly with the fuel flow sensor from the fuel tank.
Attention! Be careful not to damage the float or bend its arm.
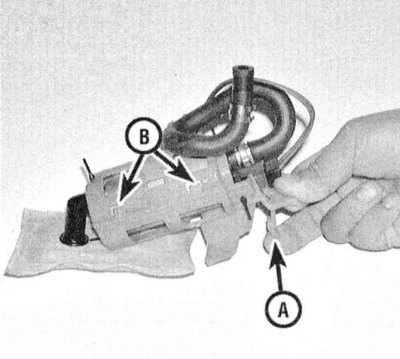
2. Gently prying, remove the fuel pump fuel intake strainer.
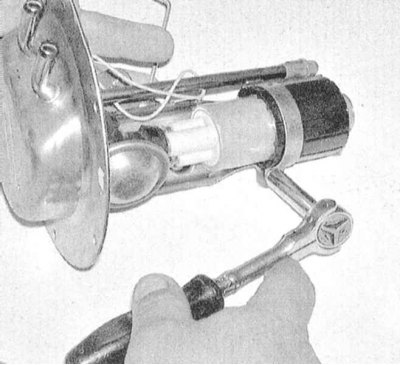
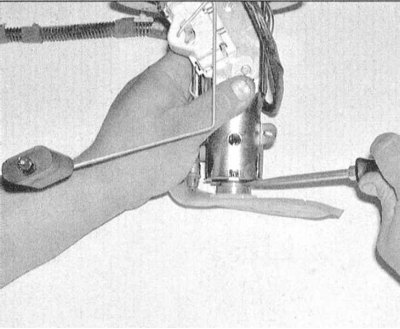
3. Release a coupling bolt of a fixing collar of assembly.
4. Release the lower fuel hose clamp, disconnect the electrical wiring and release the pump from the assembly carrier bracket.
Models since 1995 vol.
1. Carefully release the fuel flow sensor assembly from the fuel tank by lifting it as high as possible.
2. Slide down the mounting collar and disconnect the hose from the fitting on the underside of the cover.
3. Disconnect from a cover electroconducting of the fuel pump.
4. Move the fuel flow sensor assembly with cover to the side.
Attention! Be careful not to damage the float or bend its arm.
5. Putting your hand inside the fuel tank through the access hole, release the fuel pump housing fastener and remove the fuel pump assembly from the tank.
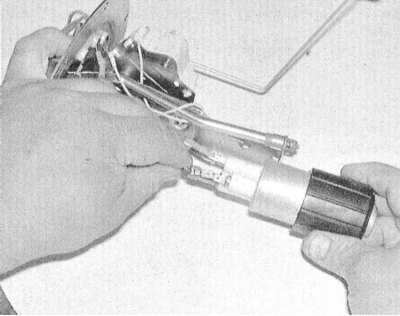
6. Carefully pry off the fuel intake strainer from the pump. Check the filter for signs of contamination and obstruction. Disconnect the hose from the pump outlet.
7. Squeeze out the locking tabs and split the casing of the pump assembly into two halves. Remove the pump from the casing.
Installation
1. Assembly is carried out in the reverse order to the dismantling of components.
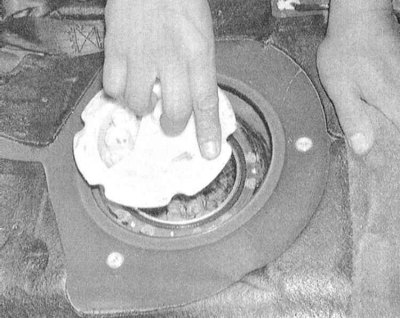
2. Do not forget to clean the mating surface of the mounting flange of the assembly and the groove for installing the sealing ring on the gas tank.
3. After replacing the O-ring, fill the assembly into the tank.
4. Follow the order of connecting the fuel lines and their orientation relative to the assembly and tank. Tighten the fixing screws firmly.
5. Restore the original wiring, reinstall the assembly access cover and rear seat.