Warning! Remember that the dust produced during the wear of the friction linings of the clutch disc may contain asbestos, which is harmful to health. Do not blow off dust with compressed air and try not to inhale it. Do not use petroleum-based solvents to clean clutch components, use only special brake cleaners or pure methanol. Place used rags in a sealed container before disposal.
Removing
1. Disconnect the negative cable from the battery.
Attention! If the stereo system installed in the car is equipped with a security code, before disconnecting the battery, make sure that you have the correct combination to activate the audio system!
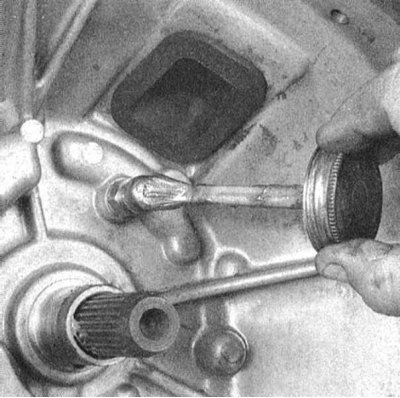
2. Remove the gearbox (see Removal and installation of manual transmission).
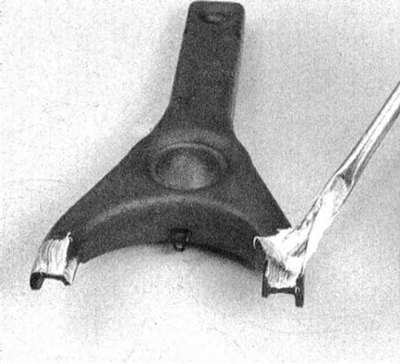
3. Remove the clutch release lever from the ball stud, then remove the release bearing from the lever.
Examination
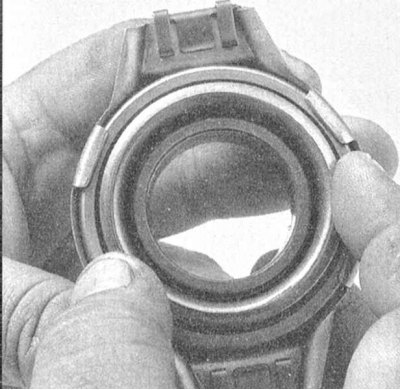
Holding the bearing by the outer race, press the inner race with two fingers and rotate it. The bearing must rotate freely and silently, otherwise it must be replaced. Wipe the bearing with a clean rag and inspect for signs of wear, cracks or other mechanical damage. The release bearing is usually replaced every time the clutch components are serviced. Under no circumstances should the bearing be washed in solvent in order to prevent leakage of its assembly. Check the clutch release lever for cracks and signs of deformation.
Installation
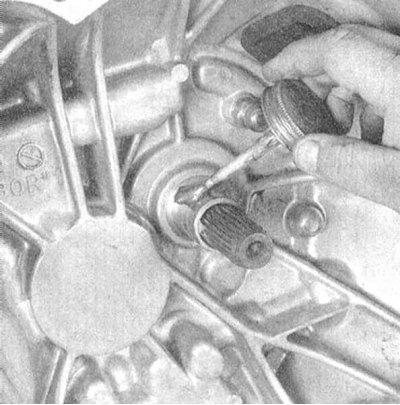
1. Lubricate the surface of the bearing holder with refractory grease.
2. With the same grease, lubricate the seat for the ball pin on the reverse side of the release lever assembly, as well as the seat for the pusher of the slave cylinder.
 |  |
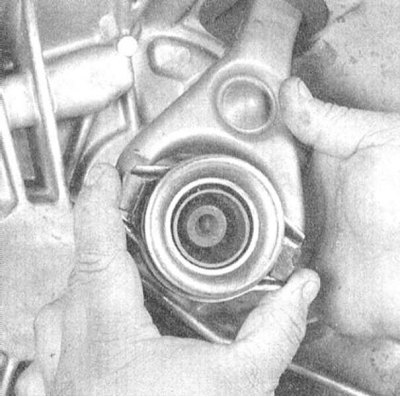
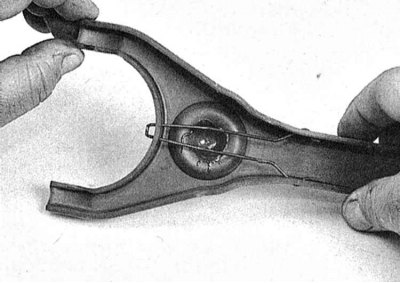
3. Fit the spherical bearing retaining spring and release bearing into the clutch release lever assembly.
 | 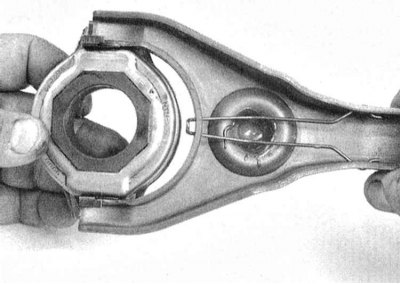 |
4. Place the release bearing on the transmission input shaft front bearing holder while passing the end of the release lever through the hole in the clutch housing. Firmly seat the release fork on the ball pin of the spherical bearing.
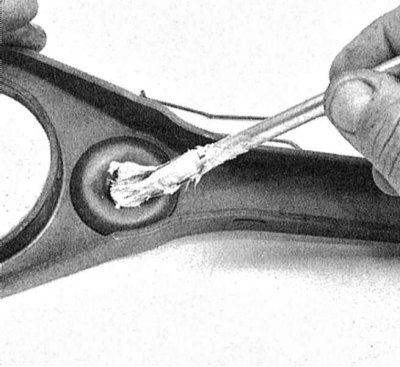
5. Lightly lubricate the contact surface of the release bearing with refractory grease in contact with the petals of the diaphragm spring.
6. Further installation is carried out in the reverse order to the dismantling of the components.