


2. Unscrew the rod nut (or stretch marks) and remove the washer and bushings (photo).
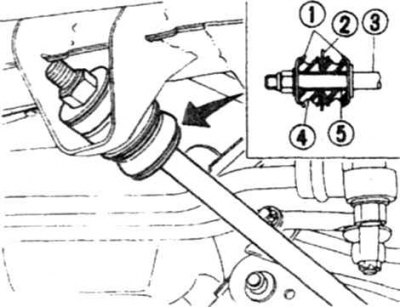
6.2a Stretch mount details on rear wheel drive vehicles
1. Thrust washers; 2. Frame; 3. Stretching; 4. Bushing; 5. Bead
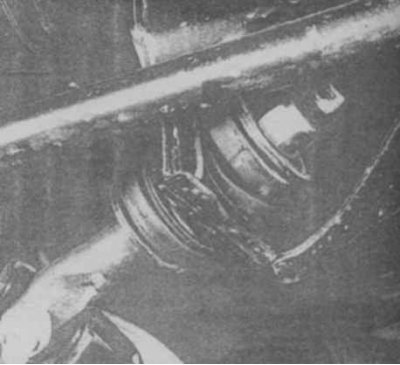
6.2b Fastening the bar on all-wheel drive vehicles
3. Unscrew the nuts of the bolts securing the rod to the lower arm (photo).
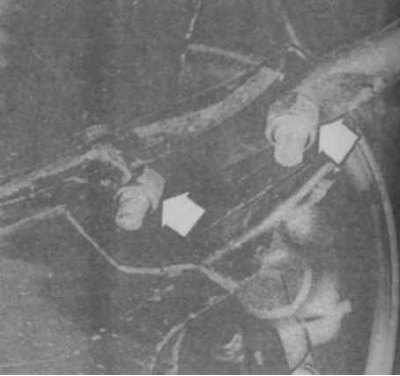
6.3 Two bolts securing the rod to the lower arm
4. Remove the barbell
5. If both rods are removed, mark them so that they can be installed in their original places.
6. Installation is performed in reverse order, make sure the parts are installed correctly (photo). Bolts and nuts should be finally tightened after the car has been lowered onto its wheels.
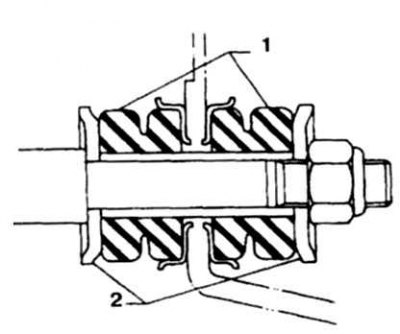
6.6 Correct installation of rod mounting parts during assembly. Washers should be facing outwards with the concave part
1. Bushings; 2. Washers