


2. Mark the relative positions of the flanges of the front and rear sections of the propeller shaft (photo).
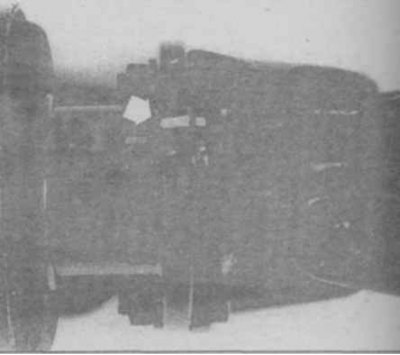
12.2 Designation of the relative position of the shaft section flanges
3. Fix the cardan shaft and unscrew the bolts of the flanges of the front and rear sections (photo).
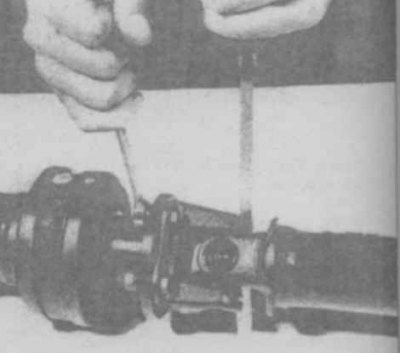
12.3 Secure the propeller shaft and unscrew the bolts of the front and rear section flanges
4. Mark the position of the flange relative to the groove on the threaded part of the shaft.
5. Unscrew the cardan joint flange nut, for which straighten the punched part of the nut crown (photo), screw bolts into the flange and fix the shaft section from turning (photo).
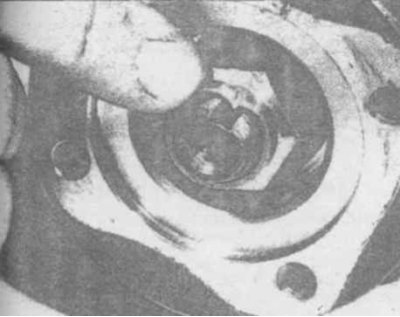
12.5a The flange nut is locked by pressing the crown into the groove of the threaded part of the shaft
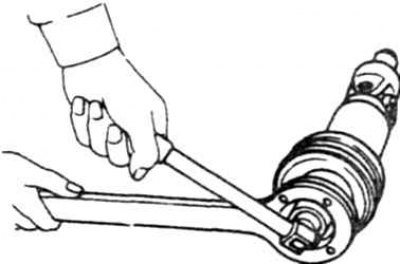
12.5b Unscrewing the flange nut
6. Remove the flange (photo).
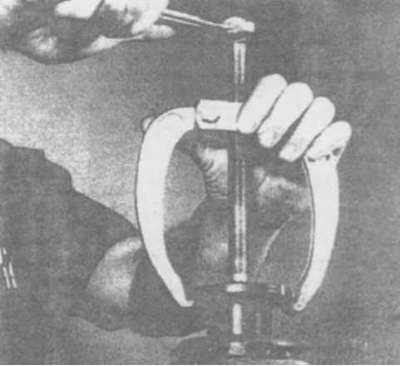
12.6 Removing the center support flange from the front propeller shaft
7. Remove the middle support using a hydraulic press (it is recommended to press out the middle support and press in a new one at a car service center).
8. When pressing in the center support, make sure that the letter "P" faces the front of the car.
9. Apply a thin coat of grease to the end of the center support and the washer. Install the washer in place.
10. Align the flange mark with the groove. Install the flange.
11. Tighten the lock nut to the specified torque, then secure it by pressing the nut crown into the groove of the threaded part of the shaft (photo).
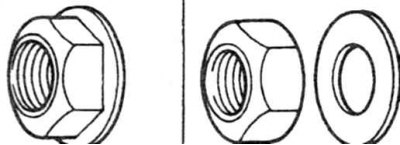
12.11 Two types of center support flange nuts - with flange (left), standard nut with washer (right)
12. Align the marks on the flanges and tighten the bolts.
The original is posted on the portal (nissanbook.ru)
13. Further assembly operations are performed in reverse order. When installing the middle support bracket, keep in mind that the joint in the rubber cushion of the support bearing should be facing upwards.