


2. Raise the rear of the car, install supports under the frame and gearbox housing.
3. Disconnect the cardan shaft from the gearbox and move it to the side.
4. Secure the gearbox flange with a crowbar or a large screwdriver by screwing in the bolts and unscrew the drive gear nut.
5. Remove the gearbox flange (photo).
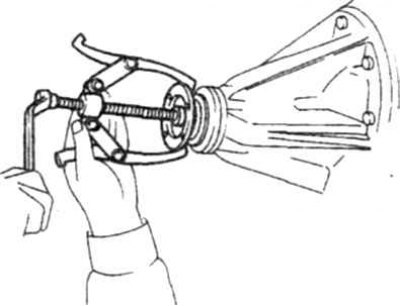
16.5 Removing the gearbox flange using a puller
6. Pry up and remove the oil seal (photo).
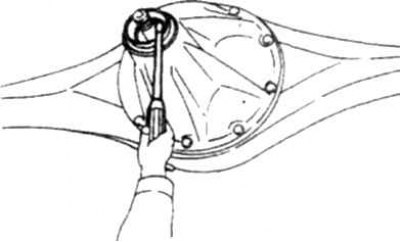
16.6 Removing the gearbox seal
(See the source on the portal: nissanbook.ru)
7. Lubricate the oil seal and the groove in the gearbox housing with consistent grease. Carefully, without allowing the drive gear of the gearbox to shift, press in the new oil seal; so that its surface becomes flush with the crankcase (the seal lips must be facing inwards).
8. Install the gearbox flange, thrust washer and tighten the nut.
9. Having fixed the gearbox flange, tighten the nut until the axial play of the drive gear disappears.
10. Turn the drive pinion of the gearbox several times in both directions. Using a torque wrench with a scale of several Nm, measure the torque at which the drive pinion begins to turn. This torque is equal to the preload in the drive pinion bearings and must correspond to that specified in the Technical Data. If the torque is less than required, tighten the gearbox nut until the required torque is reached.
Attention! Preload is provided by the spacer sleeve of the pinion bearings. If the preload value is greater than recommended, the sleeve will be deformed. In this case, the gearbox should be removed and the spacer sleeve replaced.
11. Further assembly is carried out in reverse order.
12. When finished, fill the gearbox with oil.