


Removal and installation
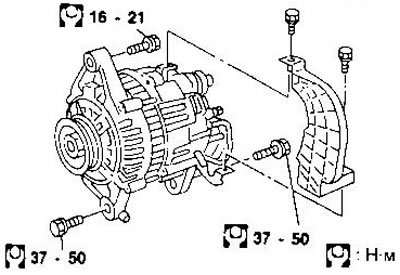
Disassembly
WARNINGS:
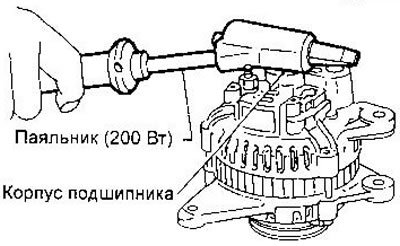
- Removal the rear cover may be difficult due to the rear bearing retaining ring. To make removing the cover easier, heat only the bearing housing with a soldering iron. Do not use a heat gun to avoid overheating the rectifier diodes.
- Do not reuse the removed rear bearing.
- Do not lubricate the outer race of the rear bearing.
Examination
Rotor. Check the rotor winding resistance (see subsection "Technical specifications and control data"). If it is not within the specified limits, replace the rotor.
Measure the insulation resistance between the winding and the rotor shaft. If there is a short circuit, replace the rotor.
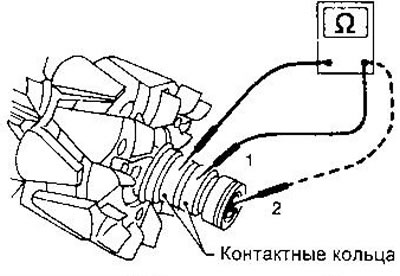
Check the degree of wear of the contact rings (the minimum permissible diameter is given in the subsection "Technical specifications and control data").
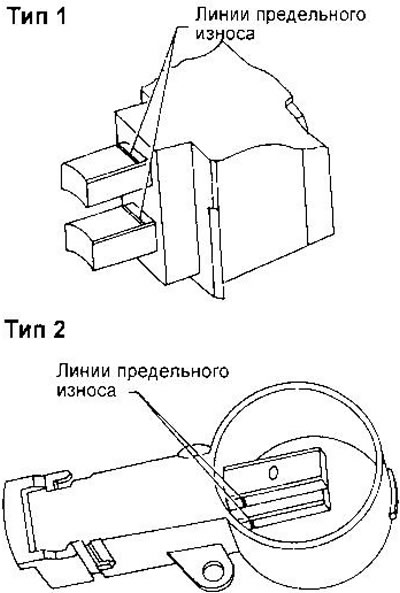
Brushes. Check the ease of movement of the brushes in the holder. Clean or replace the brush holder if necessary.
The brushes must be replaced if they are worn down to the line indicating the maximum permissible wear.
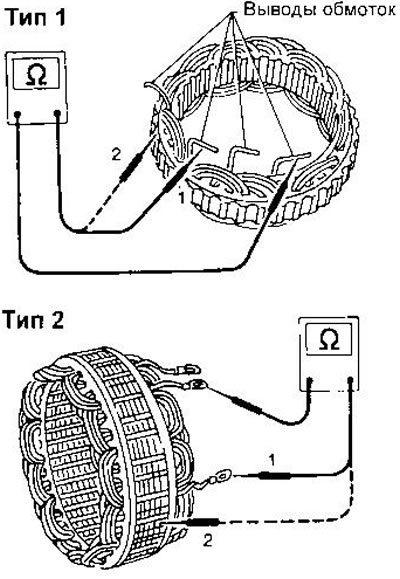
Stator. Check for breaks in the windings and for short circuits of the windings to ground. Replace the stator if necessary.
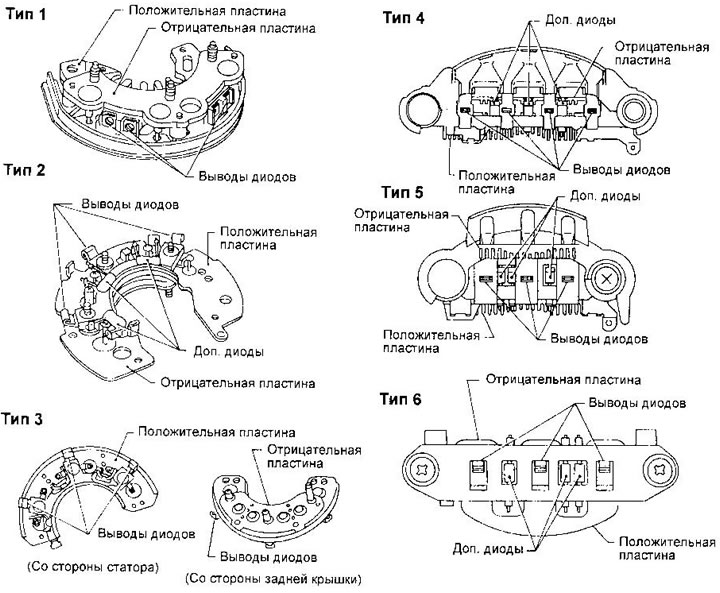
Rectifier diodes. To test diodes, touch the ohmmeter probes to one of the diode terminals and the positive plate. Then swap the probes. Conductivity should only exist in one direction. Do the same for the remaining terminals, and then repeat the measurements for the negative plate.
Assembly
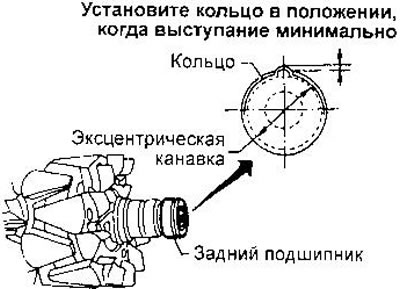
Insert the snap ring into the rear bearing groove so that it is as close as possible to the adjacent parts.
When installing the back cover, first insert the brush holder, diode block, voltage regulator and stator. Then press the brushes into the holder with your fingers and install them on the rotor.
Be careful not to damage the rotor slip rings.
Text duplicated from the website [NissanBook.ru]