


Warning! Brake pads must be replaced simultaneously on both front/rear brake mechanisms. Remember that dust generated during operation of the brake mechanisms may contain asbestos, which is extremely harmful to human health. Never blow off dust with compressed air or inhale it - wear a protective mask or respirator when servicing the mechanisms. Never use gasoline or petroleum-based solvents to wipe brake system components - use only branded cleaning agents or methyl alcohol!
1. Remove the cap from the brake fluid reservoir. Pump out about 2/3 of the hydraulic fluid from the reservoir.
2. Loosen the nuts of the corresponding wheels. Jack up the front/rear of the car and place it on supports, support the wheels standing on the ground with wheel chocks.
3. Remove the front/rear wheels.
Note: All four brake shoes on both wheels of one axle must be replaced simultaneously. To avoid confusion, work on each mechanism individually - the second one can be used as a reference during assembly if necessary.
4. Carefully inspect the brake disc (see section Checking the condition, removing and installing the brake disc). If it is necessary to perform a turning, the disk will also have to be removed (see below).
5. When replacing the front brake pads, follow the instructions in the illustrations below - carefully study the explanatory captions to the pictures.
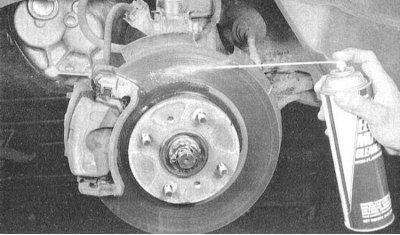
Before disassembling, the brake mechanism should be thoroughly cleaned using a special agent, then dried; never blow off brake dust with compressed air!
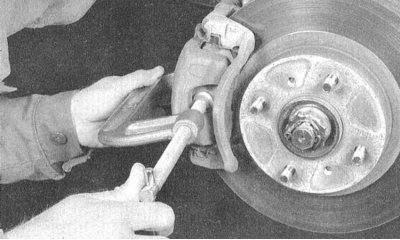
Press the piston into the caliper cylinder using a clamp (the supporting end of the clamp is inserted behind the caliper, the screw end rests against the outer brake shoe).
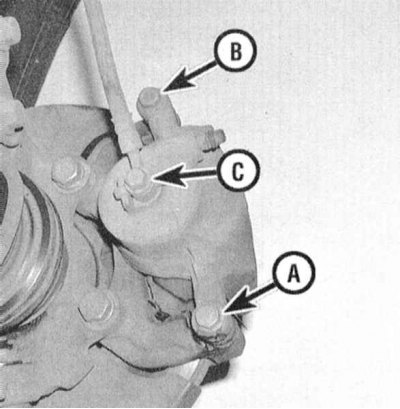
Remove the lower caliper mounting bolt (A); the upper bolt (B) should only be unscrewed if the caliper needs to be removed. The hollow bolt of the union nut (C) should only be loosened to replace the caliper.
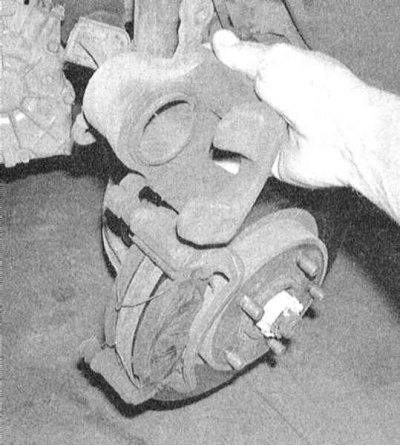
Lift the caliper off the brake disc.
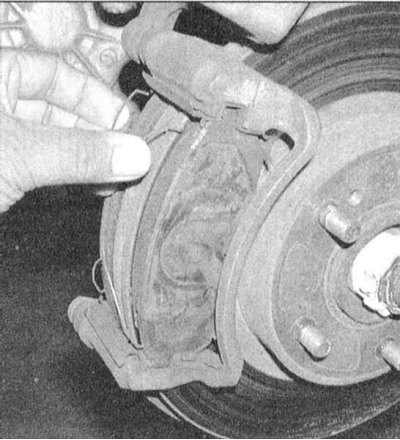
On models from 1995 onwards, remove the anti-squeal springs.
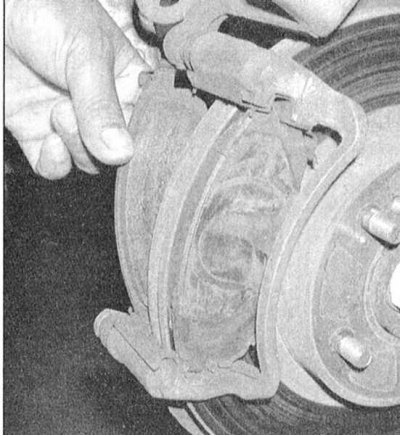
Remove the inner brake shoe.
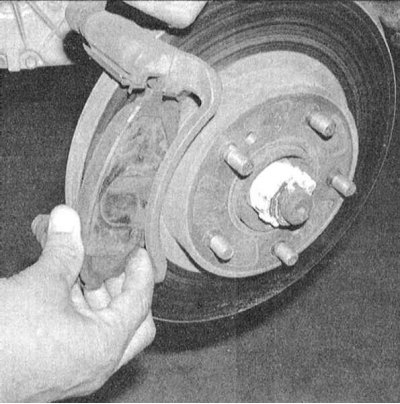
Remove the outer shoe.
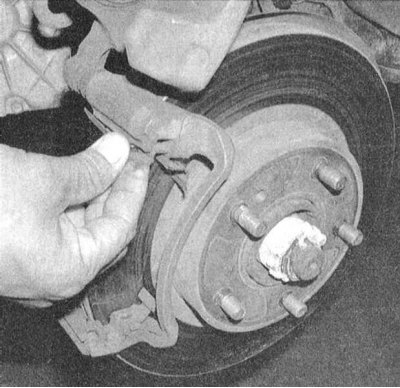
Remove the upper and lower shoe holders from the anchor bracket.
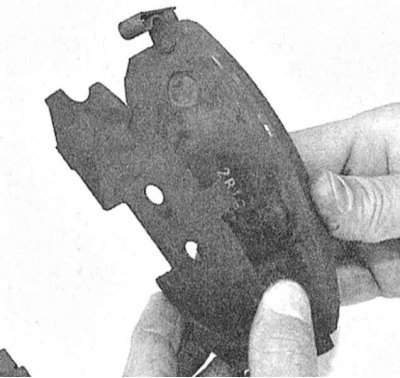
Remove the adjusting pads from the pads.
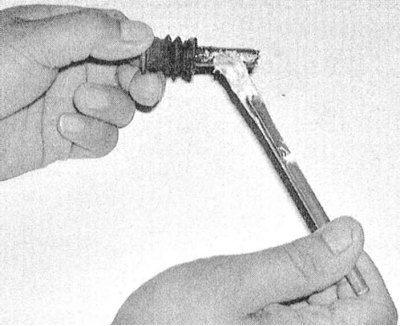
Wipe the caliper guide pin, inspect it for scuffs and signs of corrosion, then lubricate it with high-melting grease and install it in its regular place in the anchor bracket.
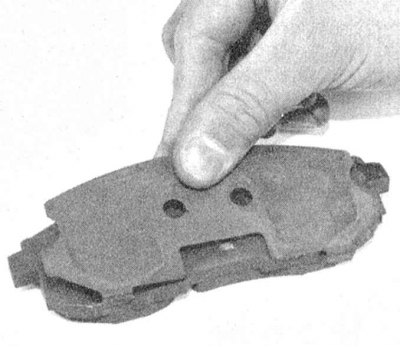
Install the adjusting pads onto the pads.
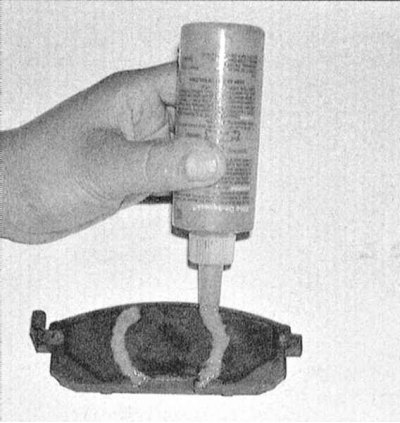
Apply anti-squeal compound to the back sides of both pads and let the compound dry for a few minutes.
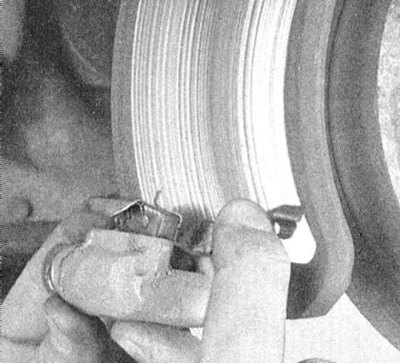
Install the upper and lower shoe holders.
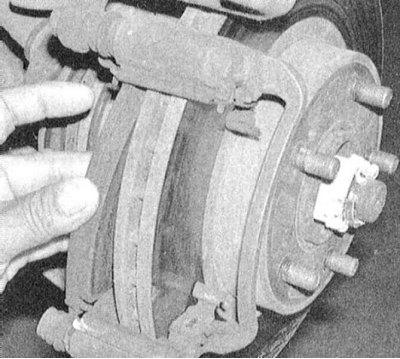
Install the inner shoe (this pad is equipped with a wear indicator).
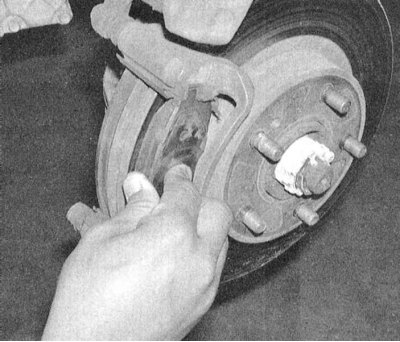
Install the outer shoe.
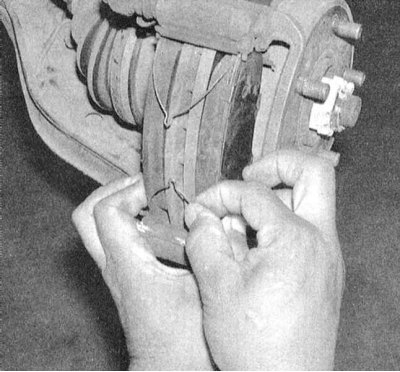
On models from 1995 onwards, install anti-squeal springs, then (on all models) lower the caliper, screw in the lower mounting bolt and tighten it to the required torque.
Note: If you are unable to fit the caliper onto the pads, use a clamp to push the piston back into the cylinder.
6. The procedure for replacing the pads on the rear disc brakes is shown in the illustrations below.
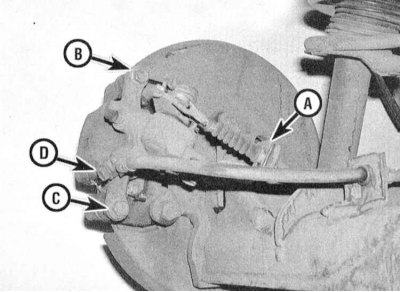
After cleaning the assembly from brake dust, release the parking brake cable retainer (A) and disconnect the cable from the actuator lever. On 1995 and later models, remove the upper caliper bolt (A) (on earlier models, remove bolt C); the hollow bolt of the union nut (C) is to be removed only for replacement of the caliper
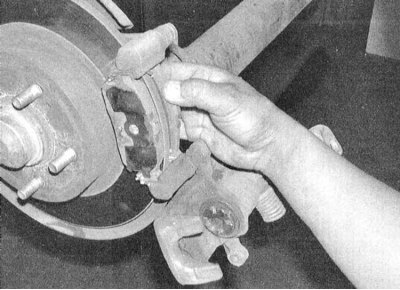
Remove the caliper from the brake disc and the brake pads placed in the anchor bracket; remove the inner shoe.
Original publication on the portal NISSANBOOK.ru
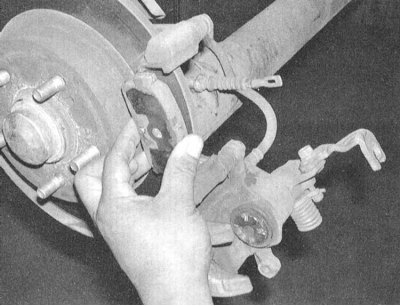
Remove the outer shoe.
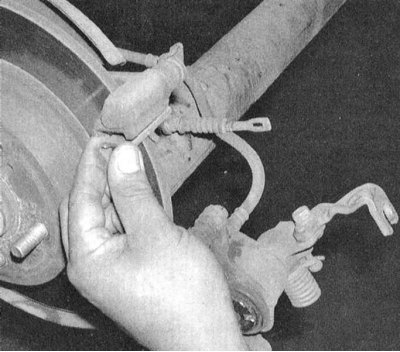
Remove the upper and lower brake shoe holders.
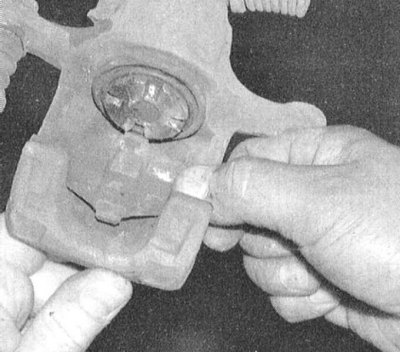
Remove the anti-squeal springs from the caliper and carefully inspect their condition; if cracks or other mechanical damage are detected, replace the springs.
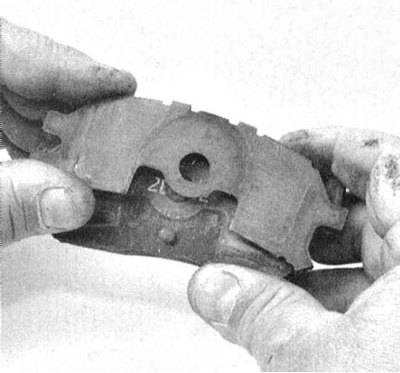
Remove the adjusting pads from the pads.
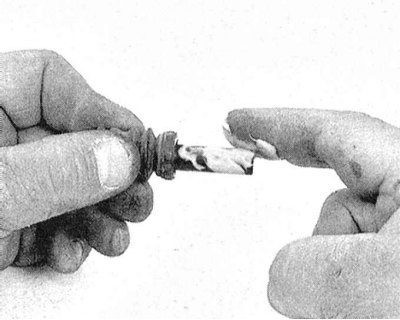
Wipe the caliper guide pin, inspect it for scuffs and signs of corrosion, then lubricate it with high-melting grease and install it in its regular place in the anchor bracket.
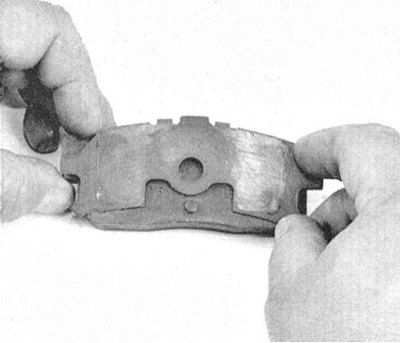
Install the adjusting pads onto the pads.
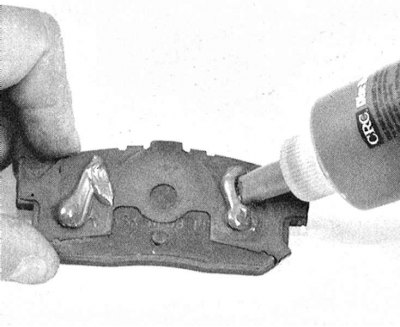
Apply anti-squeal compound to the back sides of both pads and let the compound dry for a few minutes.
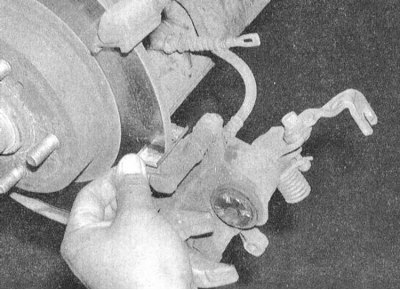
Install the upper and lower brake shoe retainers.
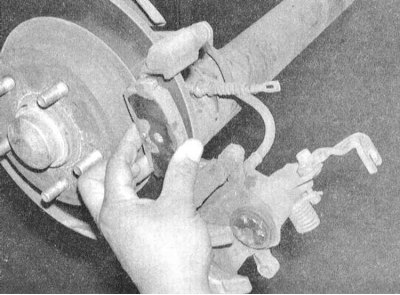
Install the outer shoe.
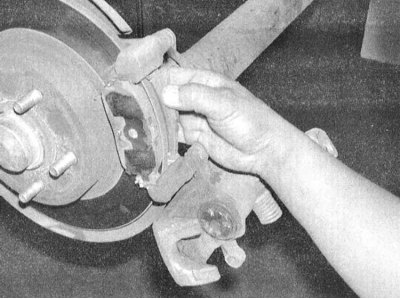
Install the inner shoe.
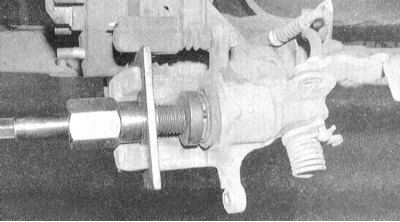
Rotate the piston until it sinks into the caliper cylinder (use a special device - ask in car accessories stores, in extreme cases you can use needle-nose pliers). Lower the caliper to its normal position, return the mounting bolt and tighten it to the required torque, then connect the parking brake drive cable to the brake actuator lever.
7. When assembling, make sure that the mounting bolt is tightened to the required torque.
8. After completing the assembly, press the foot brake pedal several times to seat the new pads on the discs. Check the brake fluid level and make the appropriate adjustments if necessary (see Chapter Settings and ongoing maintenance). Before you begin normal operation of the vehicle, make sure that the brake system is functioning properly.