Removing
1. Remove the main timing chain with sprockets (see Section Removing, checking the condition and installing the timing chain and sprockets).
Note. If necessary, also remove the secondary chain tensioner/guide assembly to provide adequate access to the pump.
2. Remove both sections of the engine oil pan (see Section Removal and installation of the pallet crankcase of the engine) and oil pickup tube.
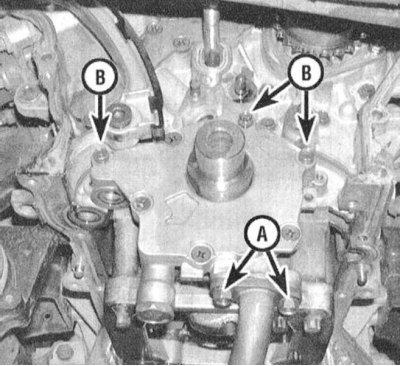
3. Turn out bolts of fastening of the oil pump to a forward wall of the power unit.
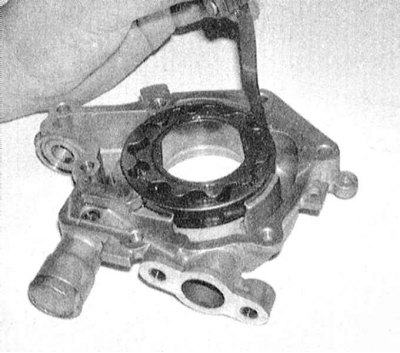
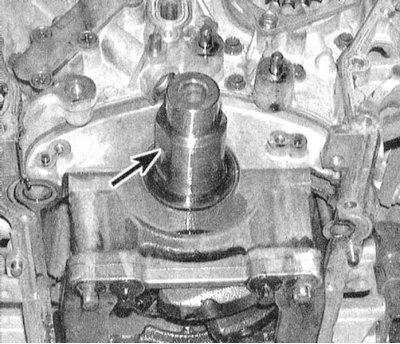
4. Gently pry up the pump casing and carefully remove it from the guide pins on the block.
Examination
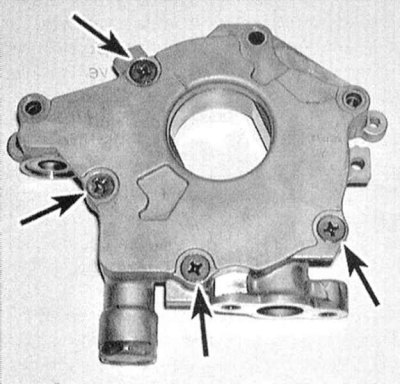
1. Using a large Phillips screwdriver, remove the screws securing the oil pump front cover.
2. Wash the internal components of the assembly in solvent and carefully inspect for signs of excessive wear and mechanical damage.
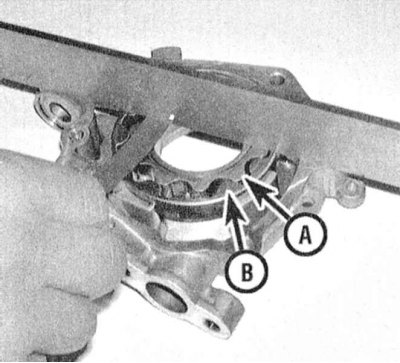
3. Unscrew the plug and remove the pressure relief valve components from the pump housing. Estimate a condition of working surfaces of the valve and its springs. If any defective components are found, replace the entire set.
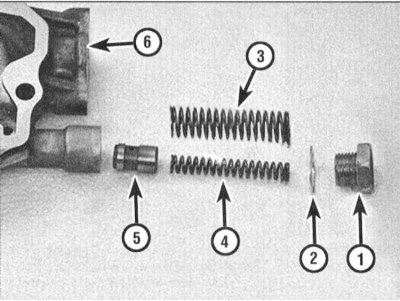
1 - Plug; 2 - Washer; 3 - Outer spring; 4 - Internal spring; 5 - Valve; 6 - Oil pump casing
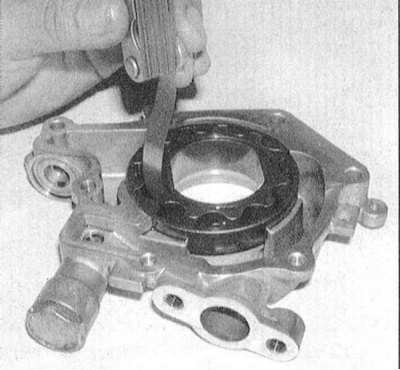
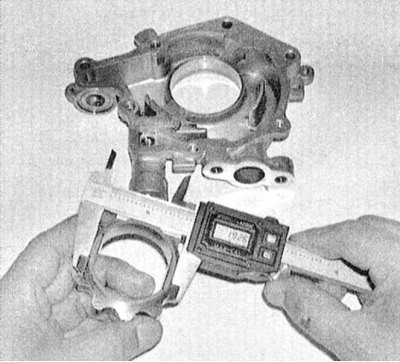
4. Using a blade-type feeler gauge, measure the operating clearances of the oil pump gears. Compare the measurement results with the requirements of the Specifications. During this test, the following parameters should be determined:
- a) Gap between the teeth of the inner and outer gears;
- b) Clearance between the generatrix of the outer gear and the housing;
- c) Axial backlash of landing of an internal gear wheel
- d) Axial backlash of landing of an external gear wheel;
- e) Radial clearance of the protruding hub part of the internal gear in the pump casing (is calculated by subtracting the results of two measurements.
If any of the parameters is out of range, the pump assembly must be replaced.
 |  |
 | 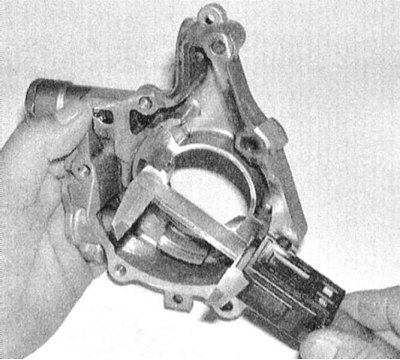 |
5. Stuff the inside of the pump with petroleum jelly. Insert the internal components into the case, install the cover, and firmly tighten the cover screws. Reinstall pressure reducing valve carburetors, tighten plug securely.
Installation
Assembly is carried out in the reverse order of dismantling. Be sure to replace all seals. Follow. To ensure that the flats in the hub portion of the pump inner gear engage properly with the mating flats on the crankshaft journal. Tighten all fasteners to the required torque.
Note. Before installing the oil pan, replace the O-rings in the pump housing and engine block.