


Table of contents: Camshafts ↓ Replacing camshaft seals ↓
1. Remove the cylinder head cover (see section Removal and installation cylinder head covers) and remove the rocker arm assemblies with axles (see section Removal, condition check and installation of rocker arm assembly).
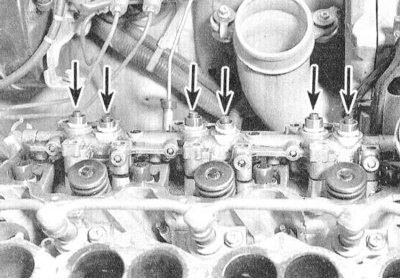
2. To secure the pushers in their guide, put rubber bandages on them.
Note: Immediately return any accidentally dropped pushers to their corresponding slots in the guide assembly.
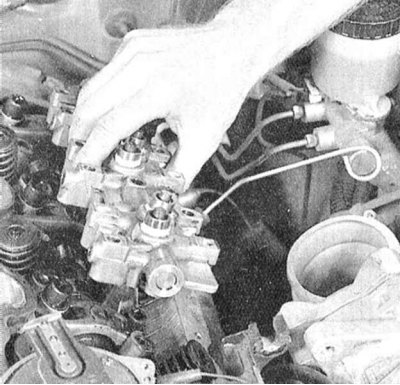
3. Remove the pushrod guide assembly.
4. Remove the pushers one by one from their slots in the guide and stack them in an organized manner - when reassembling, each pusher must be installed exactly in its original place.
Caution! To avoid air locks, try not to lay the tappets on their sides or turn them upside down. Alternatively, place the tappets in containers filled with clean engine oil.
5. After inserting the pusher into its seat, press the plunger protruding from its upper end. If the plunger stroke exceeds 1 mm, there is air in the pusher.
6. If you suspect that air is getting into the tappet, install the rocker arms with axles and the cylinder head cover in place.
7. To bleed air from the tappets, start the engine at 1000 rpm and let it run without load for about 10 minutes.
8. Remove the cylinder head cover again and take out the rocker arm and axle assemblies and repeat the procedure described in paragraph 5. If the tappet cannot be bled, replace it with a new one.
9. Assess the degree of wear of the tappets removed from the engine (see section General engine overhaul of this Chapter).
10. Installation is carried out in the reverse order, remember to lubricate the tappets with engine oil before installation.
Camshafts
Removal
1. Remove the cylinder heads from the engine (see section Removal and installation cylinder heads).
Material borrowed from the website: nissanbook
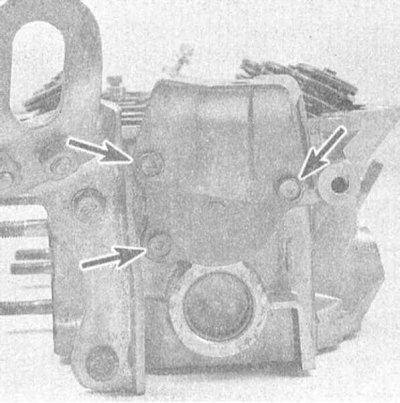
2. Unscrew the mounting bolts and, carefully prying, remove the camshaft cover plate from the end of the head facing the transmission.
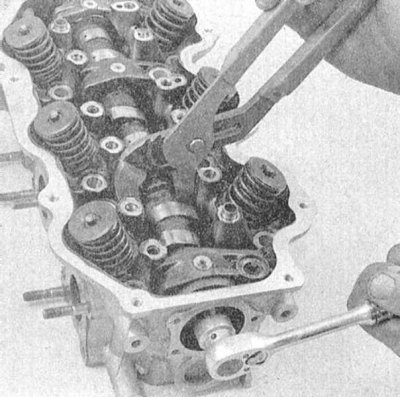
3. Hold the shaft by the flats to prevent it from turning and release the bolt that secures it. Unscrew the bolt and remove the thrust plate.
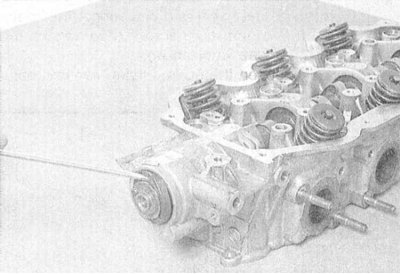
4. Using a small screwdriver, carefully pry the camshaft seal out of its seat - try not to damage the journal.
Note: Pressing the shaft through the hole in the thrust plate will make it easier to remove the seal.
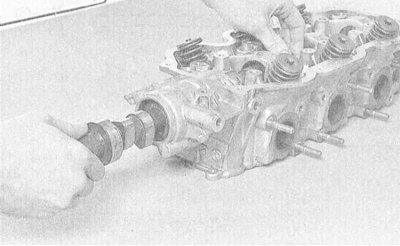
5. Carefully hold the shaft at both ends and use a rotating motion to remove it from the cylinder head.
Note: Take care not to damage the bearings and cams of the shaft. Procedures for checking the condition of the shaft and its bearings are described in Part DOHC engines of this Chapter.
Installation
1. Lubricate the bearing journals of the shaft with molybdenum-containing grease, then carefully insert the assembly into its regular place in the cylinder head - try not to damage the bearing surfaces.
2. Install the camshaft thrust plate, screw in the rear bolt and tighten it to the required torque.
3. After installing the shaft in the cylinder head, measure the value of its axial clearance (see Part General engine overhaul of this Chapter).
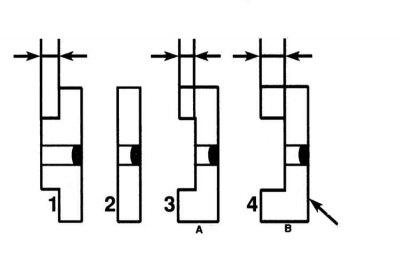
4. If the axial clearance of the shaft is beyond the permissible limits, a new thrust plate should be selected. Measure the thickness of the old plate and select a new one based on the considerations of bringing the axial clearance of the shaft to the norm.
5. Install a new camshaft oil seal. Further assembly of the cylinder head is carried out in the reverse order of dismantling the components. A description of the head installation procedure is given in Section Removal and installation cylinder heads.
Replacing camshaft seals
1. The camshaft seals can be replaced without dismantling them. It will be enough to remove only the timing belt and the corresponding timing gears. The old seals are removed by prying them up with a screwdriver - try not to damage the shaft journals.
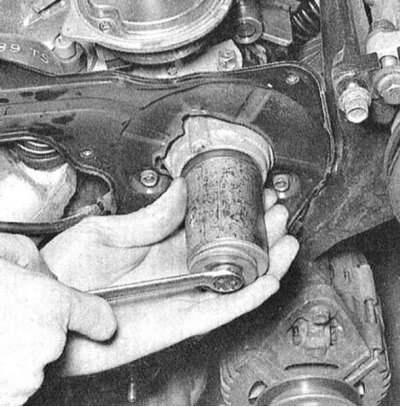
2. The seals are installed using a special mandrel, which can be a socket head of the appropriate size or a section of pipe of the appropriate diameter. The seal must be installed in its seat strictly perpendicularly. Continue pressing the seal until it rests against the bottom of the seat in the cylinder head body.