Stop the vehicle on a level, firm surface where work can be carried out safely without obstructing traffic.
Remove the on-board tool, jack and spare wheel from the luggage compartment.
Set up a warning triangle or warning light if necessary.
2. Raise the car with a jack.
Turn the jack by hand until the notch of the jack hits the mounting location on the car body.
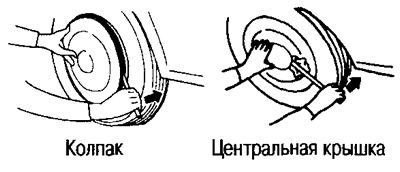
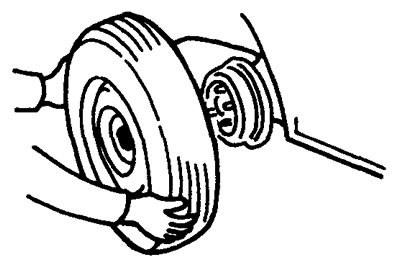
3. Using a suitable tool, be careful not to scratch (put a rag), remove the cap or center cover.
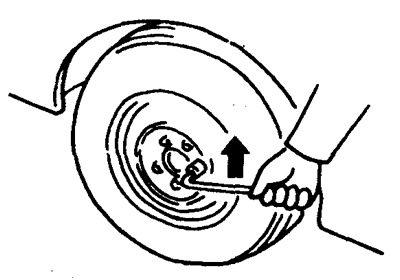
4. Using a wheel wrench, loosen the nuts about one turn counterclockwise.
5. Rotate the jack with the handle to raise the vehicle until the wheel is slightly off the ground.
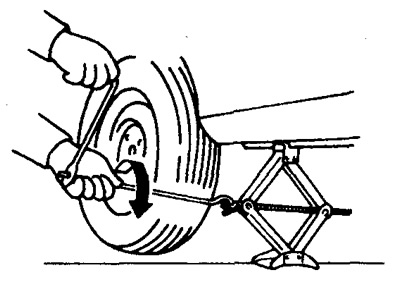
6. Remove the nuts and remove the punctured wheel.
7. Wipe contact surfaces of a nave and a disk and establish a spare wheel.
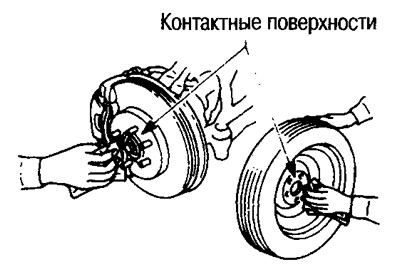
Note:
If there is dirt on the contact surfaces, the nuts may loosen during driving and the wheel may come off.
Install the spare wheel with the sticker side facing out.
8. Turn the nuts clockwise and lightly tighten them.
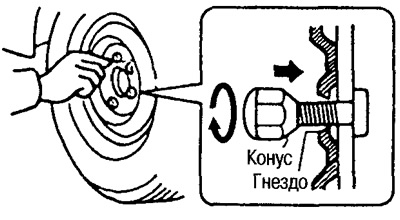
Note: Do not lubricate bolts and nuts with oil or grease, as this can cause the nuts to loosen while riding.
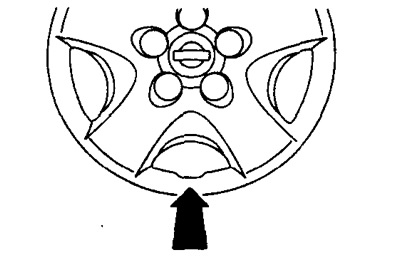
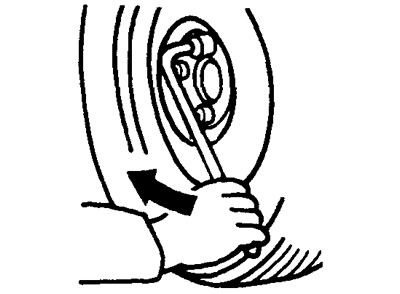
9. Tighten the nuts in 2-3 passes in the sequence shown in the figure.

10. Lower and remove the jack, then tighten the nuts again in the sequence indicated in paragraph 9.
Wheel nuts tightening torque: 98.1-117 Nm (10.0-12.0 kg m)
Caution: Do not over-tighten the nuts, such as by stepping on the wrench or placing a tube over the wrench, as this may break the bolts.
11. Put the on-board tool and jack in the luggage compartment. Install the punctured wheel in place of the spare wheel.
Attention: After a short run, check the tightness of the wheel nuts.
Note:
The spare wheel cannot be covered.
Replace the spare tire with a road tire as soon as possible.
When installing the cap on a road wheel, align the notch on the cap with the air valve.