


Table of contents: Removal ↓ Installation ↓
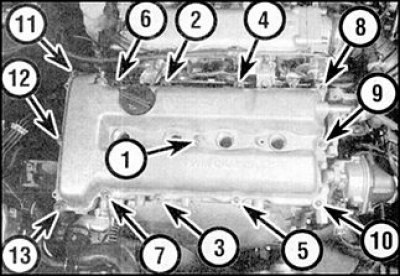
Cylinder head cover fastening nuts tightening sequence
Removal
 |
 |
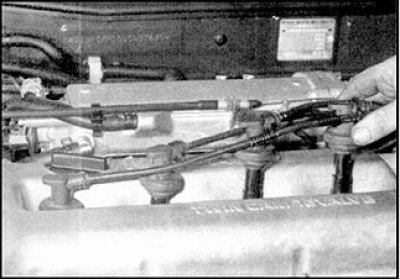
1. Disconnect the high-voltage wires from the spark plugs, remove the wires from the mounting brackets on the cylinder head cover.
 |
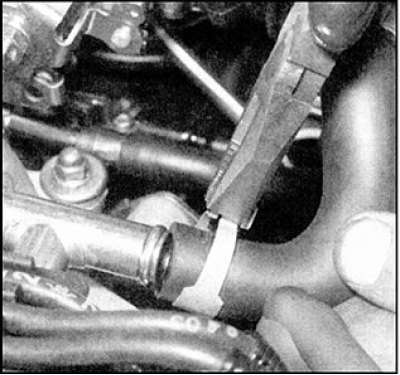 |
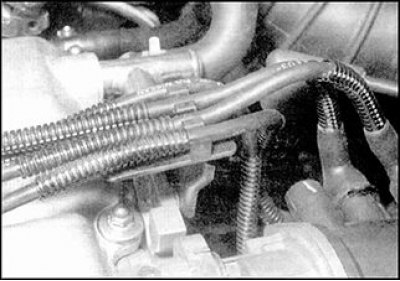
2. Loosen the clamps and disconnect the crankcase ventilation hose at the rear of the cylinder head cover.
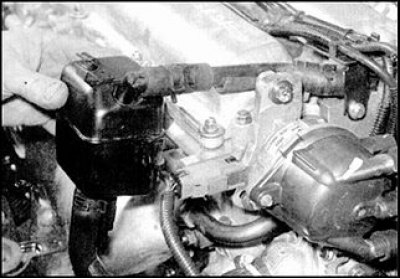
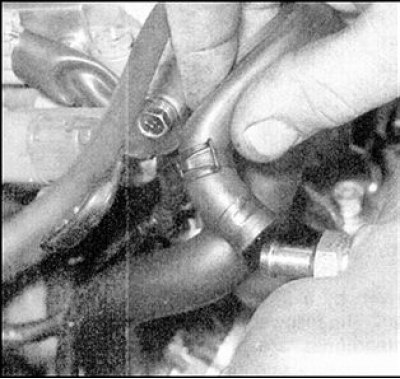
3. Loosen the clamps and disconnect the oil separator hose from the fitting on the cylinder head cover and the hose at the bottom of the oil separator.
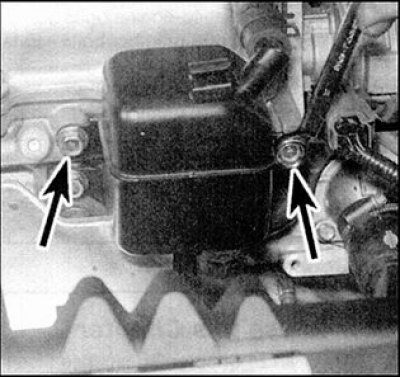
4. Unscrew the bolts (indicated by arrows) and remove the oil separator at the front of the cylinder head.
5. In the reverse order to that shown in Fig. Cylinder head cover fastening nuts tightening sequence, loosen and unscrew the cylinder head cover fastening nuts, remove the nuts and washers.
6. Lift the cover and remove. Remove the gasket from the groove provided along the outer edge of the cover, as well as the O-rings from the spark plug holes and from the center hole for the cover mounting stud.
7. Check the cover seals for damage and replace if necessary.
Installation
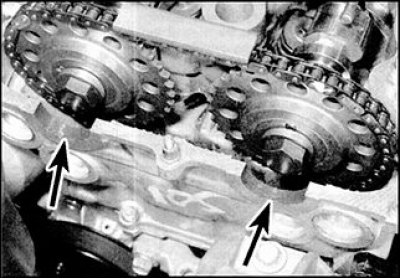
1. Thoroughly clean the sealing surfaces of the cover and cylinder head, completely remove traces of oil. Apply drops of sealant to the semicircular recesses in the cylinder head (indicated by arrows).
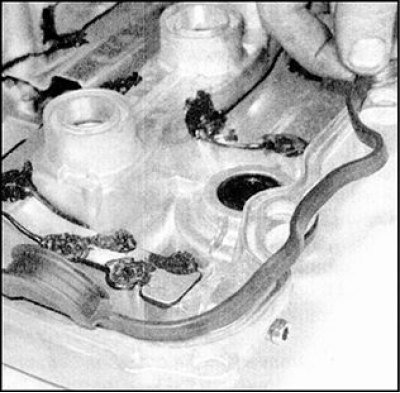
2. Place the rubber gasket into the groove on the lid, making sure it is positioned correctly along its entire length.
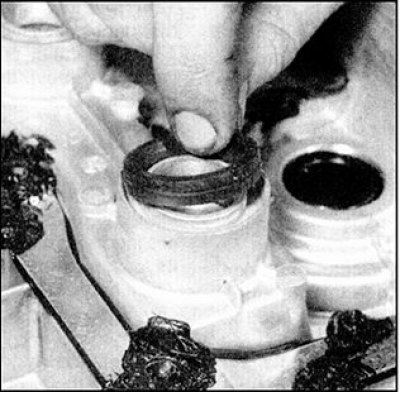
3. Install the spark plug sealing rings and the center stud seal. If necessary, you can secure the seals by first applying a thin layer of sealant.
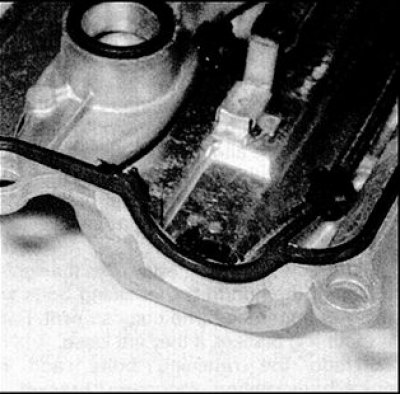
4. Apply drops of sealant to the gasket approximately 1 cm on either side of the edges of the semicircular recess under the rear journal cover of the exhaust camshaft.
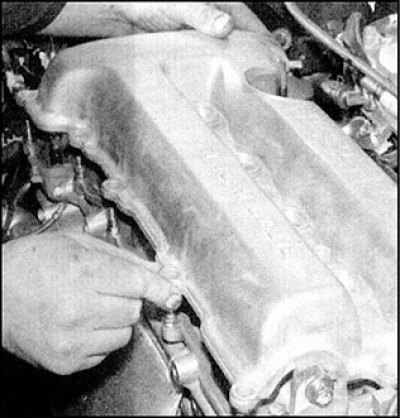
5. Carefully install the cylinder head cover into place, making sure that the rubber seals on the cover do not move.
 |
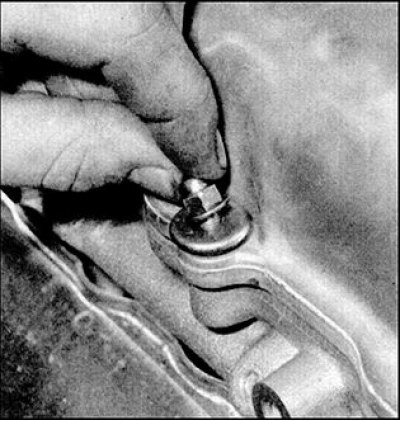 |
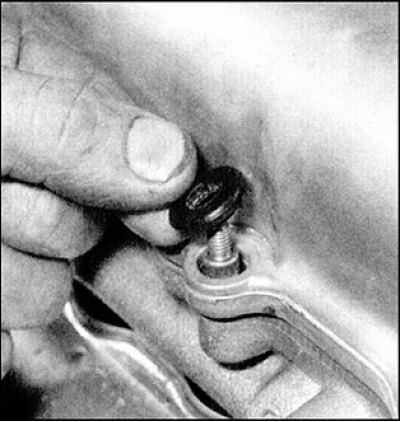
6. Make sure the cover is installed correctly, then install the rubber seals, washers and nuts on the cover studs.
7. Place the cover in place, then screw in and lightly tighten the central nut (No. 1) and the four nuts at the corners of the cover in the following sequence: 10, 11, 13 and 8. Tighten the cover nuts in the sequence shown (see Fig. Cylinder head cover fastening nuts tightening sequence), loosen and unscrew the cylinder head cover fastening nuts with the specified torque.
7. Attach the crankcase ventilation hoses to the cover and secure with clamps.
8. Attach the hose to the bottom of the oil separator, position the oil separator in place and tighten the bolts securely. Place the oil separator hose on the cap fitting and secure with a clamp.
9. Attach the high-voltage wires to the spark plugs without disturbing the previous order and insert the wires into the mounting brackets. Connect the battery to ground.