Removing
1. Discharge the refrigerant from the air conditioner to the recovery/recovery unit (for HFC-134a)
2. Drain the coolant from the cooling system. See chapter Lubrication system and engine cooling system.
3. Remove the hood grill cover. See chapter Body.
4. Remove the baffle bottom insulator.
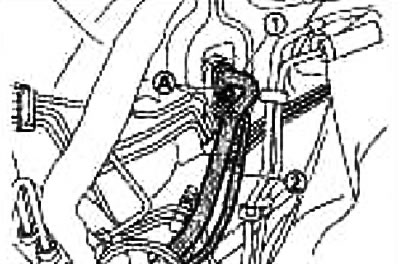
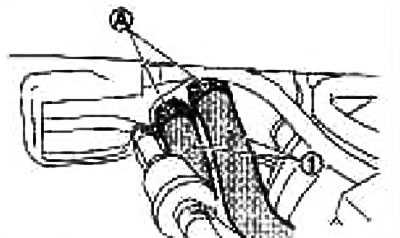
5. Turn out a fixing bolt (A) and disconnect the low pressure flexible hose (1) and high pressure pipe (2) from the evaporator.
Caution: Seal or wrap the fitting with a suitable material, such as vinyl tape, to prevent air from entering.
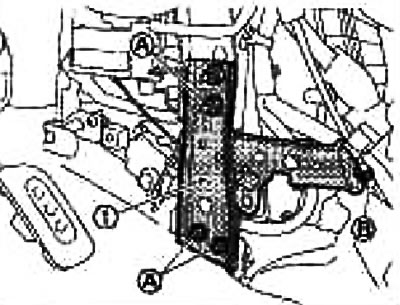
6. Remove clamps (A) and disconnect the heater hoses (1) from the core of the heater.
7. Remove the console box assembly. See chapter BODY.
8. Unscrew the fixing. nuts (A), remove the electrical wiring clamps (IN) and remove the dashboard strut (1).
9. Disconnect the connector from the intake air temperature sensor (1).
10. Remove the dashboard and overlays. See chapter Body.
11. Remove the side ventilation ducts.
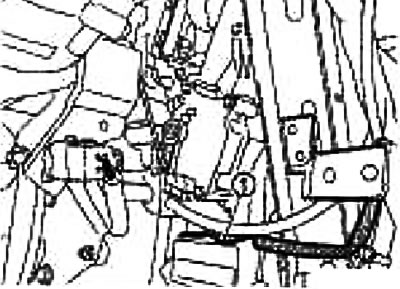
12. Remove the central ventilation duct.
13. Turn out fixing bolts (A) from the air conditioner assembly, fixing bolts (IN) from the steering column beam, fixing nuts (WITH) from the steering column and remove the wiring clamps.

14. Remove a beam of a steering column, and then the conditioner in gathering.
Installation
Installation is basically done in the reverse order of removal.
Attention:
- Replace the O-rings on the A/C pipes with new ones and apply compressor oil when they are connected.
- When charging the refrigerant, check for leaks.
Note:
- When filling the radiator with coolant, see chapter Lubrication system and engine cooling system.
- Charge the coolant.
Air conditioner mounting bolt assembly: Tightening torque: 6.9 Nm (0.7 kg m)
Steering column beam mounting bolt: Tightening torque: 12 Nm (1.25 kg m)
Steering column fixing nuts: Tightening torque: 12 Nm (1.25 kg m)