2. Disconnect the throttle linkage inside the passenger compartment.
3. Remove the front panel section (Ch. 13).
4. Remove the cover from the gearshift lever.
5. Move the lever to the neutral position, remove the lock washer, pin (or snap ring) and remove the lever (photo).
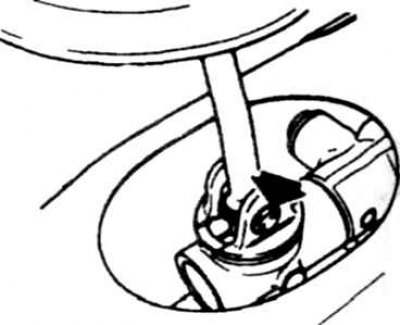
3.5a Gearshift lever pin (on cars of early releases)
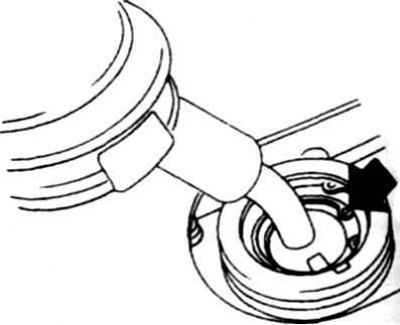
3.5b Spring ring gearshift lever (on vehicles of later releases)
6. Raise the vehicle high enough to remove the gearbox from under the vehicle.
7. Remove the front exhaust pipe.
8. On four-wheel drive vehicles, remove the front propeller shaft (Ch. 9). Support the front gearbox and remove the rear gearbox cross member. Remove the front gear if necessary (Ch. 9).
9. Disconnect the half shafts (Ch. 8) and plug the holes in the gearbox.
10. Disconnect wires from all KPP switches
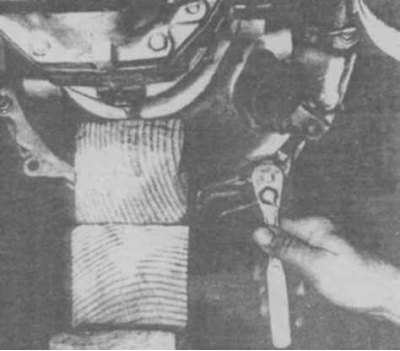
11. Disconnect the speedometer cable (photo).

3.11 Speedometer gearbox on rear wheel drive vehicles
12. Drain the gearbox oil.
13. Remove the clutch slave cylinder and set aside.
14. Establish supports under the engine and under a check point.
15. Turn away nuts of a support of a check point and bolts of fastening of an arm to a frame, remove a support.
16. Remove the starter.
17. Remove the clutch housing bolts (photo).
3.17 Supporting the gearbox housing from bars
18. At the same time, lower the stands so that the gearbox can be removed from the engine and lowered without allowing the weight of the gearbox to be taken by the input shaft.
19. Installation is carried out in the reverse order. Lubricate the splines of the input shaft, parts of the gear shift mechanism before assembling, center the clutch disc and adjust the pedal travel.