Attention! When removing any switch, disconnect the battery from ground.
Ignition switch and steering lock
1. See subsection 12.10.
Steering column switch combination
2. Remove the steering column pads.
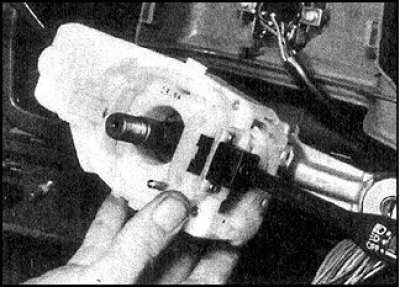 | 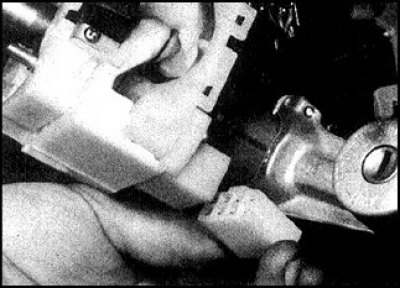 |
3. Remove the desired switch from the bracket (photo on the left), pulling on itself, opening the connector (photo on the right).
4. The switch is installed in the reverse order.
Pushbutton switches in the middle of the front panel
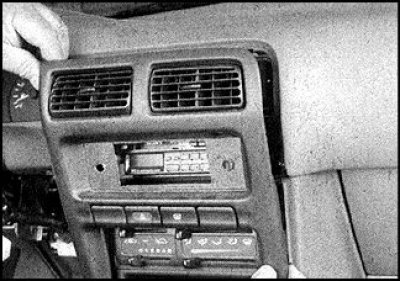
5. Remove the middle part of the panel.
6. Disconnect the connectors from the switches.
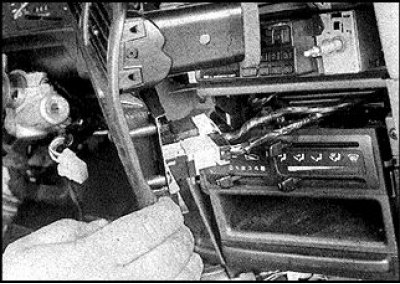
7. Push the switch forward and remove.
8. Assembly is carried out in the reverse order.
Heater fan switch
9. Remove the heater control panel (see subsection 5.1.1).
10. Remove the fan control knob.
11. Release the latches (two below and one above) and take out the switch.
12. Install the switch in reverse order.
Driver side switches
13. These switches include the power mirror switch, instrument panel lighting, and front fog lamps.
14. Remove a casing of the panel of devices with a ventilating nozzle.
15. Working under the panel, release the latches and remove the switch. Disconnect the connector.
16. When assembling, insert the switch until it clicks. Establish a casing of the panel of devices with an ventilating nozzle.
Power Window Switch
17. Pry up and remove the switch and disconnect the connector. The connector is clipped on from the inside, so it may be necessary to remove the door panel.
18. Install the door panel, insert the switch until it clicks.
Sunroof switch
19. Carefully, wrapping the blade of a thin screwdriver with PVC tape, pry off the switch, which is located in the sunroof drive housing.
20. Disconnect the connector and remove the switch.
21. Assembly is carried out in the reverse order.
Limit switches for signaling a loose door / door lamp
22. Open the door. The switch is located on the front pillar of the doorway.
23. Turn away screws and get the switch, disconnect a socket.
24. Install the switch in reverse order. Check that the seal is installed correctly.