Table of contents: Removal ↓ Installation ↓
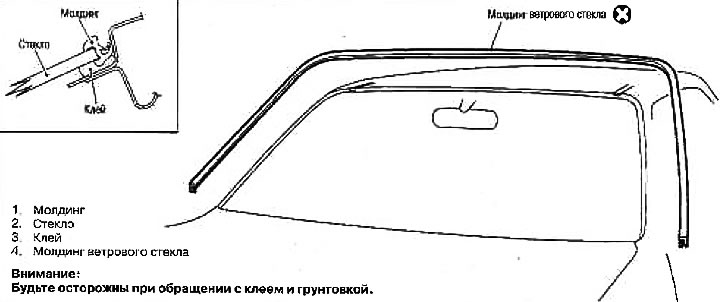
1. Molding; 2. Glass; 3. Glue; 4. Windshield molding
Removal
1. Remove the hood grille cover. See section "Hood grille".
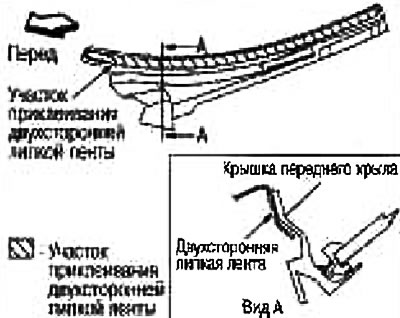
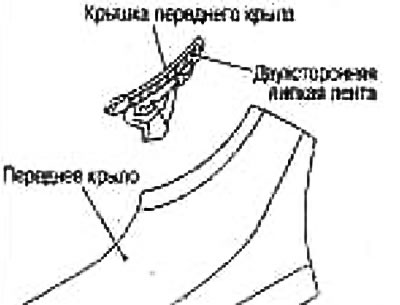
2. Roll up the double-sided tape and remove the covers (left and right) from the front wings (left and right).
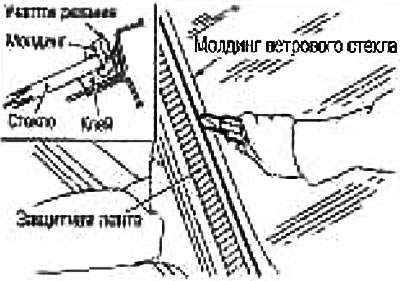
3. Apply protective tape around the perimeter of the windshield molding and cut the edge of the molding with a knife.
4. Tear off excess molding from the glass.
5. Using nippers, remove the remaining molding from the flange section of the body and completely remove it from the surface where it is bonded to the glass.
Installation
1. Apply primer between the glass and panel, then apply enough adhesive to bond the molding.
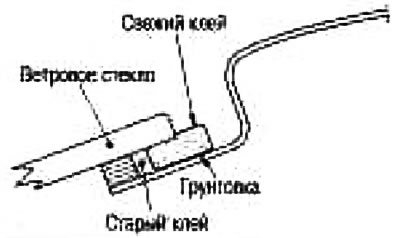
Note: The primer helps to ensure strong adhesion of the glass to the painted surface.
There are 2 types of primer. Do not mix them up.
Primer "M": for surfaces with paint coating
Primer "G": for glass
If the "M" primer protrudes onto the body surface beyond the area where the glue was applied, quickly remove it using clean gasoline.
2. Apply primer around the entire perimeter of the molding as shown in the picture.
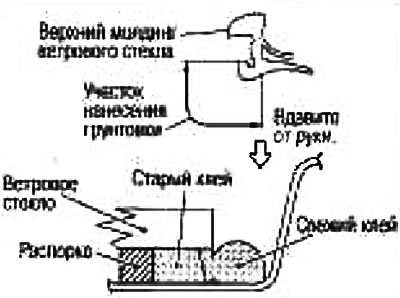
3. Align the mark on the molding (white mark in the center of the molding) with the center of the top edge of the glass marked on the spacer, press in until the bottom tab of the molding catches on the glass, then continue to press outward.
Note: After installing the molding, make sure there are no abnormalities, such as the protrusion coming off or the molding having wrinkles.
4. Remove the protective tape.
5. Remove the double sided tape from the front fender cover and apply primer (Sumitomo 3M K520) on the area where the double-sided adhesive tape is glued, as shown in the figure on the right. Then stick the new double-sided adhesive tape and install the front fender.
6. Install the hood grille cover. See section "Hood grille".