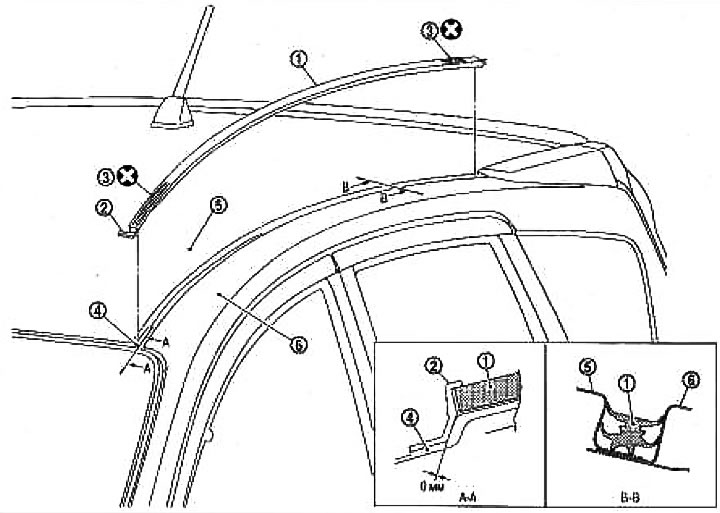
1. Roof side molding; 2. Plug; 3. Double-sided adhesive tape; 4. Flange, roof panels; 5. Roof panel; 6. Side outer body panel
Removing
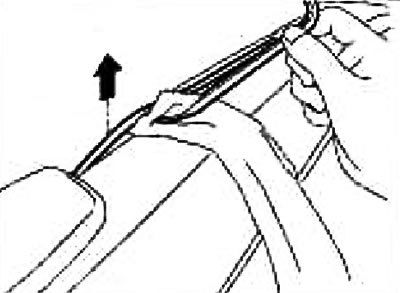
1. Raise the end of the roof side molding (rear end) using a plastic knife, etc., remove the clips, wind up the double-sided tape, and peel it off.
2. Remove the double-sided tape remaining from the back of the roof side molding and on the vehicle body.
Note: The double-sided adhesive tape can be easily removed with a tape remover.
Installation
Note: When installing roof side molding only, follow the procedure from step 3.
1. Clean the mounting surface of the roof side molding clips (from the side of the body).
2. Glue the roof side molding clips (from the side of the body) to the body and leave for 40 minutes.
3. Apply a primer (Sumitomo 3M N200 or comparable) on the area where the double-sided adhesive tape is applied to the back side of the side roof molding.
4. Apply double-sided adhesive tape to the back of the roof side molding (shown in the picture).
5. After attaching the front side of the roof side molding to the window seal molding, press the molding from front to rear, then secure to the body with double-sided adhesive tape.