


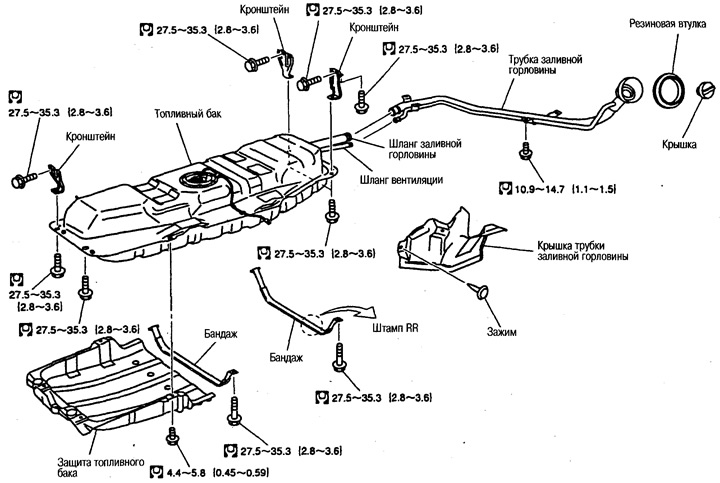
Caution: Make sure you have a fire extinguisher near the work area. Do not smoke or allow open flames or sparks near the work area.
Removing
1. Follow paragraphs. 1-6 sections «Fuel gauge, fuel filter and fuel pump», see above.
During step 6, do not disconnect the wiring connector.
2. Check the amount of fuel remaining in the tank and drain if necessary.
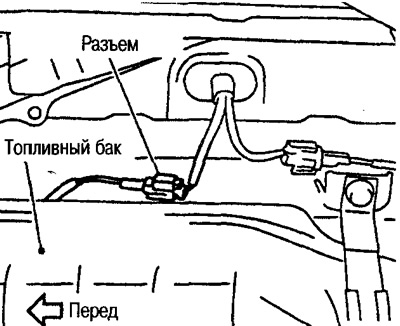
3. Disconnect the wiring connector on the left side of the fuel tank.
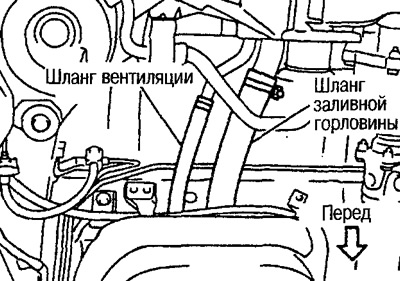
4. Disconnect the filler hose and vent hose from the back of the fuel tank.
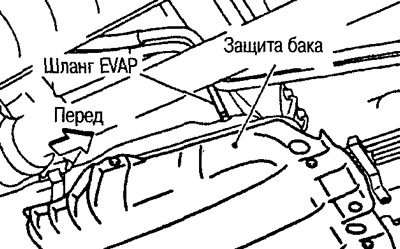
5. Remove the EVAP hose from the front of the fuel tank, remove the tank guard.
6. Release the parking brake cable from the clip on the back of the tank and move the cable to the side.
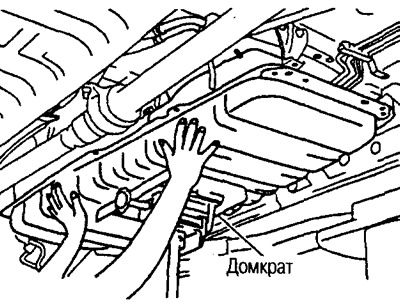
7. While supporting the base of the tank with a jack, remove the bandages and unscrew the fixing bolts.
9. Lower the jack, making sure that the tank does not touch the side parts of the body. Remove the tank.
Installation
Install in the reverse order of removal, bearing in mind the following.
stamped label «RR» on the bandage should be directed towards the rear of the vehicle.
Secure all hoses tightly with clamps.
Insert the hoses into the tubes to the next depth.
- Filler hose: 35 mm
- Other hoses: 25 mm
Insert the hoses up to the protruding rim on the tube (are at different levels) and tighten with clamps without overlapping the rim.
Clamps on the filler hose are tightened at a distance of 8-12 mm from the edge of the hose (at both sides).
Start the engine, rev up and check for fuel leaks.