Attention! Pads are changed only as a set for one axle. When cleaning the pads, remove dust and dirt by wiping with a rag soaked in alcohol; blowing is prohibited.
1. Raise the front of the car and place on stands.
2. Remove the front wheels.
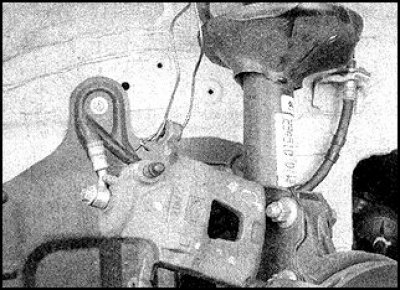
3. Pull the caliper towards you so that the piston enters the cylinder, watching the fluid level in the reservoir.

4. If necessary, push the piston in with a clamp.
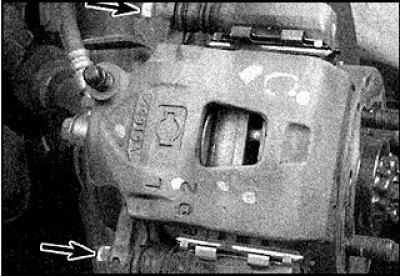
5. Loosen the caliper pins (insoles).
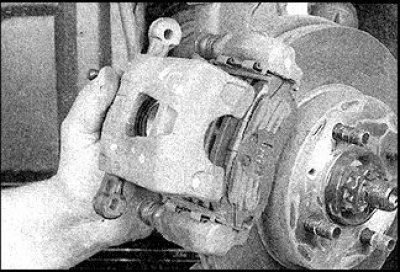
6. Remove the caliper from the disc.
7. Keep in mind that the outer block may remain on the bracket.
8. After removing the caliper, do not press the brake pedal.
9. Fix the caliper so that it does not hang on the hose.
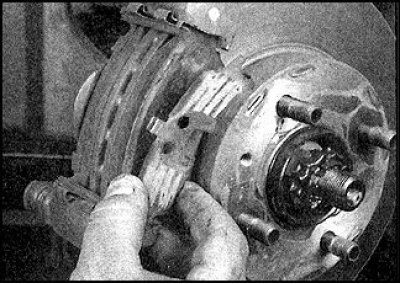
10. Remove shims.
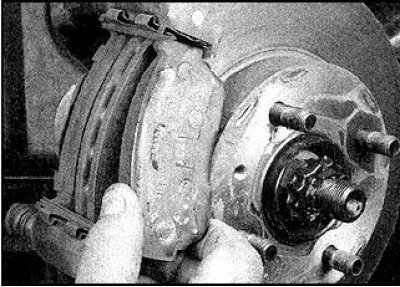
11. Remove pads.
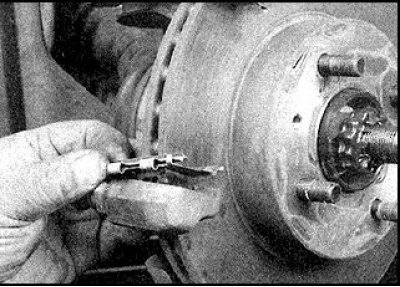
12. Remove the pad retainers.
13. Check the thickness of the friction linings.
14. If the thickness of at least one lining is less than the norm, or the pads are very dirty, then replace all the pads in the set with one axle.
15. Find and eliminate the cause of contamination.
16. It is forbidden to rearrange the pads in order to compensate for wear.
17. If the condition of the pads is satisfactory, then clean them by removing stubborn dirt and large particles.
18. Clean the pad contact surfaces in the caliper and bracket.
19. Before assembly, check the freedom of movement of the fingers in the bracket and caliper, as well as the integrity of the rubber boots.
20. Check the condition of the piston seals, the presence of corrosion on the piston and signs of leakage.
21. If the pads are to be changed, the piston must be moved to make room for the pads.
22. When the piston is displaced, monitor the liquid level, excess liquid should be removed with a rubber bulb or syringe.
23. Lightly lubricate the shoe plates, shims and spring clips with a special anti-noise lubricant.
24. Install the brackets, pads and spacers to the caliper bracket. The outer pad is installed in the bracket, and the inner pad is installed in the caliper.
25. Make sure the inner shoe retainer engages with the piston.
26. Install the caliper, lubricate the caliper pins with fixing compound and wrap.
27. Tighten your fingers to the specified torque.
28. Check the freedom of movement of the caliper on the fingers.
29. Repeat the above steps for the brake on the other wheel.
30. Press the brake pedal several times.
31. Install the wheels, lower the car.
32. Check fluid level.
33. Before leaving, check the operation of the brakes.