


2. Clean the brake shield and drums.
3. Pay attention to the location of the rear and front pads, springs and the gap adjuster between the pads and drums.
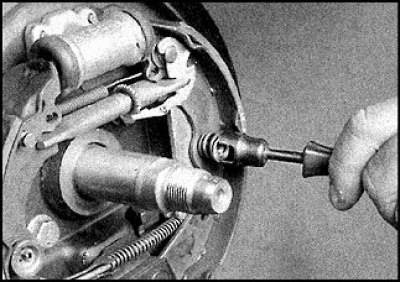
4. Remove the brake shoe pressure springs by pressing on the cap and turning it 90°.
5. Remove the springs, caps and pins from the back of the brake shield.
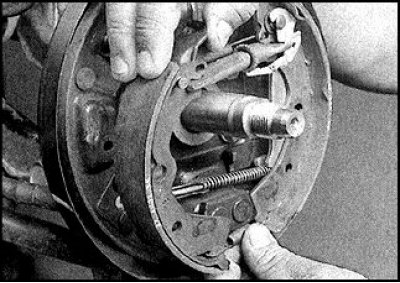
6. Carefully pull towards you and remove the shoes together with the regulator and handbrake cable.
7. Disconnect the upper and lower brake shoe springs.
8. If necessary, tie wire around the cylinder to prevent the pistons from coming out. If the cylinder shows signs of leakage, replace or repair the cylinder.
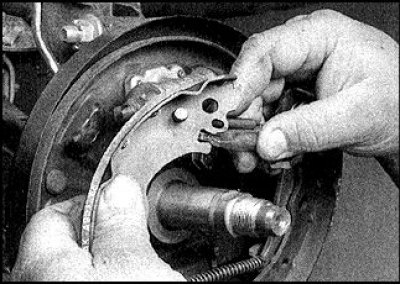
9. Disconnect the regulator and spring from the front shoe.
(The publication is reprinted from this resource: NISSANBOOK)
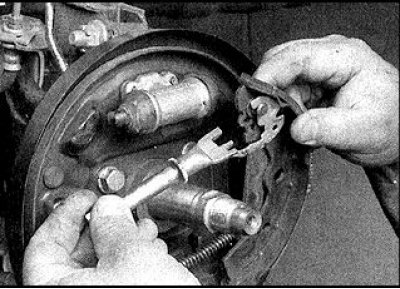
10. Disconnect the adjuster and spring from the rear shoe.
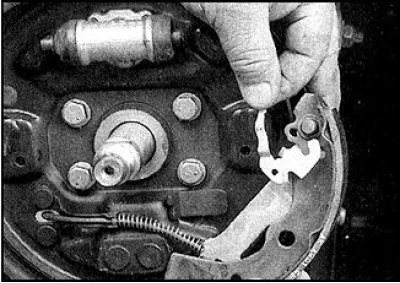
11. Remove the adjuster lever from the front shoe.
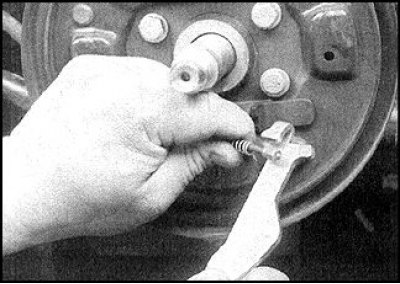
12. Disconnect the handbrake cable from the lever.
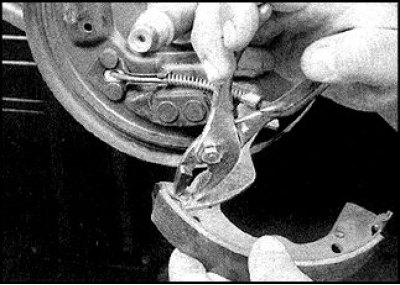
13. Remove the lock washer.
14. Remove the lever axle and remove the lever from the rear shoe.
15. Secure the handbrake lever to the new shoe with a lock washer.
Please note: The handbrake levers for the left and right wheels are different.
16. Lightly lubricate the contact surfaces of the brake shield with the pads with a special lubricant.
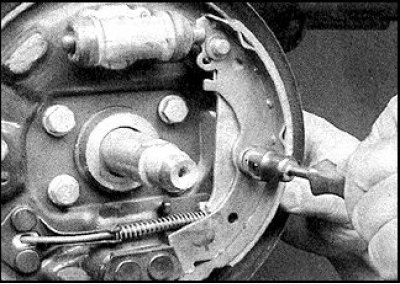
17. Install the shoe on the shield and attach the handbrake cable to the lever, making sure the lever spring is oriented correctly. Secure the shoe by installing the pin, spring and turning the cap.
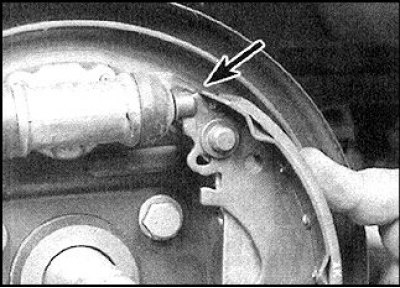
18. Make sure that the top end of the shoe fits into the groove on the end of the piston protruding from the cylinder.
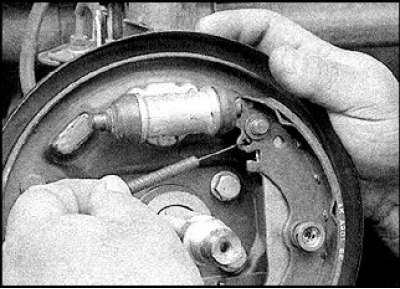
19. Attach the regulator spring to the top of the rear shoe, hooking the spring on the side of the shoe that faces the shield.
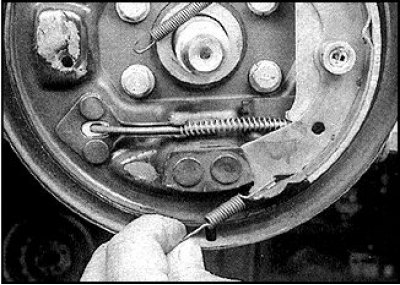
20. Place the lower return spring onto the rear shoe, hooking the spring on the side of the shoe that faces outward.
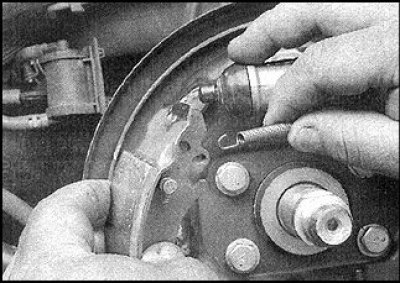
21. Install the front shoe and hook the adjuster spring onto the pin on the back of the shoe. Place the lower return spring on the front shoe.
22. Shorten the brake shoe spacer by turning the toothed nut.
23. Lubricate the contact surfaces of the spacer, handbrake levers and regulator with special grease.
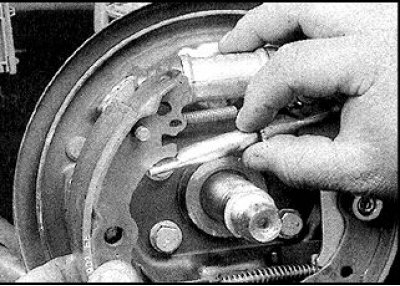
24. Install the regulator by pressing it into the corresponding grooves in the pads.
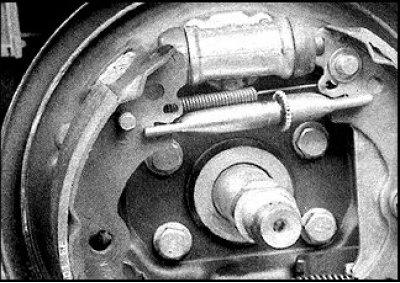
25. Check that the regulator is installed correctly.
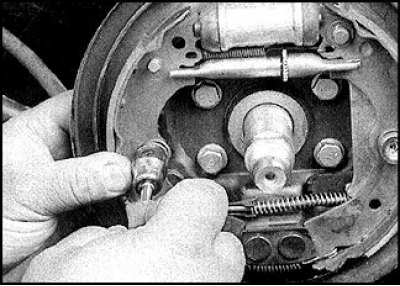
26. Install the front shoe in place, secure with a pin, spring and by turning the cap. The upper part of the shoe should go into the groove of the cylinder, and the lower part - into the stop on the brake shield.
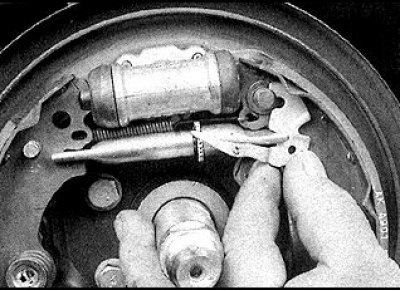
27. Install the adjuster lever onto the rear shoe so that the lever engages with the axle and toothed nut.
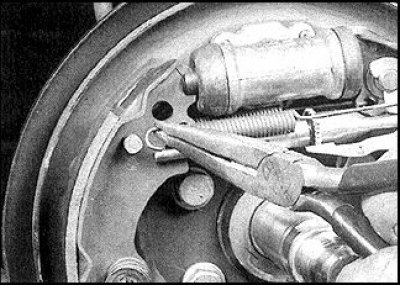
28. Put on the upper tension spring. Hook the long part into the hole in the regulator lever, and the short part into the pin on the front shoe.
29. Check that all parts are installed correctly.
30. By turning the toothed nut, bring the shoes together so that the drum can be put on.
31. Repeat the described steps with the brake of the other wheel and put on the drums.
32. Check the operation of the brakes before leaving.