2. Install spring washers.
3. Press the new oil seals onto the guide bushings using a mandrel or tool (photo). Rotation of the caps during pressing is not allowed.
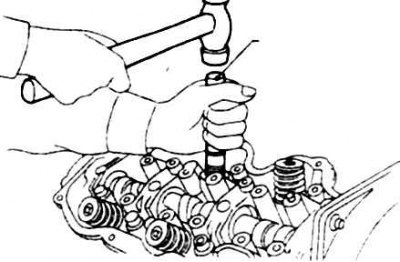
10.3 Pressing on the caps with the tool
4. Lubricate the valve stem with engine oil and install the first valve. Install the plate and crackers and check the height of the spring in working order (those. distance between the support washer and the bottom surface of the poppet in the closed valve position, photo). If necessary, adjust the height by installing additional support washers.
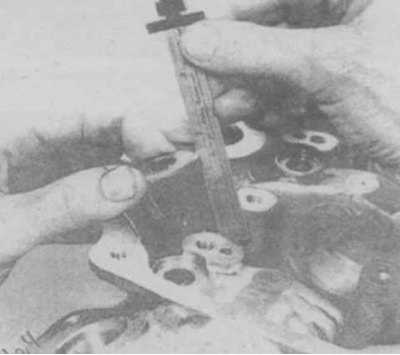
10.4 Checking the height of the spring in working condition
5. Remove the plate and crackers and install both springs with a tight winding down (photo).
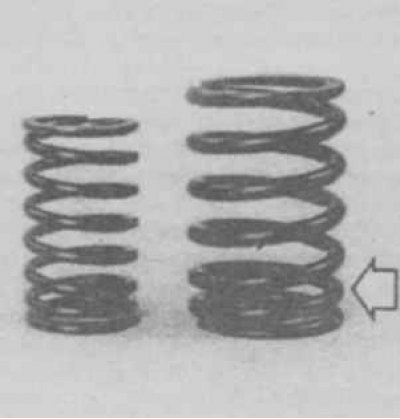
10.5 Orientation of valve springs during assembly
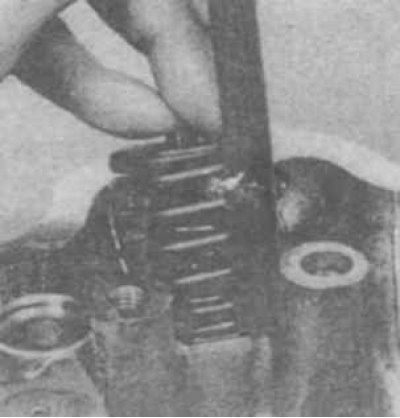
6. Compress springs and establish crackers. If necessary, lubricate the cotters with grease to temporarily secure to the valve stem (photo).
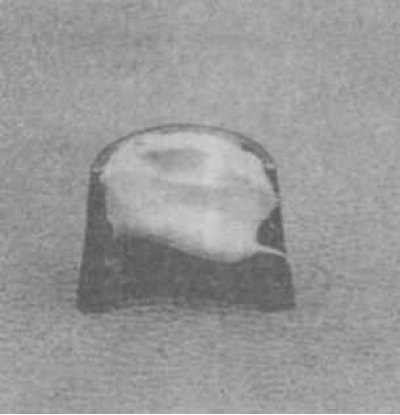
10.6 Lubricate the cotters for fastening on the valve stem
7. Install other valves in the same way. Recheck the height of the springs (photo) and adjust with washers. It is not allowed to install extra support washers if the initial height of the spring in working condition is correct.
10.7 Rechecking the height of the springs
8. Install camshaft, rocker rollers and tappets (on V6 engines).
9. On 4-cylinder engines, adjust the valve clearances by setting the clearances for a cold engine.