Disassembly
1. Remove the cylinder head (see subsection 3.1.1.11).
2. Remove the intake and exhaust manifolds if these parts have not already been removed.
3. Remove the valve levers and shims.
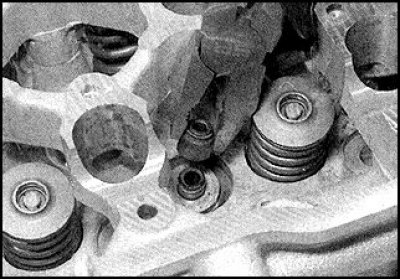
4. Compress the first valve spring with the tool and remove the crackers. Carefully release the valve spring, remove the spring cap, spring and thrust washer. Remove the valve stem seals from the guide bushings.
5. To remove the plate, lightly tap the fixture with a soft-faced hammer.
6. Remove the valve from the side of the combustion chamber.
7. The valve should be stored together with crackers, spring, spring plate and support washer. Keep in mind that valve N1 is next to the front cover.
Assembly
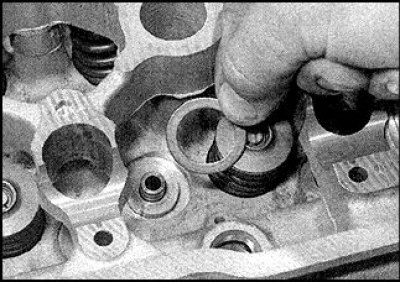
1. Install the spring washer, dip the valve stem seal in fresh engine oil and slide it over the valve stem and bushing.
2. Lubricate the valve stems with fresh engine oil and install the valves in their respective guides on the cylinder head following the original installation procedure. New valves should be installed in the seats to which they were lapped.
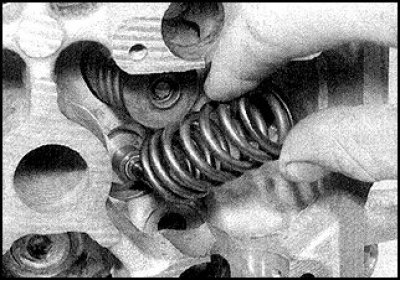
3. Install the spring onto the support washer, orienting so that the tightly coiled coils of the spring are facing down.
4. Install the spring plate.

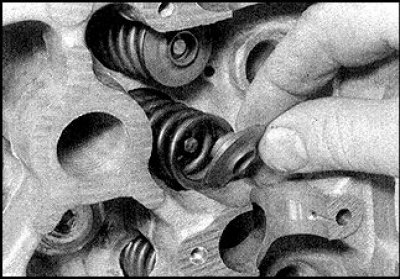
5. Compress the spring tool and insert the crackers into the groove on the valve stem.
Attention! Lubricate the cotters with grease to keep the cotters in the valve grooves when the tool is removed.
6. After installing all the valves, turn the cylinder head over and upset the valve train parts with light hammer blows through the wooden spacer on the valve stems.